
Global Content Restriction Add-on is the tool that you need for managing what type of content is available for each Subscription Plan. After setting it up you don’t have to worry about adding restrictions individually for each Page, Post, or Custom Post Type.
Global Content Restriction is a Basic add-on, available with a Paid Member Subscriptions Basic, Pro, or Agency license only.
After purchasing a premium version of Paid Member Subscriptions, you can check the following guide on how to install Paid Member Subscriptions.
After you install and activate the Global Content Restriction add-on go to Paid Member Subscriptions -> Subscription Plans and add a new plan or edit an existing one.
After setting up the details for our Subscription Plan scroll down to the Global Content Restriction Meta Box. Click on the Add Rule button to enable a restriction.
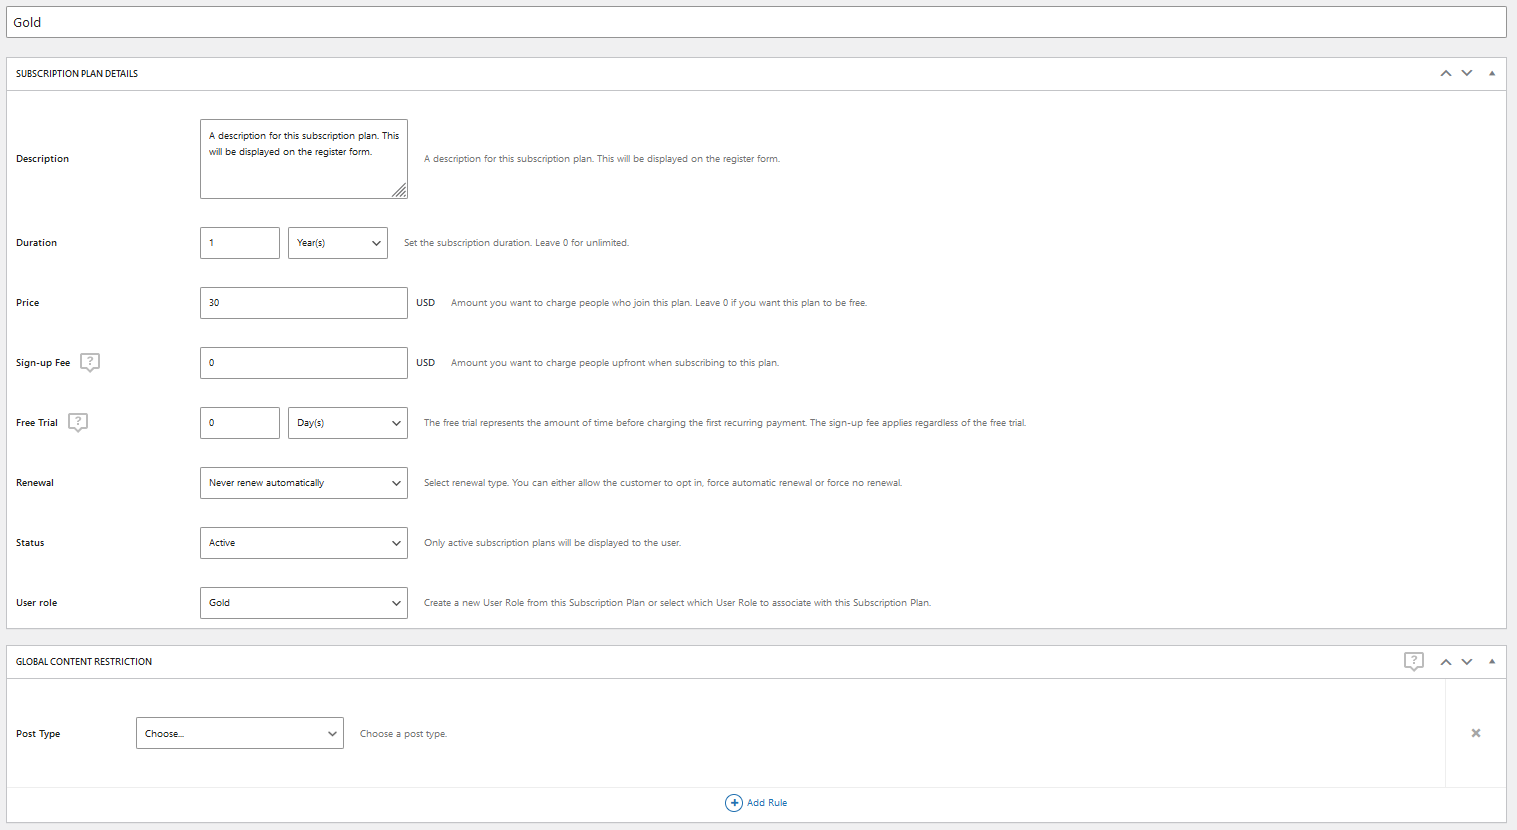
Select a Post Type from the ones available. Here you will see post, page, attachment, and all the other Custom Post Types.

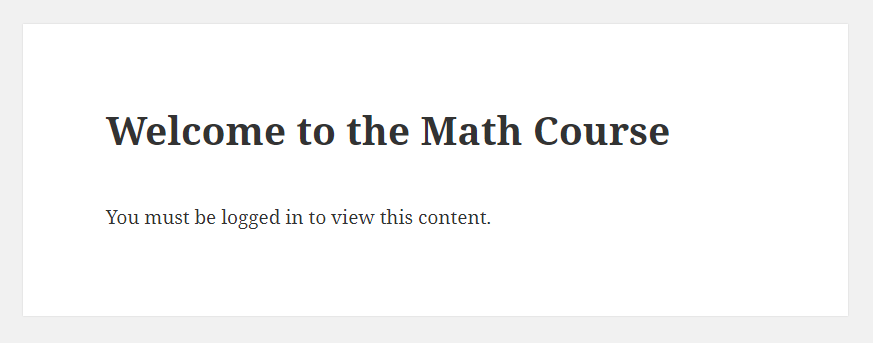
In our example we selected “post” and right now only members subscribed to this plan will be able to see the posts. Logged-out users and logged-in users not subscribed to this plan will see, instead of the content, an appropriate message.

This is how a restricted post looks like in Front End for a logged-out user. You can adjust the message for logged-out users inside Paid Member Subscriptions → Settings → Content Restriction.
 .
.
You’ll notice that you can now choose to add a Taxonomy restriction for the selected post type. Click on the “Add Taxonomy” button and select one from the taxonomies attached to the previously selected post type.
In our case, we selected the “Category” Taxonomy.
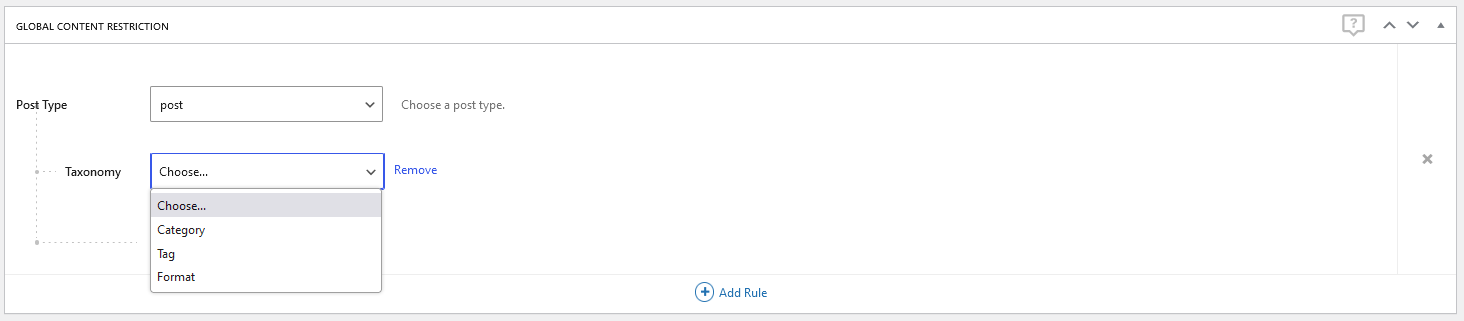
All the available terms from the Category Taxonomy will now be displayed as checkboxes.
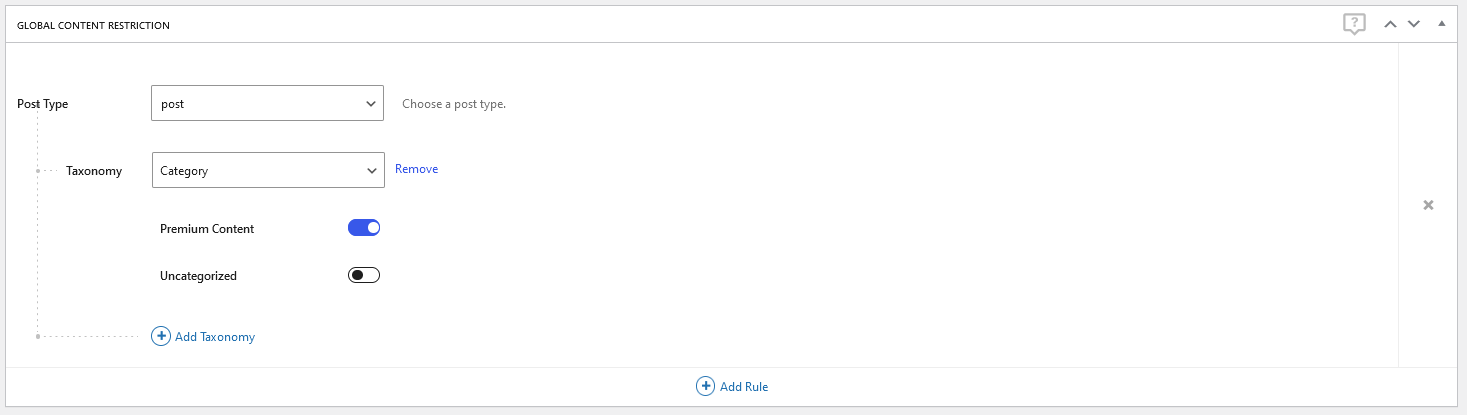
By selecting the “Premium content” term will now allow only users subscribed to this plan to see the posts from this category. Everyone else will be able to see only the posts from the Uncategorized category and all the content from all other post types.
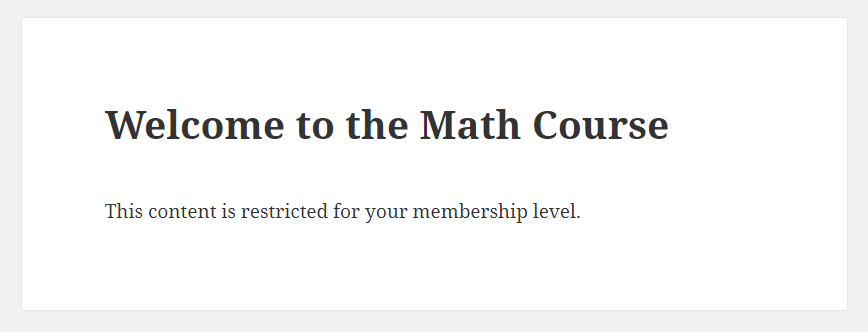
This is how a restricted post looks like in Front End for a logged-in non-member that didn’t subscribe to the Subscription Plan. You can adjust the message for logged-in non-member inside Paid Member Subscriptions → Settings → Content Restriction.
Now you can choose to Restrict Content based on Terms under another Taxonomy, of the current Post Type, or you can add a different rule where you can select a different Post Type.
In this example I selected another Taxonomy for my Post Restriction, called Special which has an Advance Course term, and also I have created another rule where I restricted access to members not subscribed to this plan, for the Custom Post Type “book”, having the term “Advanced Math”, of the Custom Taxonomy “Math”.
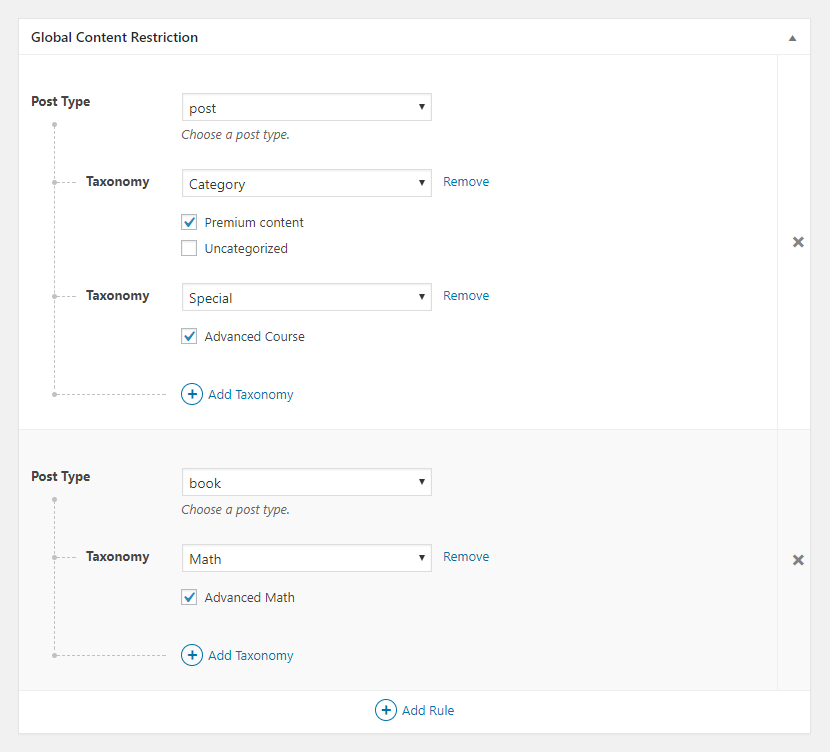
To sum up, we now have a “Gold” Subscription Plan that allows access to the posts from the “Premium content” Category, from the Special Taxonomy, that has the “Advanced Course” term, and also from to Book Post Type having the “Math” Taxonomy that uses the “Advanced Math” term.
Users that didn’t subscribe to the “Gold” plan will not have access to the content mentioned above. You can have a different set of rules for each of the Subscription Plans.
Protecting content for different Membership Levels is an integral part of Paid Member Subscriptions. There are two ways of protecting individually your Posts, Pages, or Custom Post Types:
To remove the content restriction for certain Terms, simply uncheck the checkboxes for those specific Terms.
In order to remove the whole Taxonomy-based restriction, therefore restricting all posts regardless of category, click the Remove button associated with each Taxonomy.
Removing completely a Restriction Rule can be done by clicking on the “X” displayed on the right side of each rule.

Accept (recurring) payments, create subscription plans and restrict content on your website. Easily setup a WordPress membership site using Paid Member Subscriptions.
Get Paid Member SubscriptionsCombine the power of Profile Builder with Paid Member Subscriptions to set up user registration, memberships, and recurring revenue.
Get 25% off with the bundle