MailChimp Add-on allows users to subscribe to your MailChimp lists directly from the Register form.
You can choose whether your new users are subscribed automatically or must confirm their subscription through the double opt in option. Also you can select if your automatically subscribed users receive a welcoming email.
MailChimp is an add-on, available with a Paid Member Subscriptions Pro license only.
After purchasing a premium version of Paid Member Subscriptions, you can check the following guide on how to install Paid Member Subscriptions.
Enabling the Mailchimp add-on will open up a new section called Email Marketing that can be found under your Dashboard → Paid Member Subscriptions → Settings.
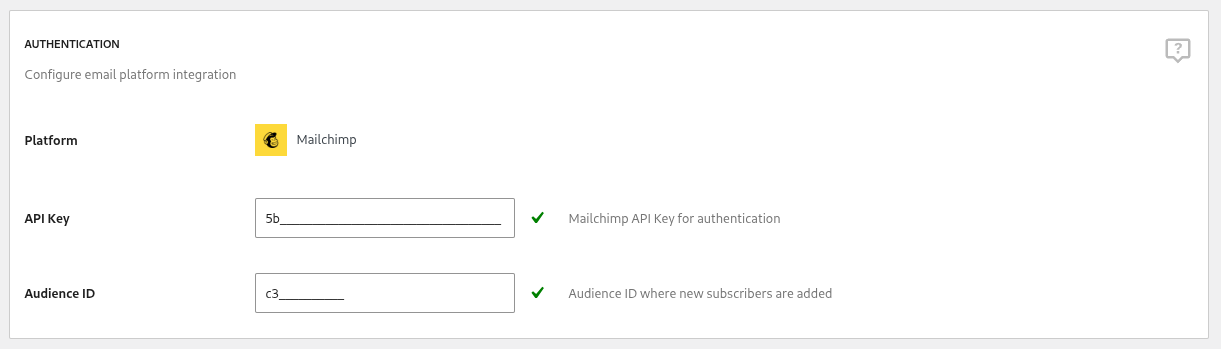
In the Authentication section you will be able to find the following fields:
To generate your Mailchimp API key you will need to go to your Mailchimp Dashboard and under Profile → Extras → API Keys → scroll down to Your API Keys section
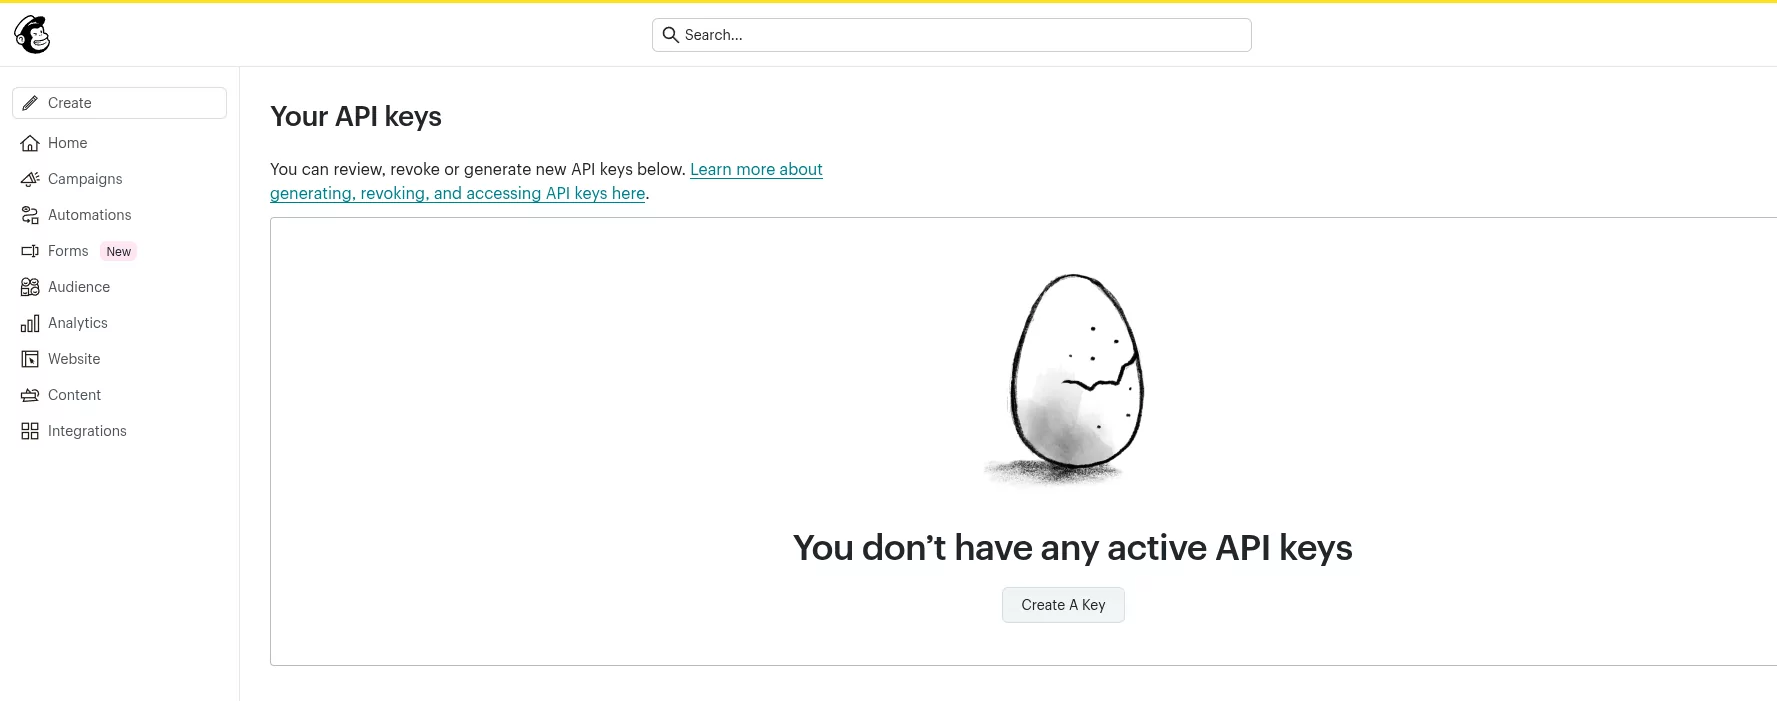
Click on Create A Key. You will be prompted to name your API key. We suggest using a descriptive name, in case you will have multiple API keys in the future, to let you know what this specific API key is used for.
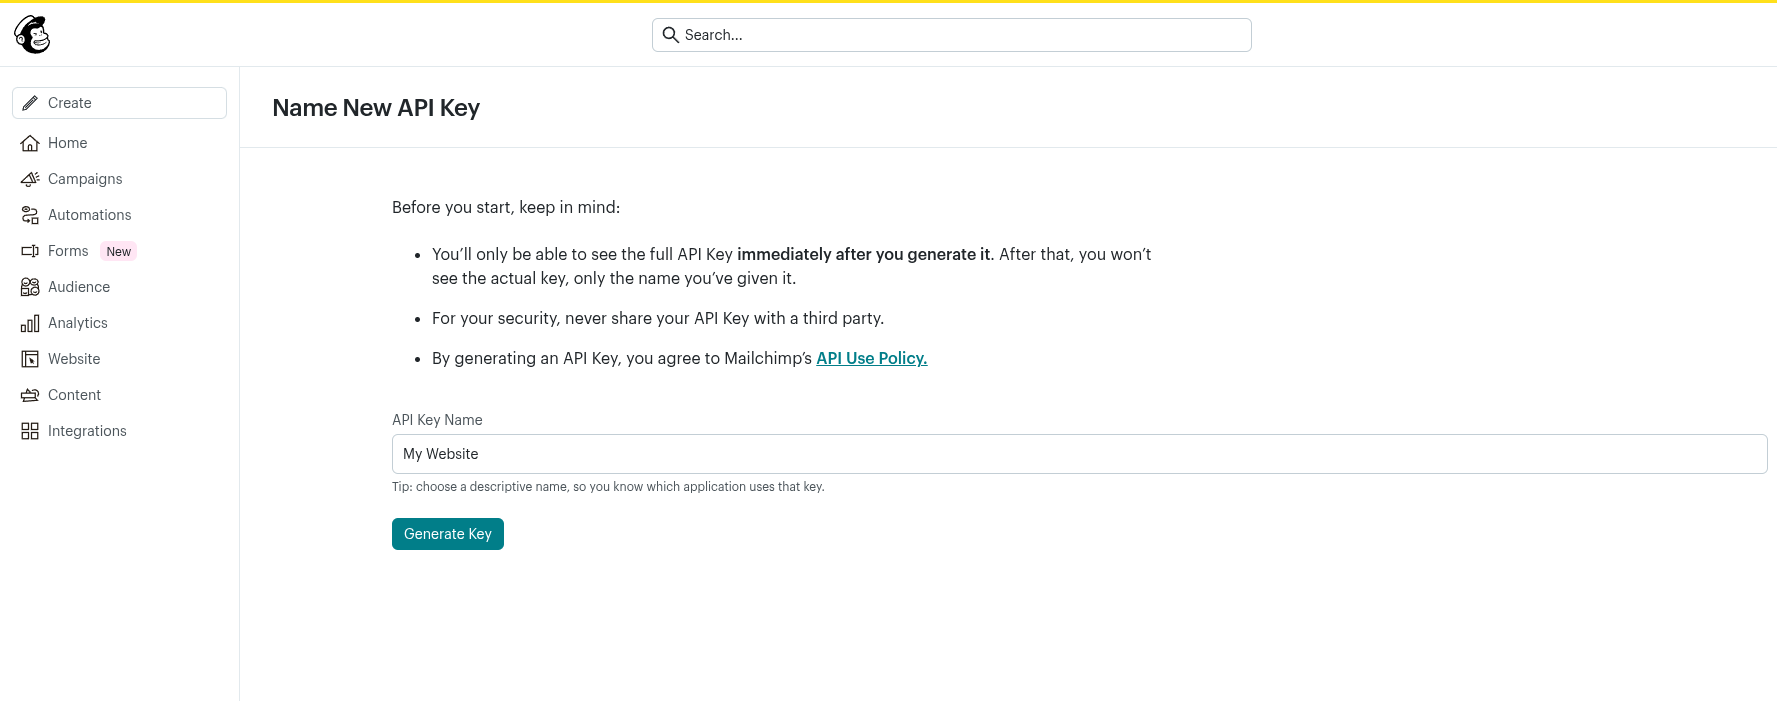
After you are done with choosing a name, click on Generate Key. You will be presented with your API key. Make sure you copy it and add it to the API Key field in Paid Member Subscriptions as you will not be able to view this key again.
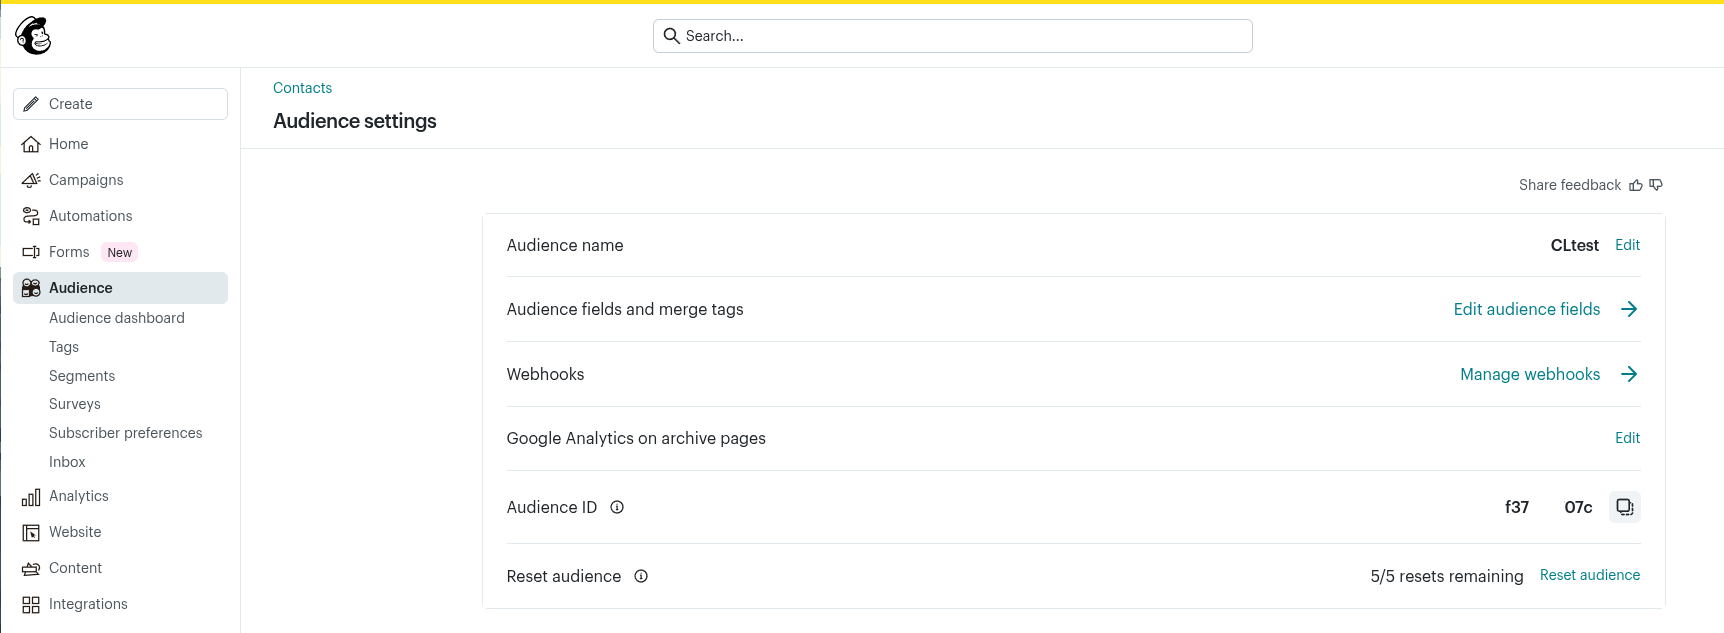
You can find your Mailchimp Audience ID by going to your Mailchimp Dashboard → Audience → under More Options click on Audience Settings. Here you will be able to see and copy your Audience ID.
In the Field Mapping section you will be able to find the following features:
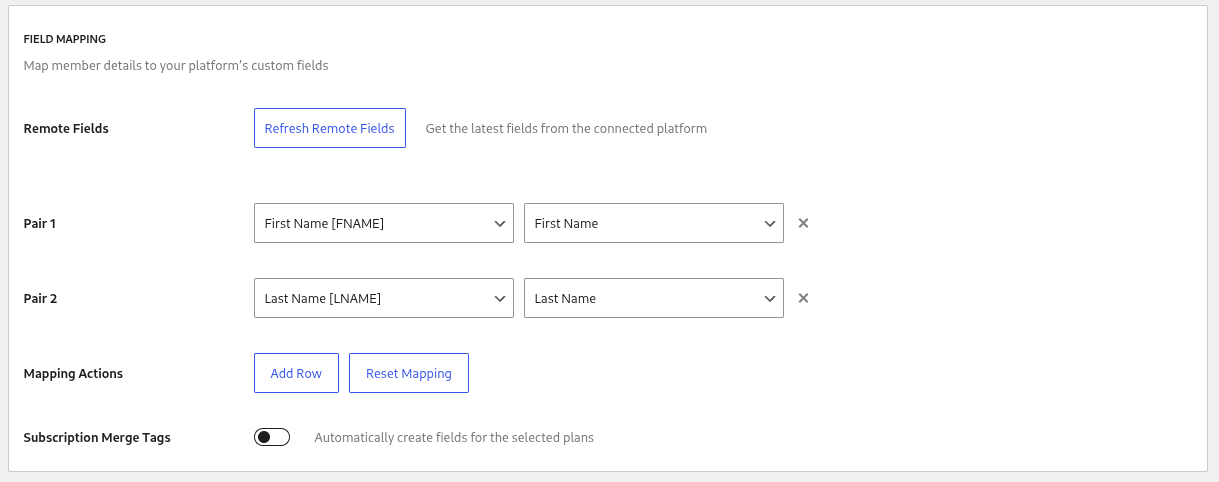
In this example we have mapped the First Name [FNAME] field from Mailchimp with the First Name field from our website. The same thing with the Last Name field.
By enabling the Subscription Merge Tags option the plugin can automatically create contact attributes based on subscription plan tiers in your Mailchimp account.

For each tier of plans that is defined on your website, a number will be assigned and 3 attributes will be created in Mailchimp:
To view the assigned number for a particular tier on your website, you can go to the Edit Subscription Plan page of any plan from that tier.
Using this option you can choose to exclude certain tiers from automatically creating merge tags. The dropdown shows a list of parent plans from each tier.
By default, users can subscribe to a single tier. In this case, manually created fields provide adequate segmentation in Mailchimp, though automatic fields are also supported.
If you’re using the Multiple Subscriptions Per User add-on, this functionality must be enabled to properly sync all of a user’s subscription tiers with the platform.
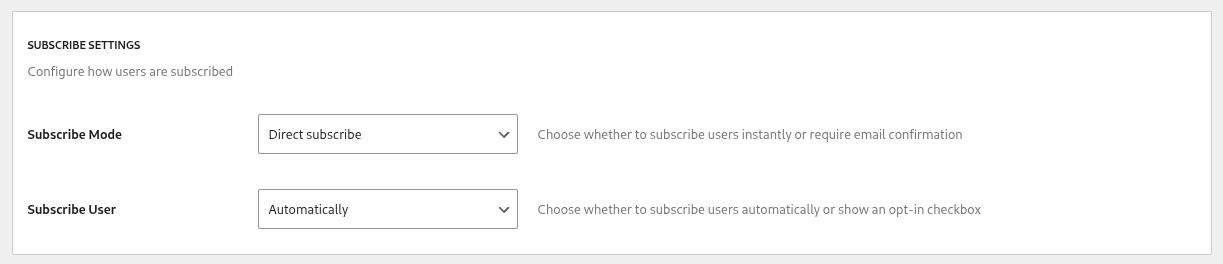
This section lets you decide how user subscriptions should be handled using the following settings:
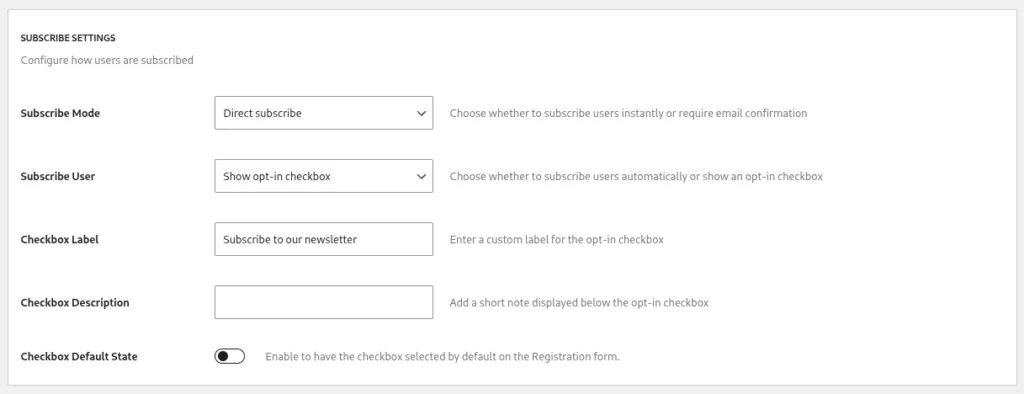
When selecting Show Opt-in Checkbox you will reveal further configuration options:
This is what the checkbox will look like on your forms:
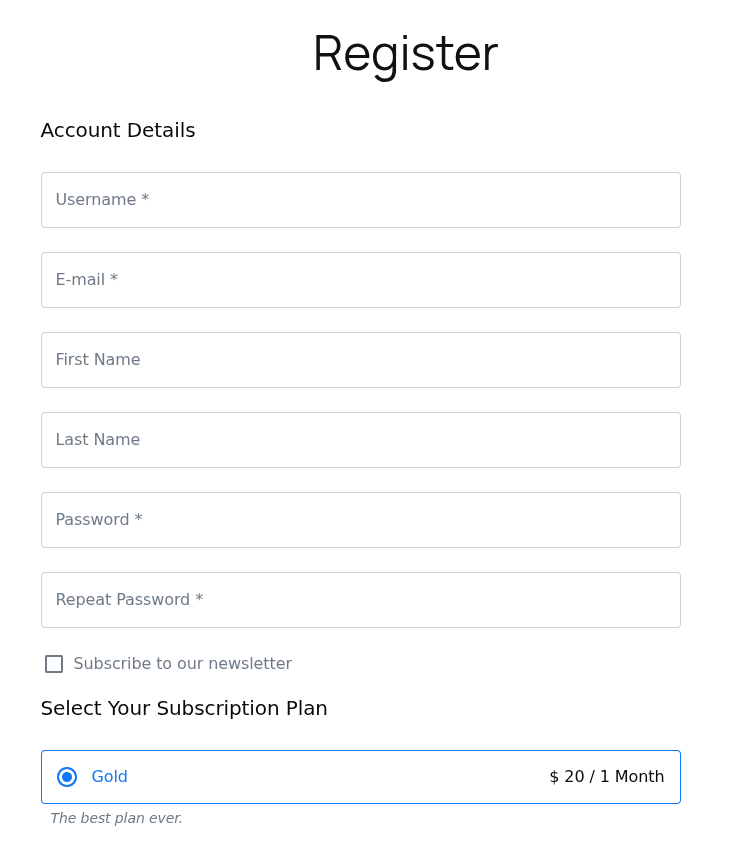
The checkbox will appear on any form that the user can buy a subscription plan from, in case he is not subscribed already to the platform (new subscription, renew, upgrade, change etc.).
Once subscribed, a member can go to the Account → Edit Profile tab in order to update his choice.
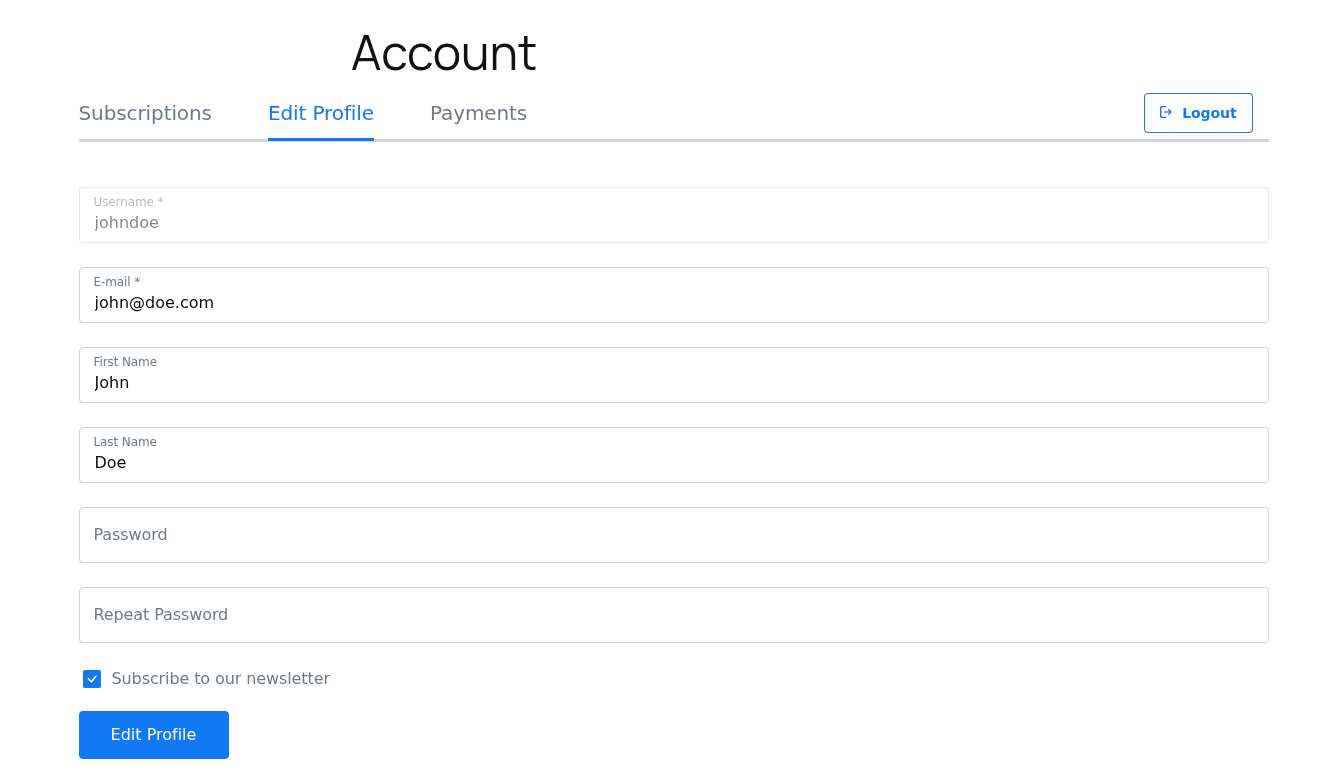
The checkbox is always appearing on the Edit Profile form, regardless of subscribe settings.
By default, users registering to your website using the Profile Builder Registration form will not be able to subscribe to your newsletter. To allow them to do so, navigate to Profile Builder → Form Fields. There you will be able to add a new field called Email Marketing.
This field can be configured with the following settings:
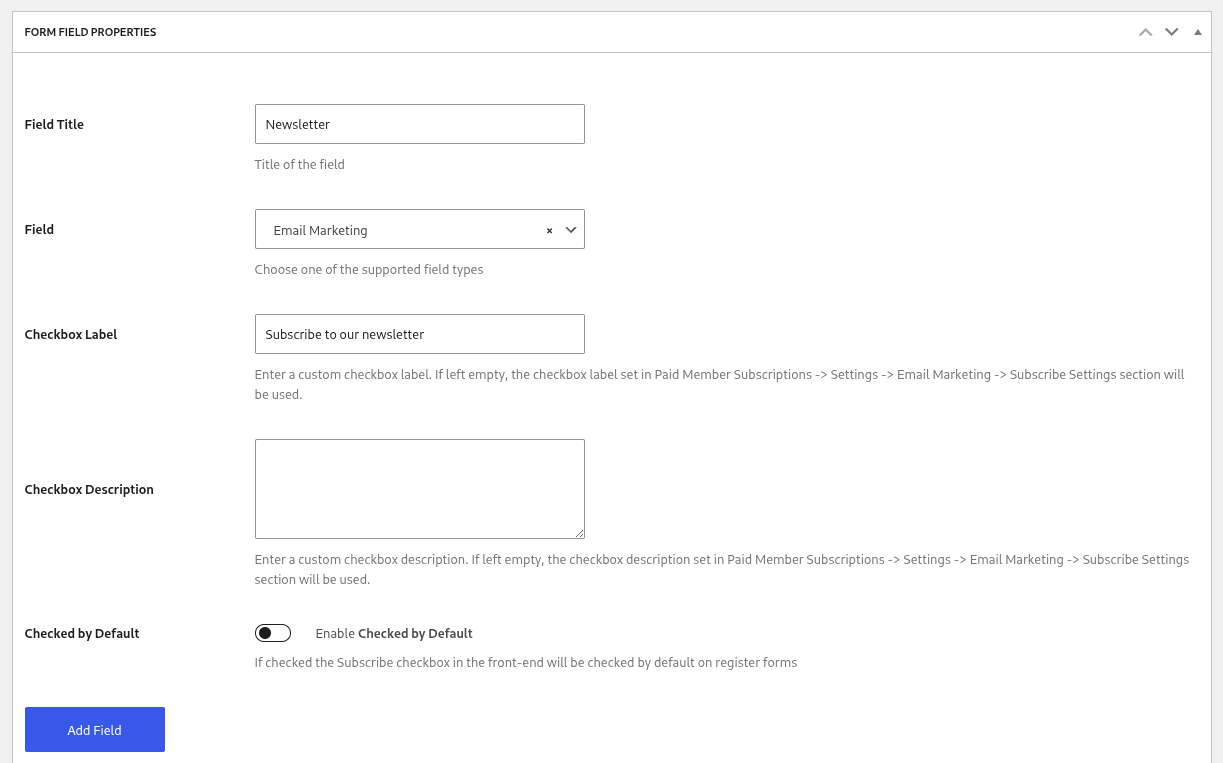
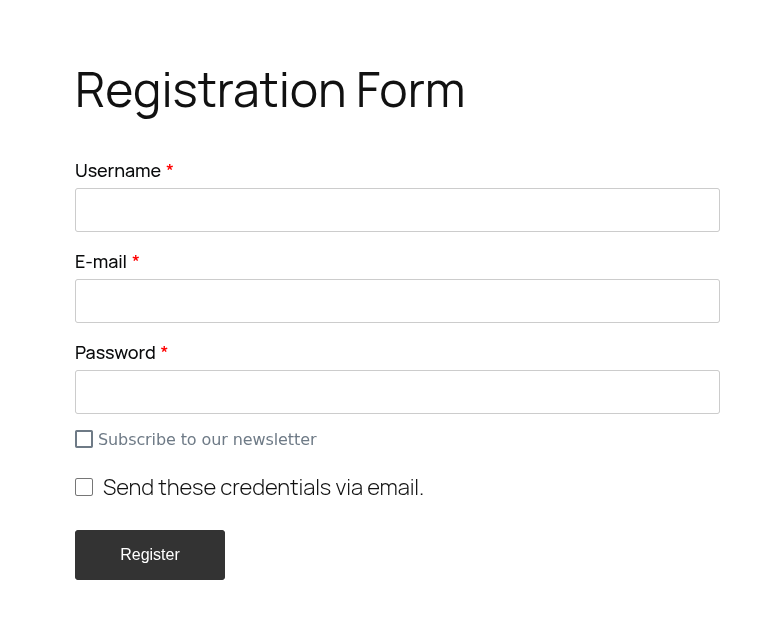
This will add a checkbox that enables your users to subscribe to your Mailchimp Newsletter using your Profile Builder Registration form.
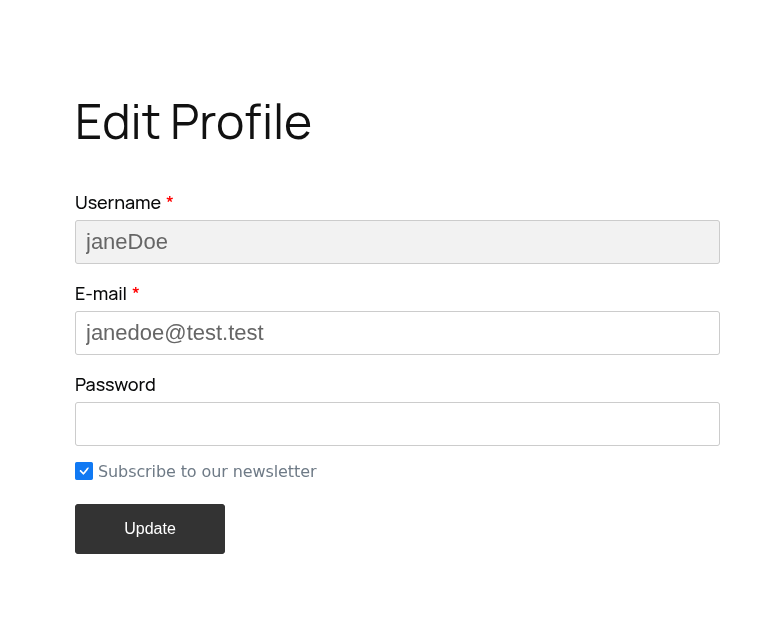
The Email Marketing field will also show up on your Profile Builder Edit Profile page allowing your users to subscribe or unsubscribe later.
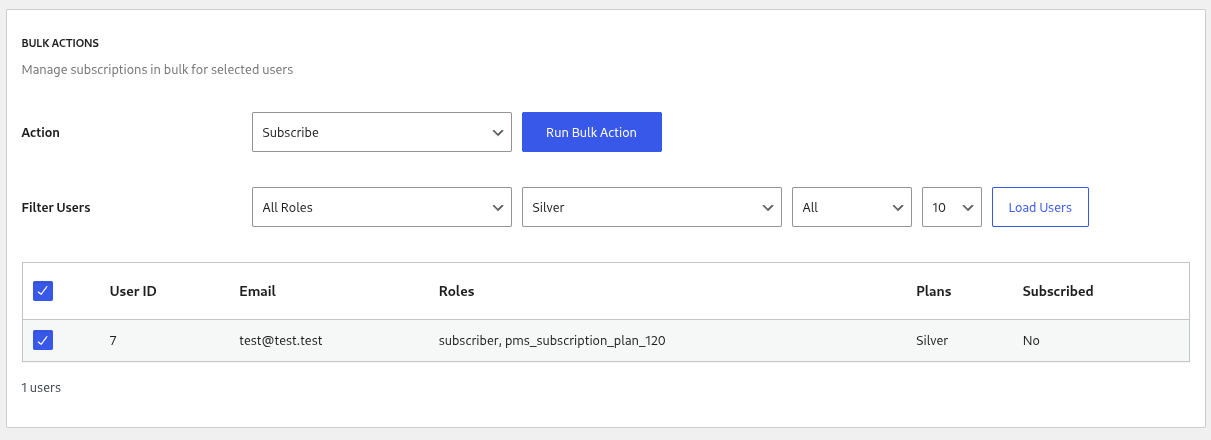
This section allows you to apply actions such as Subscribe or Unsubscribe to multiple users at once. In order to have your users appear here, you will need to load them by pressing the Load Users button.
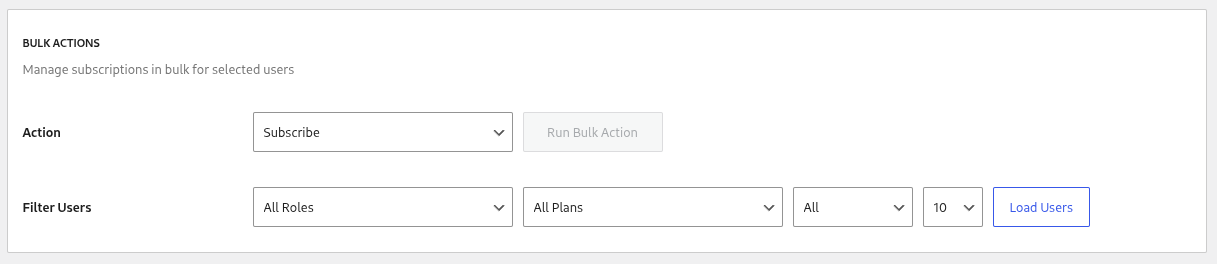
You also have the ability to filter your users based on the following criteria:
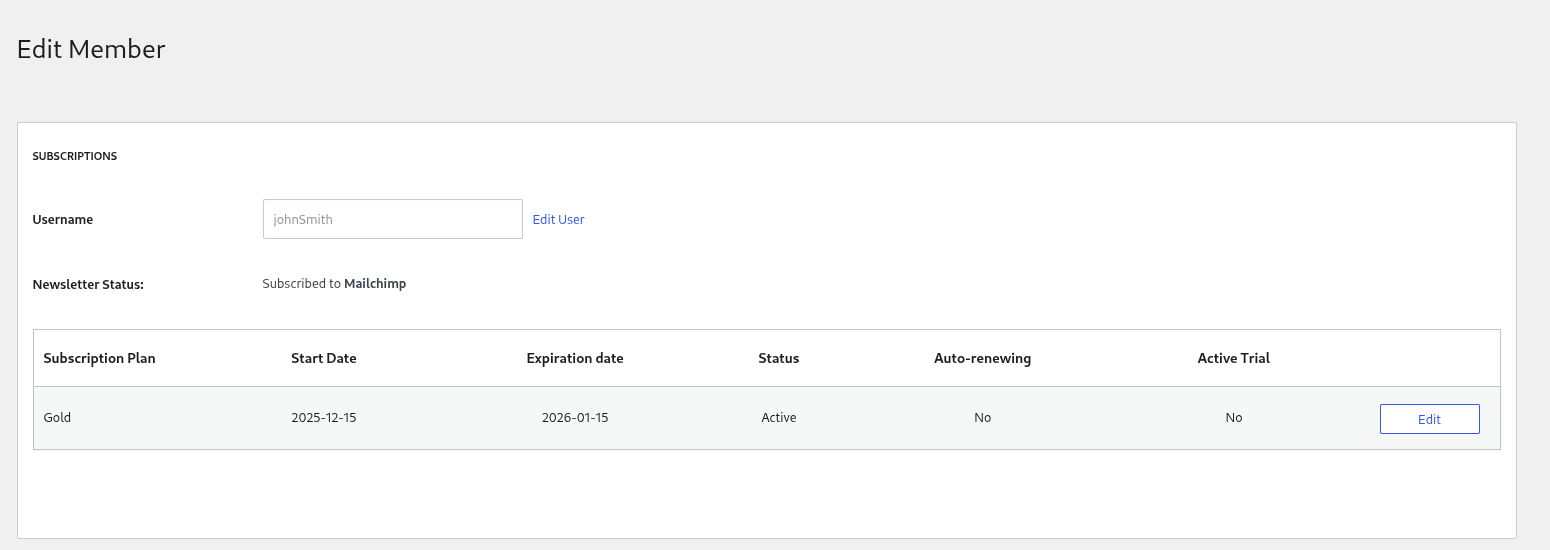
You can view the Subscribed Status of your members by navigating to your Dashboard → Paid Member Subscriptions → Members → click on one of your members. In the Subscriptions section you will be able to find a field called Newsletter Status.
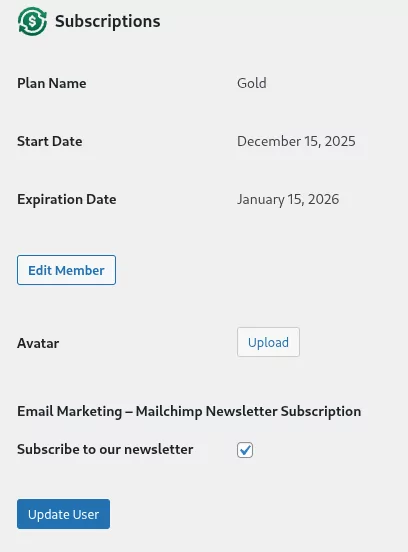
You can see what a subscribed user looks like in the image below:
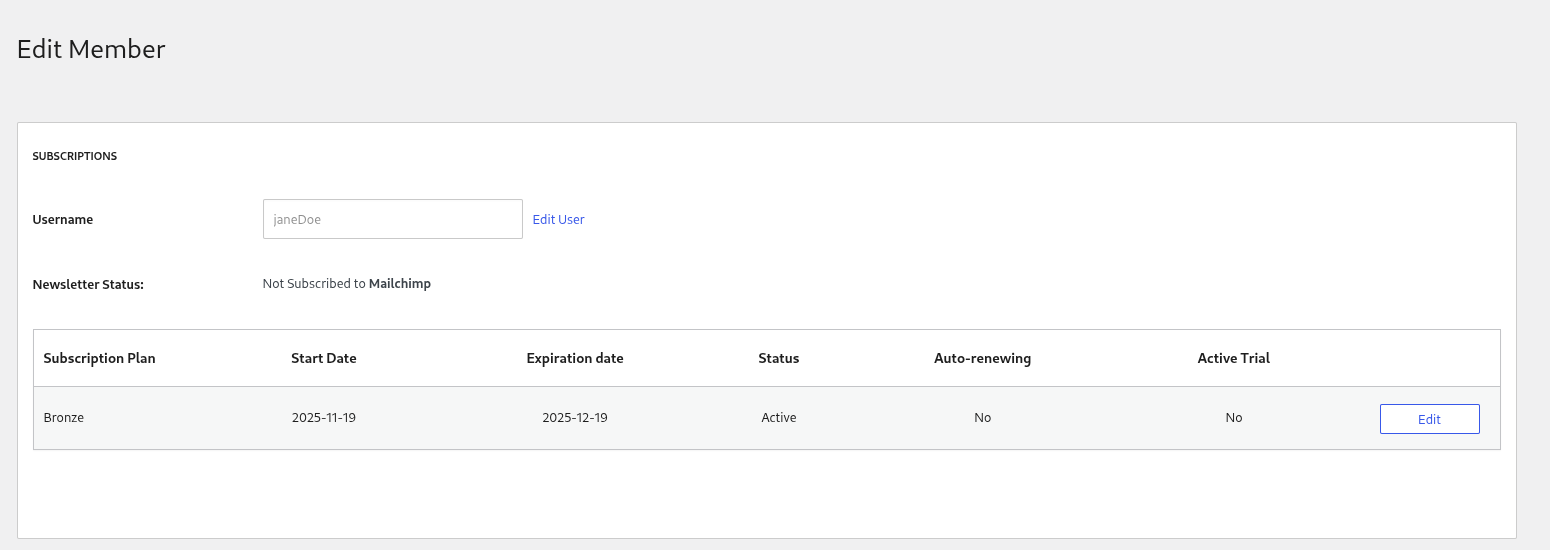
And this is what a user without a newsletter subscription looks like:
You are able to edit the Subscription Status of your members by navigating to your Dashboard → Users → All Users → edit your desired user. You will find the Subscribe to our newsletter field here.
Accept (recurring) payments, create subscription plans and restrict content on your website. Easily setup a WordPress membership site using Paid Member Subscriptions.
Get Paid Member SubscriptionsCombine the power of Profile Builder with Paid Member Subscriptions to set up user registration, memberships, and recurring revenue.
Get 25% off with the bundle
