Table of Contents
Social Connect Add-on lets you enable social login on your website. Users can log in with social platforms like Facebook, Google, Twitter, or LinkedIn.
Social Connect is an Advanced add-on, available with a Profile Builder Basic, Pro, or Agency license only.
After purchasing a premium version of Profile Builder, you can check the following guide on how to install Profile Builder.
For the Social Connect add-on to work as expected, you’ll also need to have the following plugin installed and activated on your site:
Social Connect Settings can be found if you go to Profile Builder -> Social Connect.
Inside the Settings tab we can set up the:
In the General Settings section we can choose where to display the Social Connect Icons. We can display them in:
In order to display the Social Connect Icons you will need first to set up the appropriate Apps inside the Application Settings section.
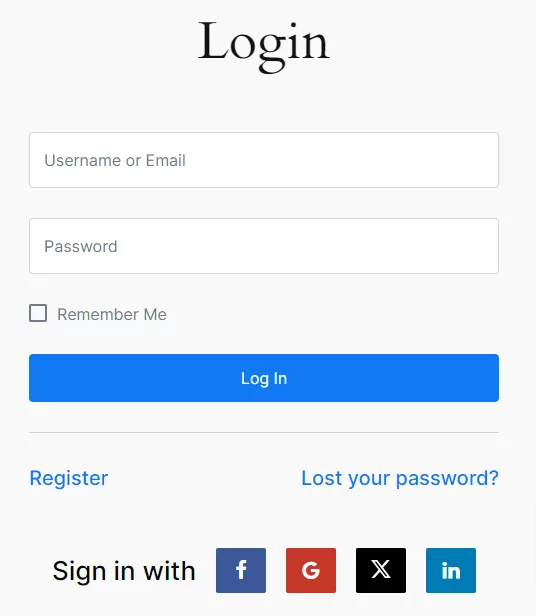
First, you will need to add the [wppb-login] shortcode inside a page to generate the Profile Builder Login Form. If the Apps are setup correctly you will see the Social Connect Icons.
Front End Profile Builder Login Form
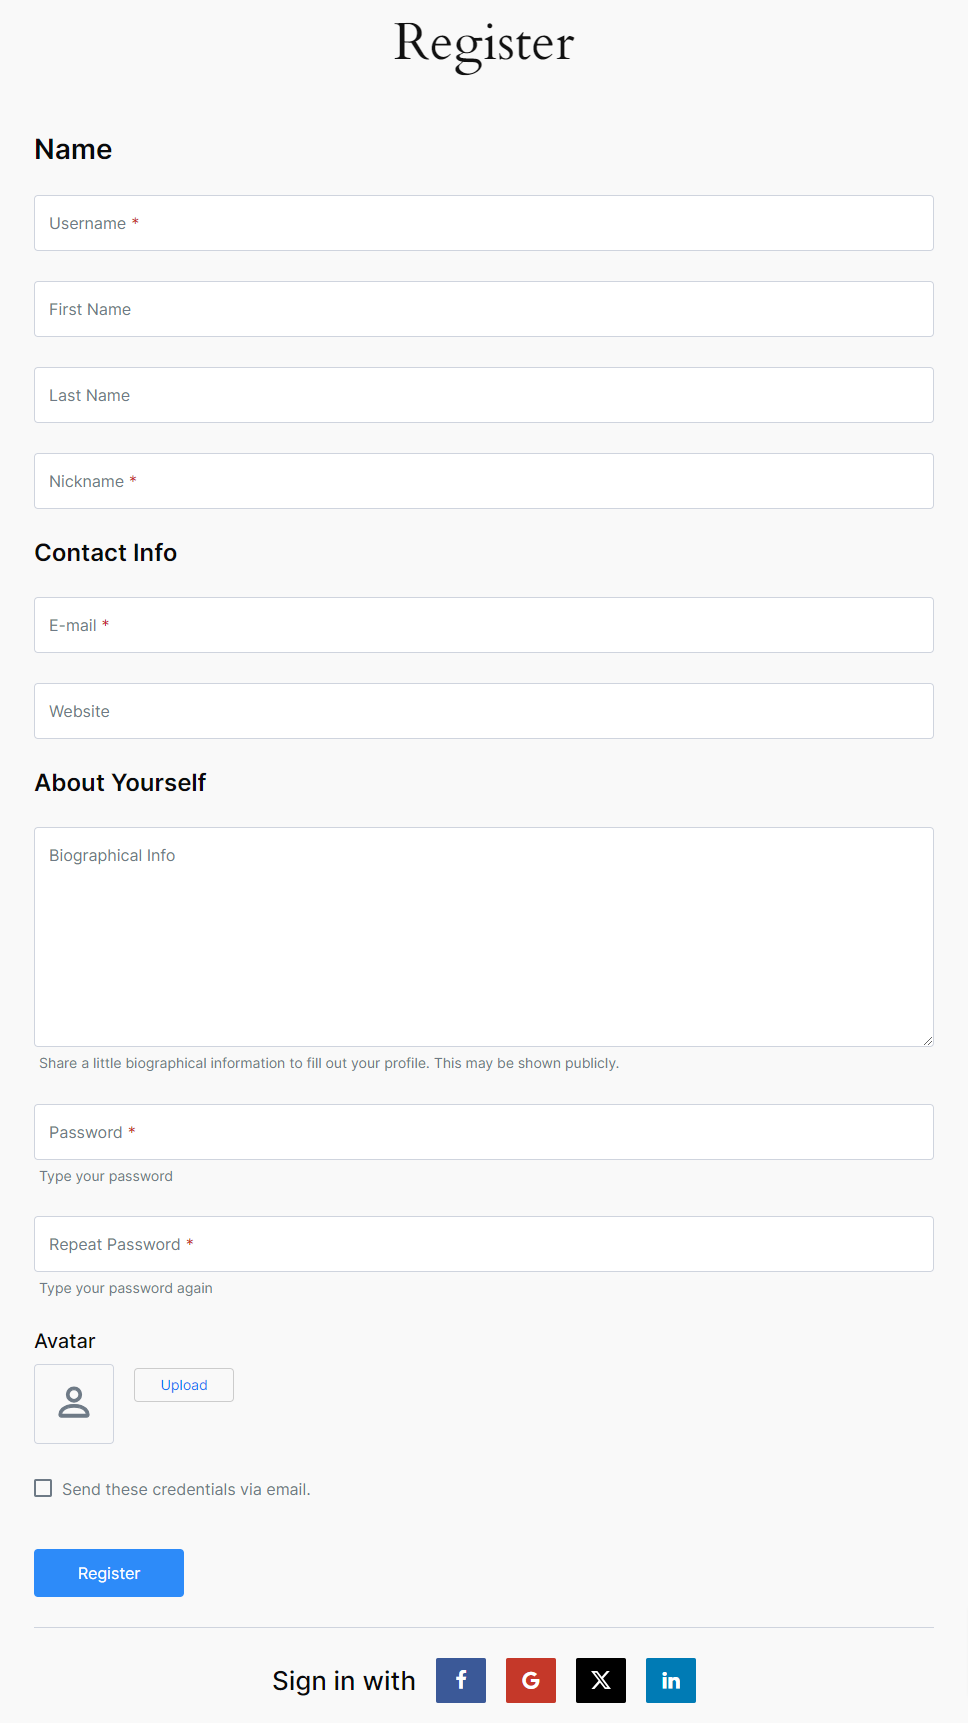
First, you will need to add the [[wppb-register]] shortcode inside a page to generate the Profile Builder Register Form. If the Apps are setup correctly you will see the Social Connect Icons.
Front End Profile Builder Register Form
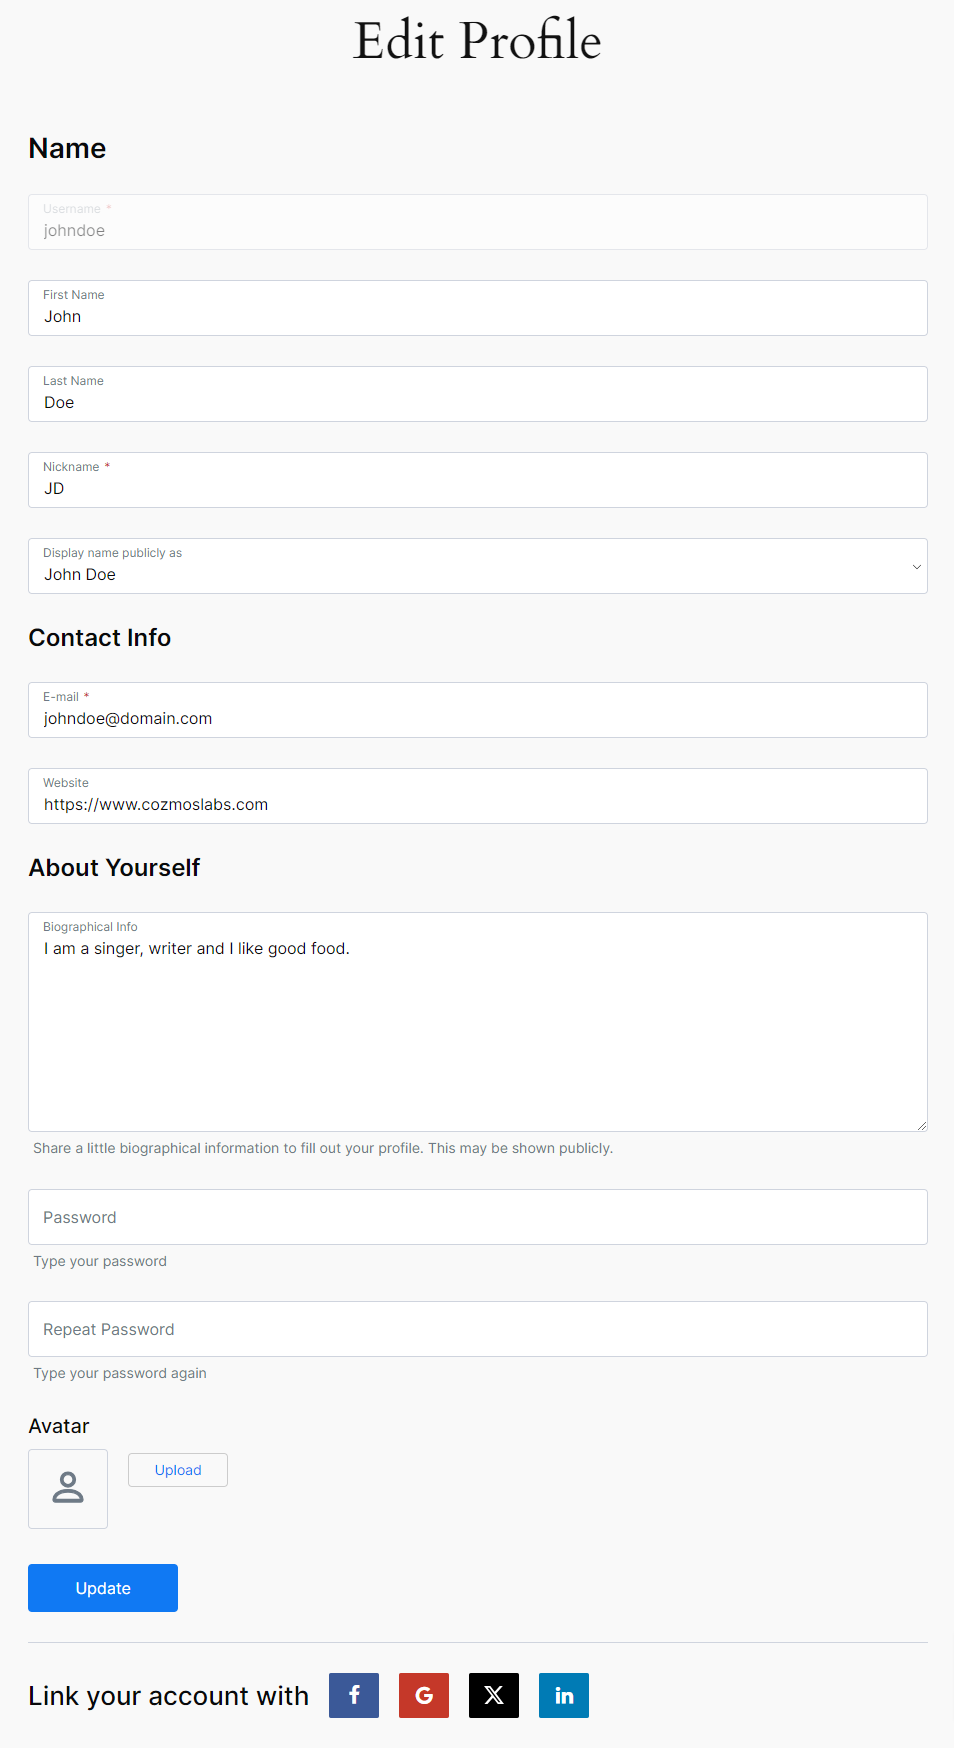
First, you will need to add the [wppb-edit-profile] shortcode inside a page to generate the Profile Builder Edit Profile Form. If the Apps are set up correctly you will see the Social Connect Icons.
Front End Profile Builder Edit Profile Form
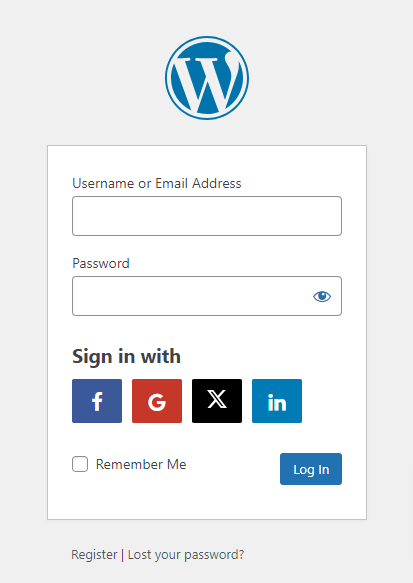
To see the Social Icons on the Default WordPress Login Form go the wp-login.php page – Example: http://www.yourdomain.com/wp-login.php.
Front End Default WordPress Login Form
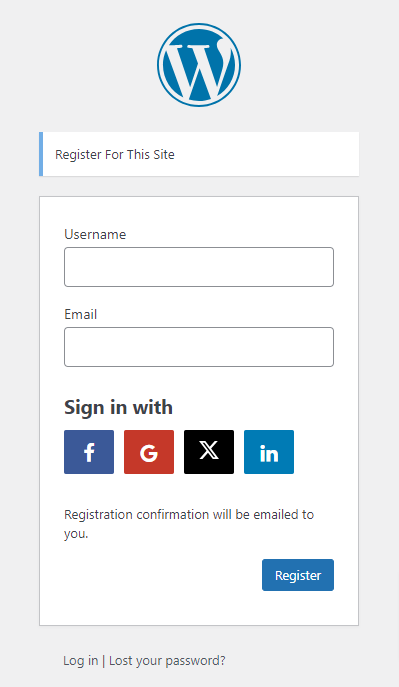
To see the Social Icons on the Default WordPress Register Form go the wp-login.php?action=register page – Example: http://www.yourdomain.com/wp-login.php?action=register.
Front End Default WordPress Register Form
Inside Profile Builder Pro we have 2 modules called Multiple Registration Forms and Multiple Edit Profile Forms that are used to create Custom Registration and Edit Profile Forms with different fields for different user roles.
Inside the settings page we can choose if we want to display Social Connect on our Custom Registration or Edit Profile Forms. You can enable or disable Social Connect for each individual form. It only works with Profile Builder Pro.
Multiple Registration Form Settings
Multiple Edit Profile Form Settings
In the Application Settings section we can enable Social Connect in Profile Builder or WordPress Default Forms, as we selected in the General Settings section.
We can enable the following Social Platforms:
You can enable one or all of the available Social Platforms. In order to enable the Social Platforms we need to add the corresponding App ID / Client ID / API Key – Secret.
To create a Facebook App please follow the steps from the following documentation link:
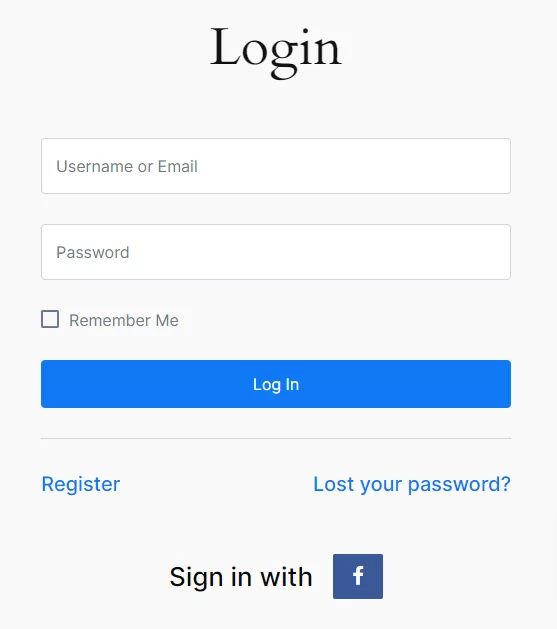
After we created the Facebook App we can add the generated Facebook App ID and Enable the Facebook Social Platform on Profile Builder or WordPress Default Forms, as we selected in the General Settings section.
Front End Profile Builder Form
To create a Google App please follow the steps from the following documentation link:
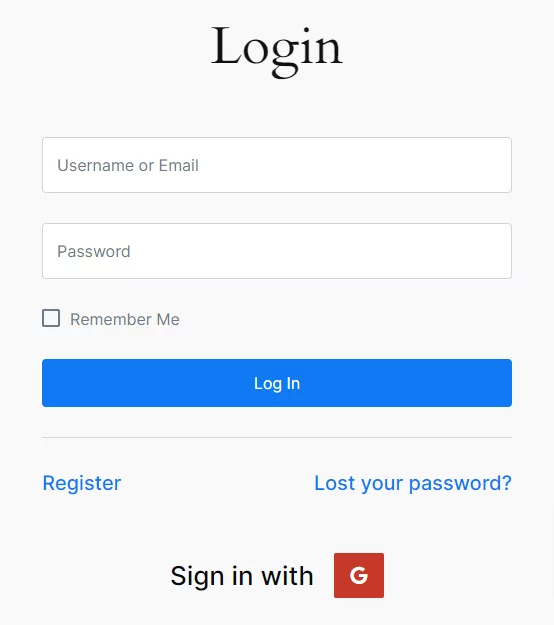
After we created the Google App we can add the generated Google Client ID and Enable the Google Social Platform on Profile Builder or WordPress Default Forms, as we selected in the General Settings section.
Front End Profile Builder Form
To create a Twitter App please follow the steps from the following documentation link:
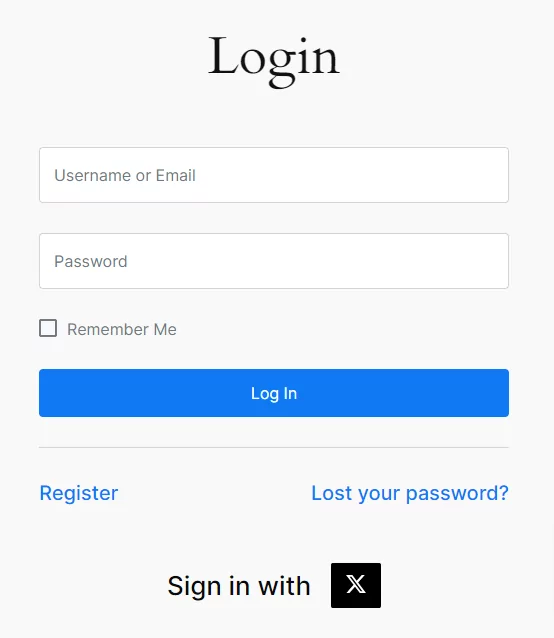
After we created the Twitter App we can add the generated Twitter API Key / API Secret and Enable the Twitter Social Platform on Profile Builder or WordPress Default Forms, as we selected in the General Settings section.
Front End Profile Builder Form
To create a LinkedIn App please follow the steps from the following documentation link:
After we created the LinkedIn App we can add the generated LinkedIn Client ID and Enable the LinkedIn Social Platform on Profile Builder or WordPress Default Forms, as we selected in the General Settings section.
Front End Profile Builder Form
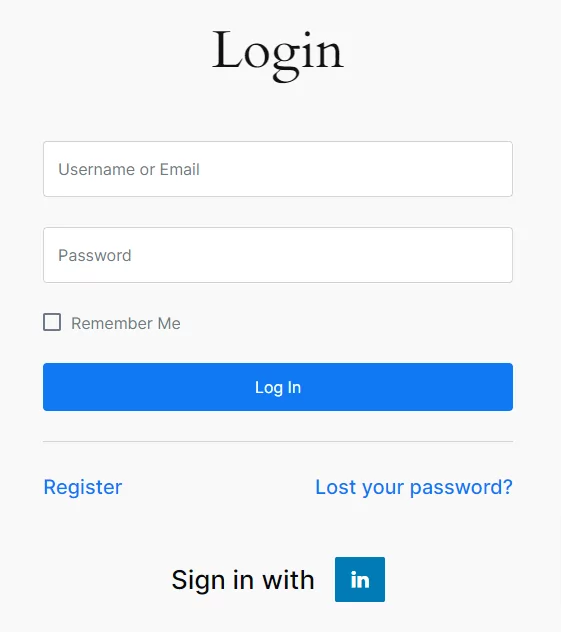
In the Appearance Settings section we can set up how our Social Icons will look like in Profile Builder or WordPress Default Forms.
We can set the following options:
To re-order the Social Icons simply drag and drop the dots.
We can position the Social Icons After Form Fields or Before Form Fields.
Social Icons After Form Fields

Social Icons Before Form Fields
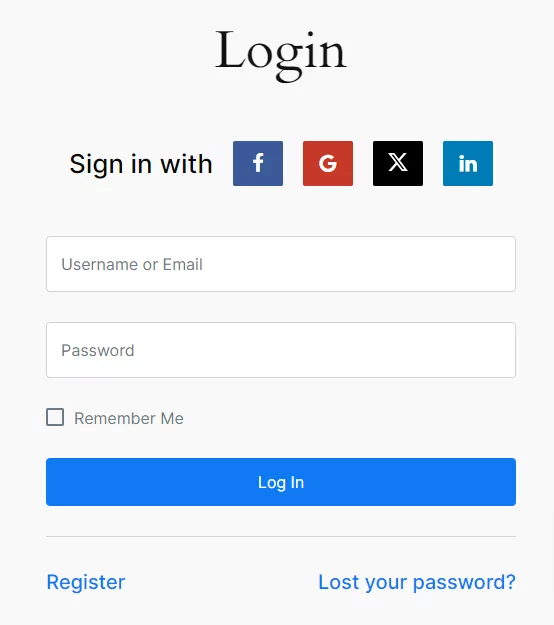
We can set Social Connect to display Small (only Icons) Social Icons or Large (Icons and Text) Social Icons.
Small Social Icons

Large Social Icons
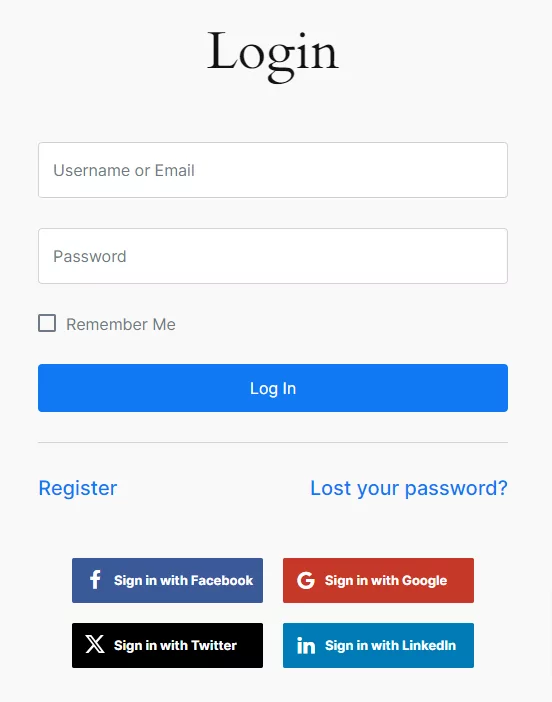
Selecting Large Social Icons inside the Buttons Style option allows us to modify the text for:
Using the Large Social Icons option will remove the Heading Before Buttons (Login/Register) and Heading Before Buttons (Edit Profile) options. It only works with Small Social Icons.
Front End Login Form with Large Social Icons
Front End Edit Profile Form with Large Social Icons
Here we can set the Heading displayed before the Social Icons inside the Login and Register Forms. This option will work only if you are using Buttons Style – Small Icons. Empty field will remove the heading.
Front End Social Icons inside the Login Form

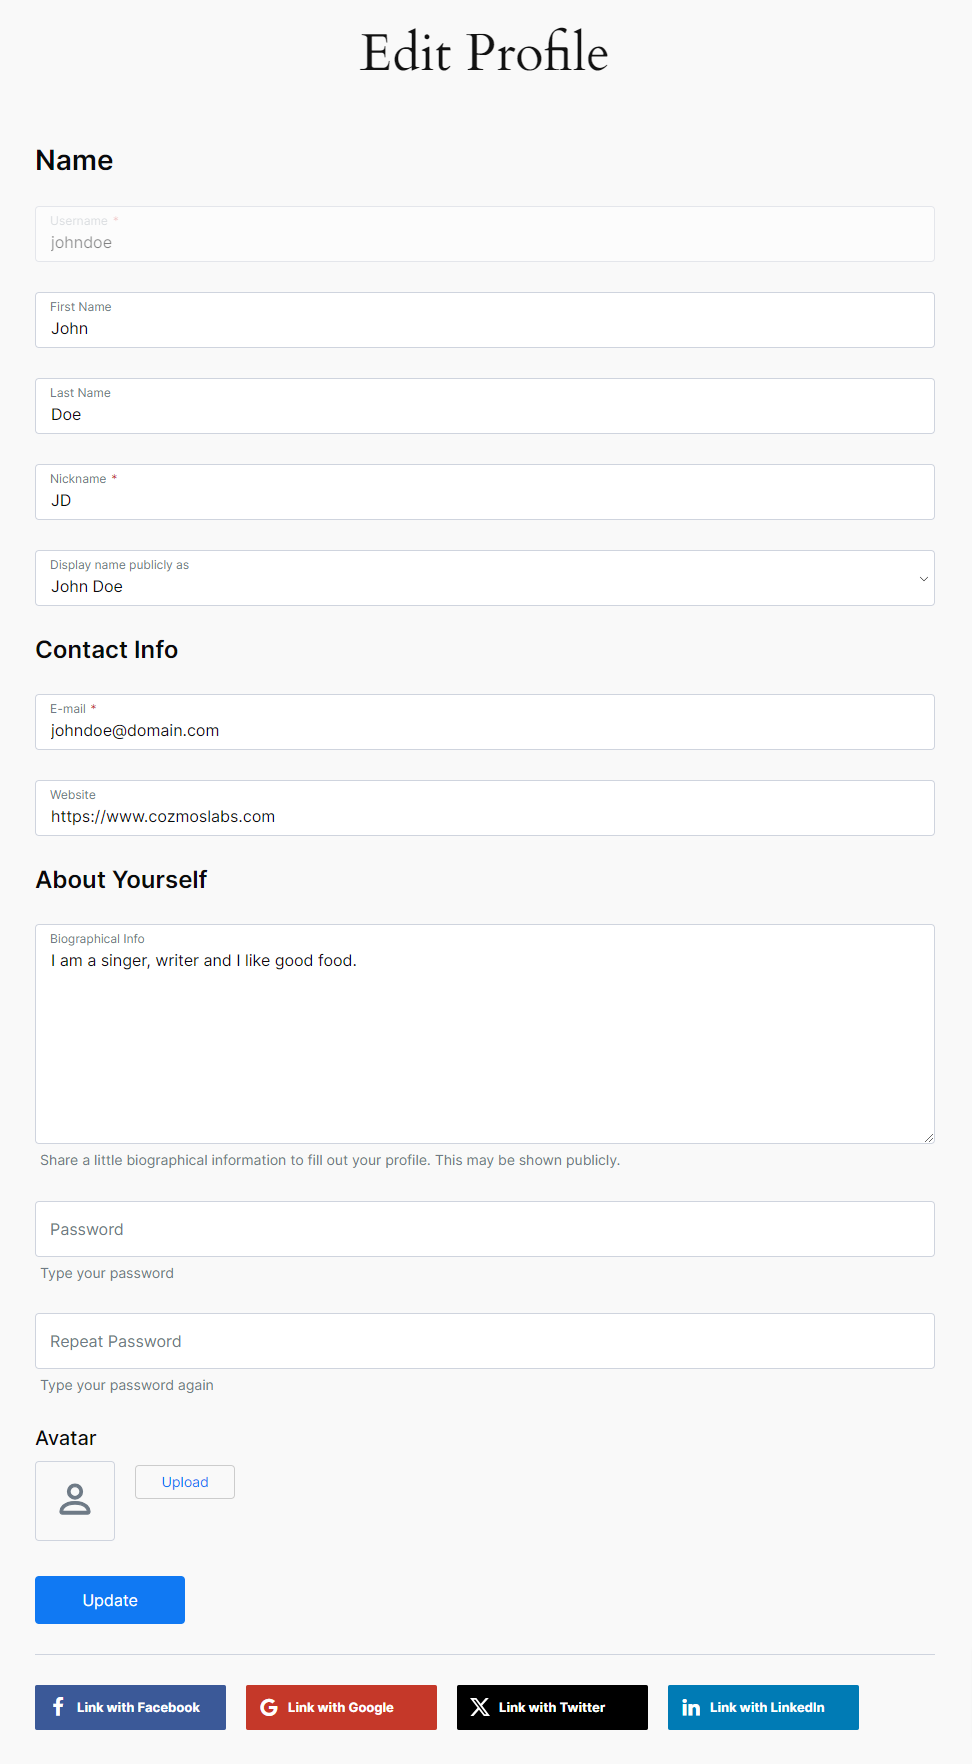
Here we can set the Heading displayed before the Social Icons inside the Edit Profile Form. This option will work only if you are using Buttons Style – Small Icons. Empty field will remove the heading.
Front End Social Icons inside the Edit Profile Form

This option will display linked Social Platforms inside users’ accounts and will allow users to easily Unlink them in the Edit Profile Form.
Enabling this option allows users to Unlink Accounts inside the Profile Builder Edit Profile Form.
Uncheck this option to use your own Custom CSS for the Social Icons. Don’t uncheck it if you don’t have a Custom CSS for the Social Connect Icons.
We can display Social Connect inside Profile Builder Forms or Default WordPress Forms, as we selected in the General Settings section.
In order to display the Social Connect Icons you will need first to set up the appropriate Apps inside the Application Settings section.
If the Social Platforms Apps are set up correctly visitors will be able to create a WordPress account using their Facebook, Google, Twitter or LinkedIn account.
After clicking on the Facebook Icon a popup will appear asking for the user’s Facebook Email or Phone and Password.
Users that are already logged in inside their Facebook account will see a popup that asks them to Continue.
After adding the Facebook Email or Phone and Password, in order to log in, or clicking on continue the Facebook Icon will change into a spinner notifying the user that the request is processed.
After a Successful Registration with Social Connect the user will be automatically logged in inside their account.
We receive from Facebook the First Name, Last Name, and Email Address. The Username will be automatically generated based on First and Last Name.
Since we created the account using Facebook the Facebook Link Account option will be grayed out inside the Edit Profile Form.
After clicking on the Google Icon a popup will appear asking for the user’s Google Email or phone.
After adding the Google Email or phone the user will need to add the password in order to Sign In.
After adding the password, in order to log in, the Google Icon will change into a spinner notifying the user that the request is processed.
After a Successful Registration with Social Connect the user will be automatically logged in inside their account.
We receive from Google the First Name, Last Name, and Email Address. The Username will be automatically generated based on First and Last Name.
Since we created the account using Google the Google Link Account option will be grayed out inside the Edit Profile Form.
After clicking on the Twitter Icon a popup will appear asking for the user’s Twitter Username or Email and Password.
After Singing In Users will need to Authorize the App. Users that are already logged in inside their Twitter account will only need to Authorize the App.
After Authorizing the app the user will be redirected back to the form.
After the Redirect Social Connect will ask the user to add their Twitter Email Address in order to log in. This happens only once when the user registers. A registered user will not need to add the email address each time they log in.
If the Email Address is valid the Twitter Icon will change into a spinner notifying the user that the request is processed.
After a Successful Registration with Social Connect the user will be automatically logged in inside their account.
We receive from Twitter the First Name, Last Name, and Email Address. The Username will be automatically generated based on the Email Address. We remove from the email address the “@” and “.” characters.
Since we created the account using Twitter the Twitter Link Account option will be grayed out inside the Edit Profile Form.
If the LinkedIn App is not set up properly the LinkedIn Icon will be grayed out.
After clicking on the LinkedIn Icon a popup will appear asking for the user’s LinkedIn Email and Password.
Users that are already logged in inside their LinkedIn account will see a popup that asks them to “Allow Access”.
After adding the LinkedIn Email and Password, and clicking on Allow Access, the LinkedIn Icon will change into a spinner notifying the user that the request is processed.
After a Successful Registration with Social Connect the user will be automatically logged in inside their account.
We receive from LinkedIn the First Name, Last Name, and Email Address. The Username will be automatically generated based on First and Last Name.
Since we created the account using LinkedIn the LinkedIn Link Account option will be grayed out inside the Edit Profile Form.
Registered users can link their WordPress account with their Facebook, Google, Twitter, and LinkedIn account.
Linking Account as a Logged Out User
If the WordPress Account uses the same Email Address as the Social Platform Account then the user will be prompted with a message to link the Accounts.
If the user selects Yes then he will need to enter the existing WordPress Account Password in order to connect with that account.
If the user selects No then he will need to enter a new Email Address so a new account can be created. The new account will use the Email Address added in the popup.
You will need to enter these details only once, at account creation.
Logged In users can link their account with another if they access the Profile Builder Edit Profile Form.
Let’s say for example that the user logs in with Facebook and then decides to link his account with his Google Account. He will need to log in and access the Edit Profile Form. There he will be able to link his account with Google by clicking on the Google Social Icon.
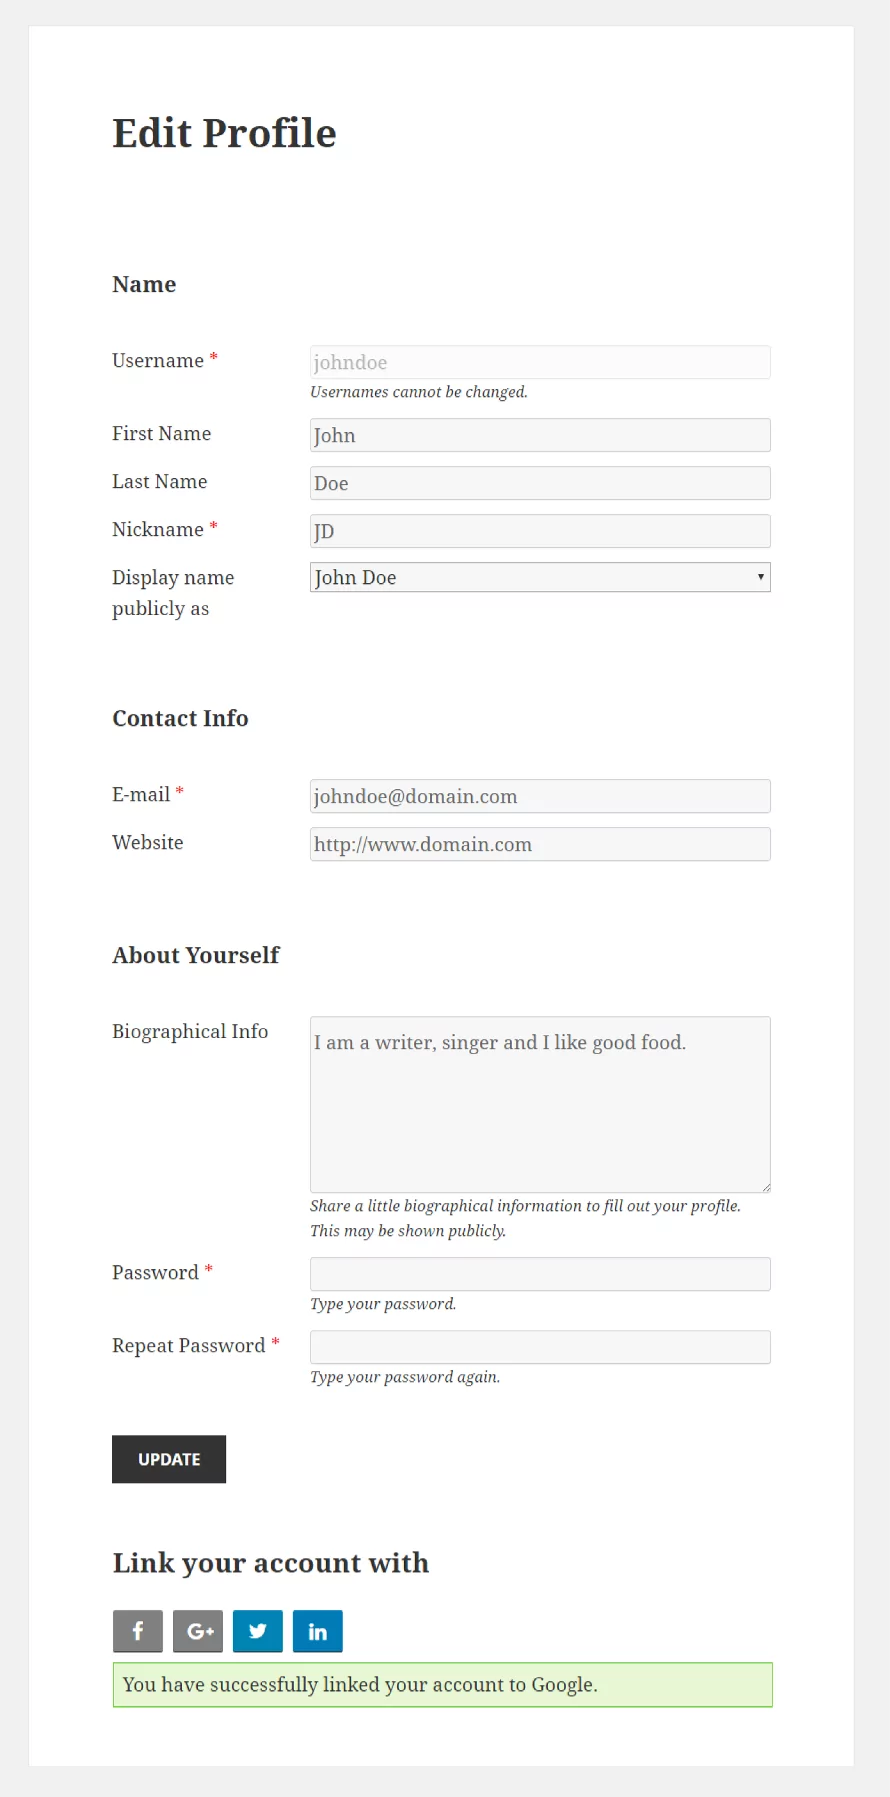
The Edit Profile page will refresh and display a Success Notification if the Account has been linked. A grayed Social Icons means the account is linked with that Social Platform.
This level of flexibility and integration is meant to make it as easy as possible for users to sign up for your site.
Social Connect is an Advanced add-on, available only with a Profile Builder Basic or Pro license.
Create beautiful front-end registration and profile forms with custom fields. Setup member directories, custom redirects, cutomize user emails & more using the all in one user management plugin.
Get Profile BuilderCombine the power of Profile Builder with Paid Member Subscriptions to set up user registration, memberships, and recurring revenue.
Get 25% off with the bundle