Profile Builder comes with a set of shortcodes you can use right away:
wppb-restrict] – Restrict Content shortcodeAvailable only in Profile Builder Pro:
Shortcodes work only on pages created by users with administrator capabilities. This is to prevent users who can post but are not admins, from creating shortcodes that register administrators, thus gaining full access to the site.
In order to generate the Registration form follow the steps below:
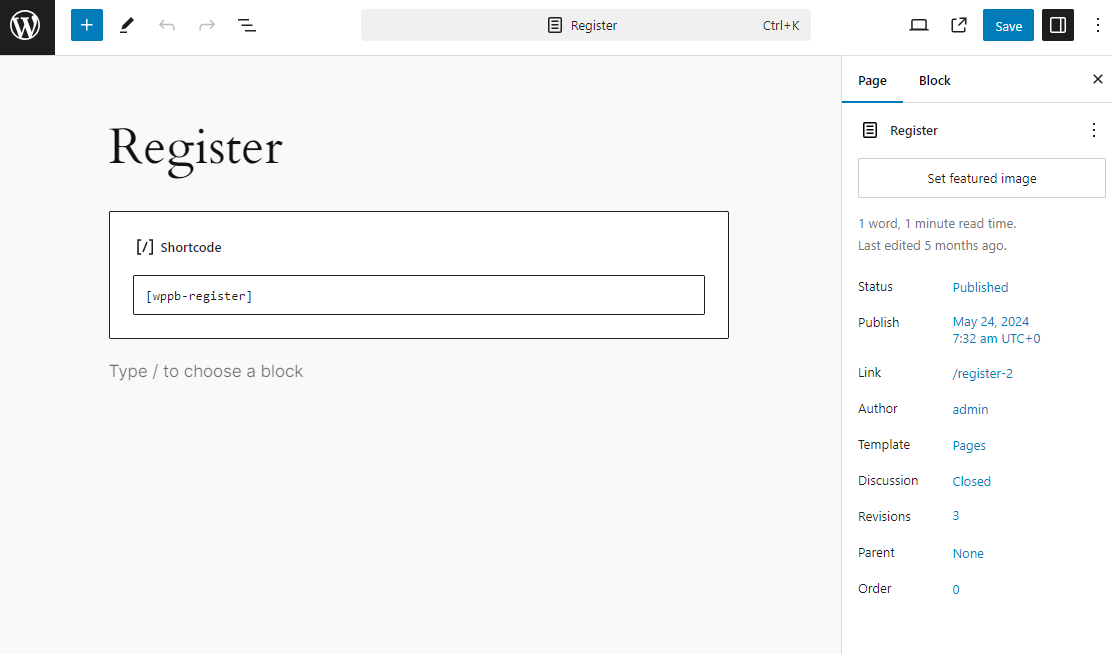
Front End Registration Form

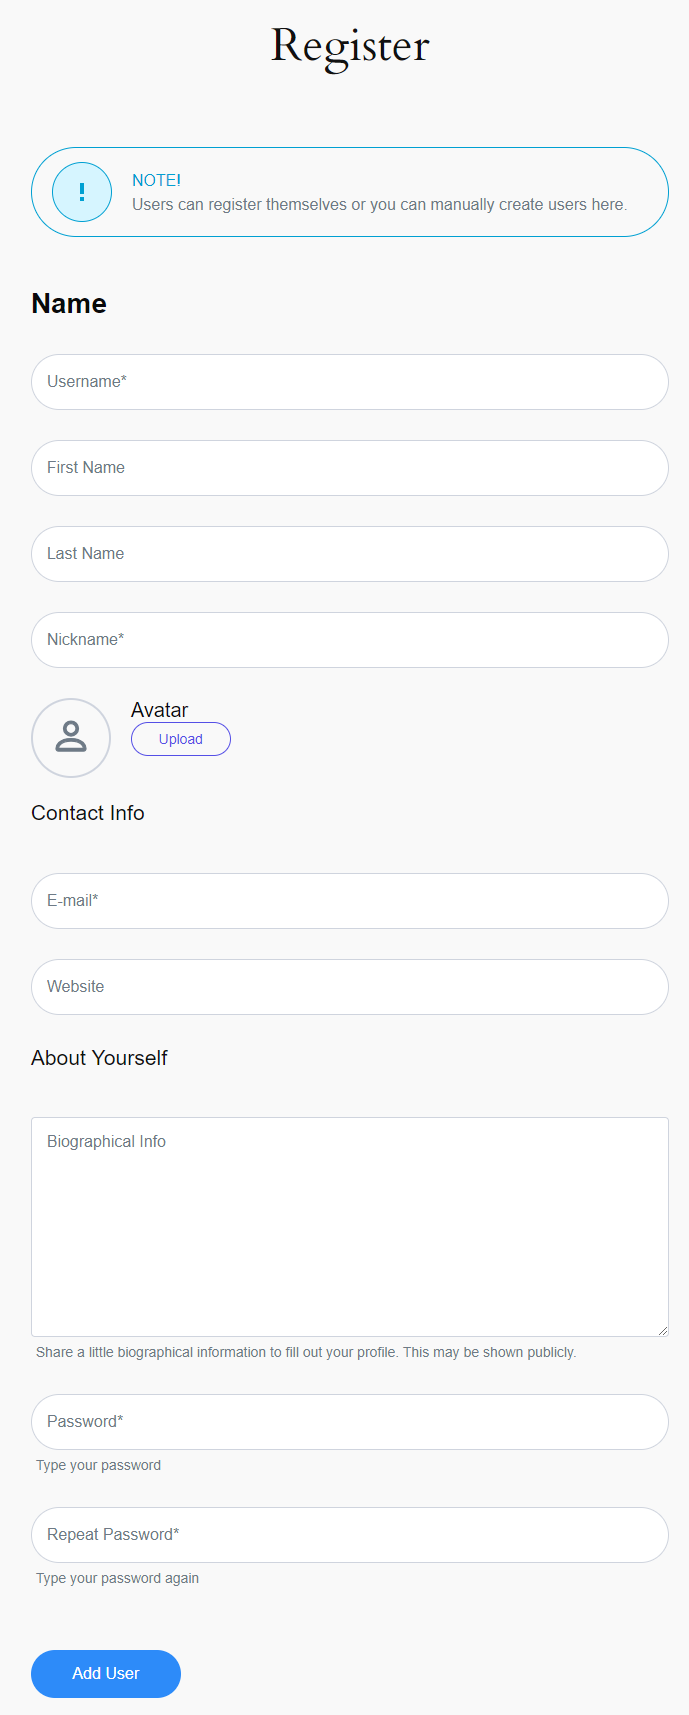
In order to customize the registration form you need to go to Profile Builder → Manage Fields
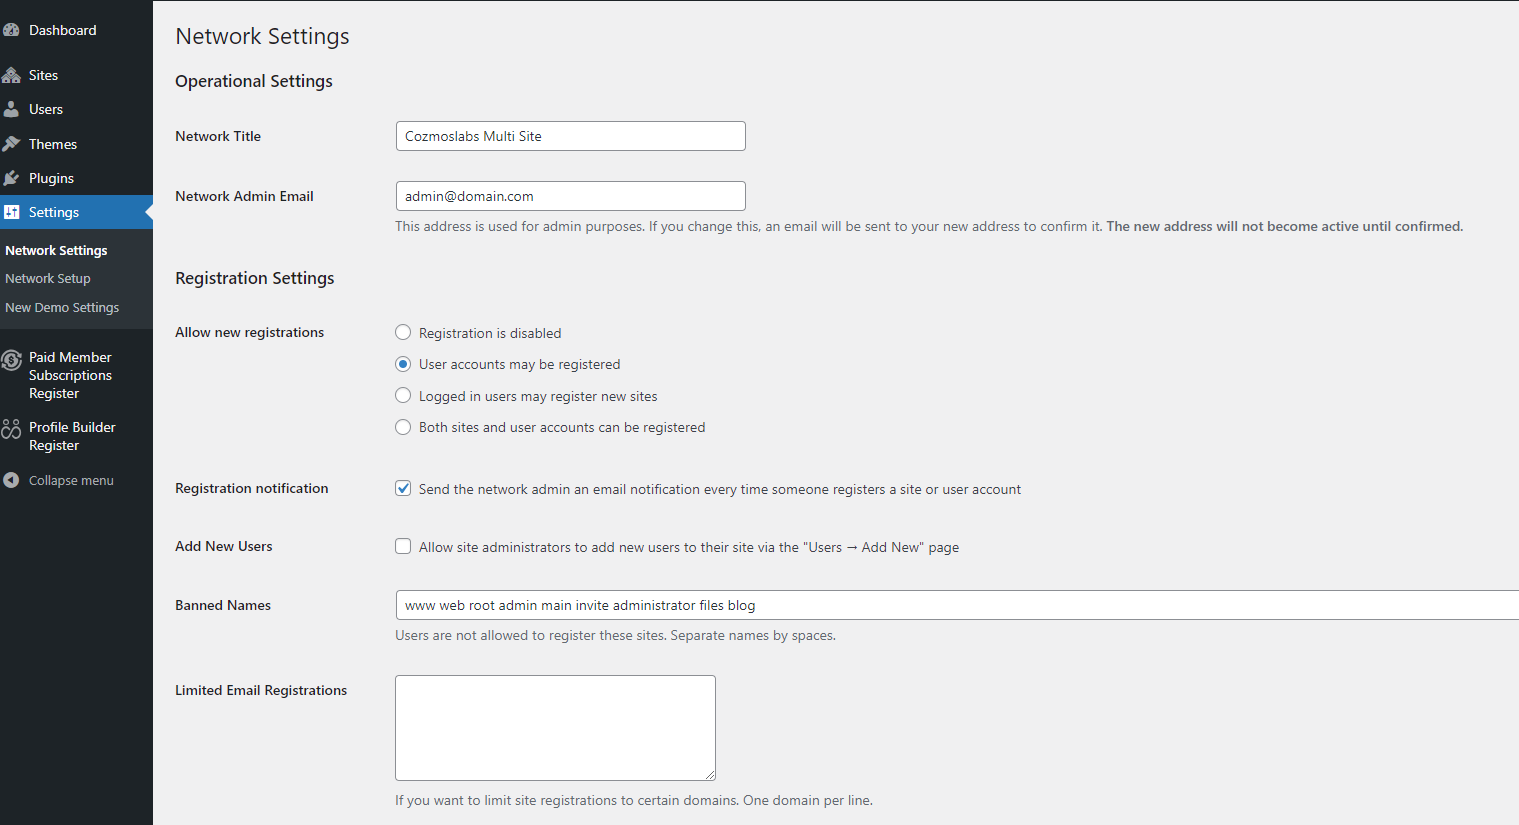
In order to let users register on your Multi Site you must enable the “User accounts may register” option.
For this, in the WordPress Admin Interface, logged in as Super Admin go to My Sites → Network Admin → Settings → Network Settings tab, and under “Allow new registrations” make sure to check User accounts may be registered. Save changes and your Multi Site will now allow User Registration.
By default users receive, after Registration, the User Role set in Settings → General → New User Default Role.
You can assign a specific User Role (example: Editor, Author, Subscriber, etc.) to users on Registration by using the role argument inside the Registration shortcode:
[wppb-register role="editor"]
The role argument, from the shortcode, must use a valid (existing) User Role else the Role will revert back to the Default WordPress User Role (Subscriber) for security reasons.
You can use the automatic_login argument with the ‘yes’ or ‘no’ options to determine if users should be automatically logged in after they complete the registration form.
[wppb-register automatic_login="yes"]
Please note that this option can be set in a few other places and will be applied with the following priority: Shortcode → Multiple Registration Forms individual form settings → General Settings.
Profile Builder makes it really easy to redirect users after registration to any URL by using the redirect_url argument:
[wppb-register redirect_url="https://www.yourdomain.com/page"]
The redirect will NOT work if it’s pointing to an outside URL, it needs to point to a page on your site.
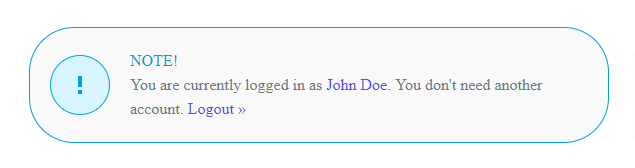
Logged in users that access the Register page, where we added the [wppb-register] shortcode, will see a notification:
To redirect the user after clicking on the Logout link we will need to use the logout_redirect_url argument:
[wppb-register logout_redirect_url="https://www.yourdomain.com/page"]
Enabling Ajax validation allows the form to be submitted without a full page reload, providing a smoother user experience and improving performance. To activate Ajax validation for the registration form, we will need to use the ajax=true argument:
[wppb-register ajax=true]
As Admin you can register users in Front End if you go to the Registration form created with the [wppb-register] shortcode.
In order to generate the Login form follow the steps below:

Front End Login Form
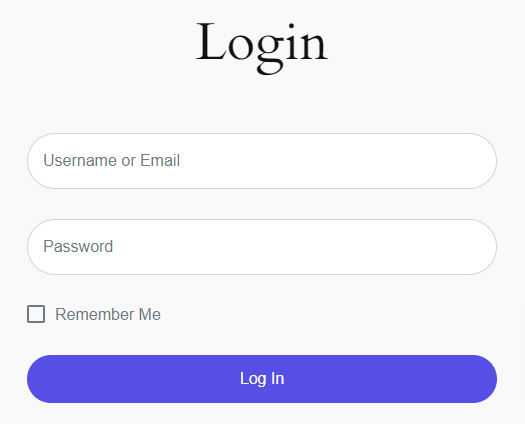
Profile Builder makes it really easy to redirect users after login to any URL by using the redirect_url argument:
[wppb-login redirect_url="https://www.yourdomain.com/page"]
The redirect will NOT work if it’s pointing to an outside URL, it needs to point to a page on your site
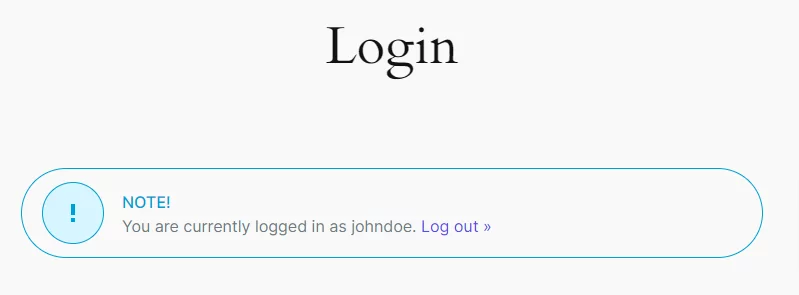
Logged in users that access the Login page, where we added the [wppb-login] shortcode, will see a notification:
To redirect the user after clicking on the Logout link we will need to use the logout_redirect_url argument:
[wppb-login logout_redirect_url="https://www.yourdomain.com/page"]
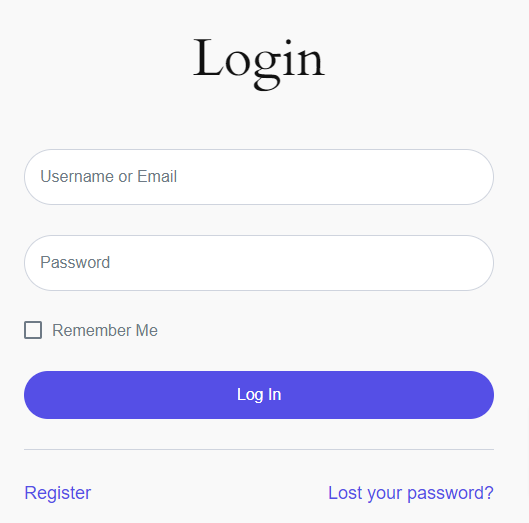
You can add a Register and a Lost your password? link below the Login form using the register_url and lostpassword_url arguments:
[wppb-login register_url="/register" lostpassword_url="/recover-password"]
Front End Login Form
Enabling Ajax validation allows the form to be submitted without a full page reload, providing a smoother user experience and improving performance. To activate Ajax validation for the login form, we will need to use the ajax=true argument:
[wppb-login ajax=true]
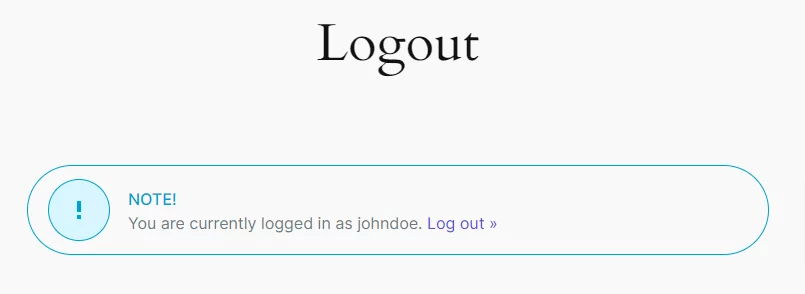
The [wppb-logout] shortcode allows you to display a Logout Text and Link in the Front End. It also allows you to redirect your users after they log out.
You can use one or more of the available arguments:
Example:
[wppb-logout text="You are currently logged in as {{meta_user_name}}. " redirect_url="https://www.yourdomain.com/page" link_text="Log out »"]
The logout shortcode requires at least Profile Builder v2.0.9 or higher
For outputting the redirect URL only:
[wppb-logout redirect_url="https://www.yourdomain.com/page" url_only="yes"]
In order to generate the Edit Profile form follow the steps below:
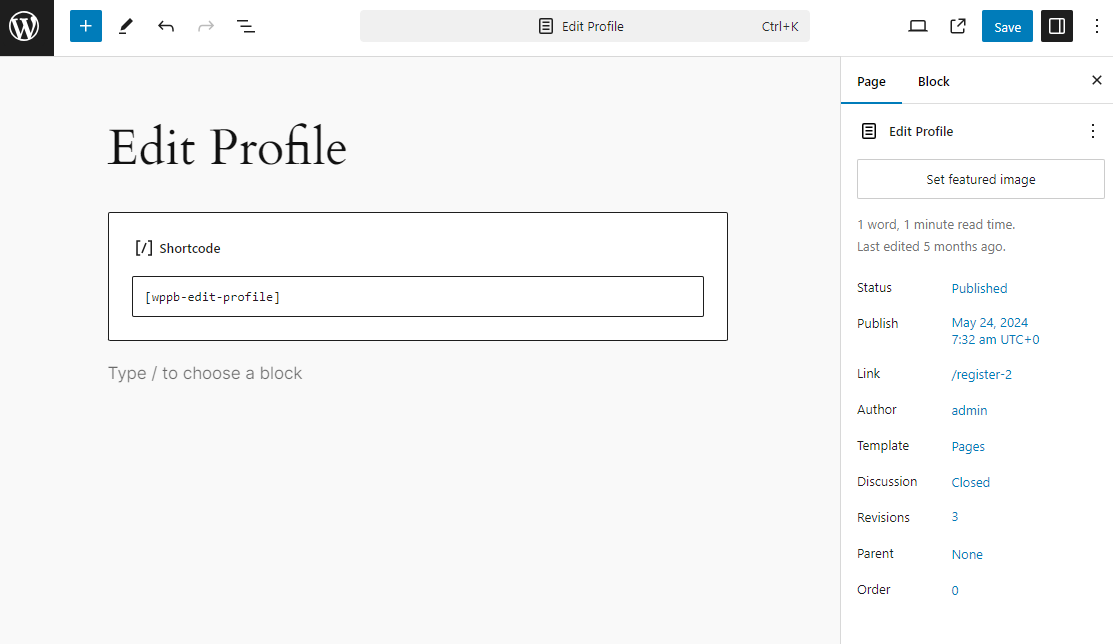
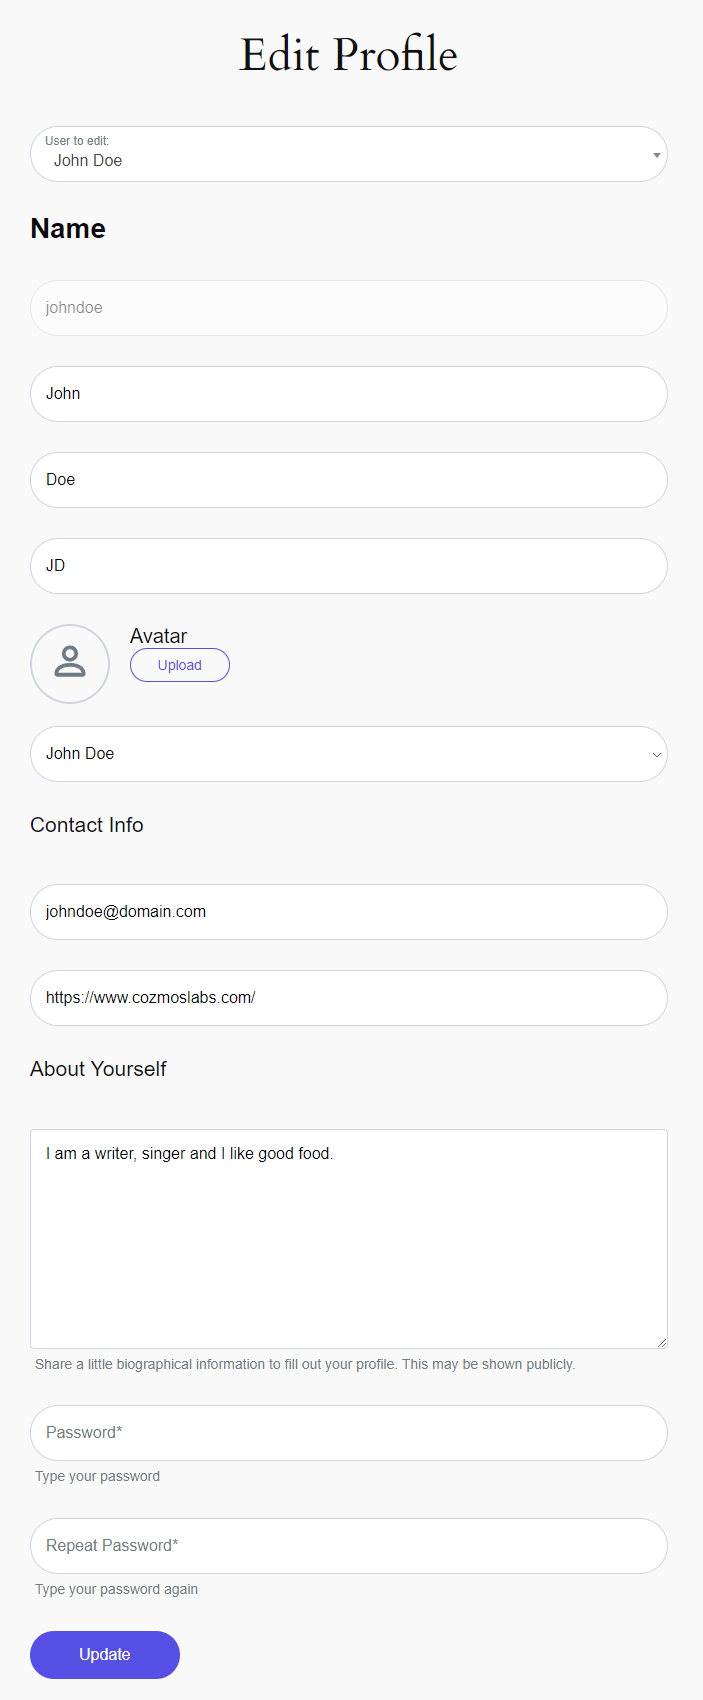
Front End Edit Profile Form

Profile Builder makes it really easy to redirect users after they edit their profile to any URL by using the redirect_url argument:
[wppb-edit-profile redirect_url="https://www.yourdomain.com/page"]
The redirect will NOT work if it’s pointing to an outside URL, it needs to point to a page on your site
Enabling Ajax validation allows the form to be submitted without a full page reload, providing a smoother user experience and improving performance. To activate Ajax validation for the edit profile form, we will need to use the ajax=true argument:
[wppb-edit-profile ajax=true]
As Admin you can Edit User Profiles in Front End if you go to the Edit Profile form created with the [wppb-edit-profile] shortcode.
You will see a Select drop-down field called “User to edit” that you can use to select any user and edit their profile.
You can use the admin_edit_roles argument to only show users with a specific role in the “User to edit” drop-down menu.
[wppb-edit-profile admin_edit_roles="subscriber,editor"]
In order to generate the Recover Password form follow the steps below:
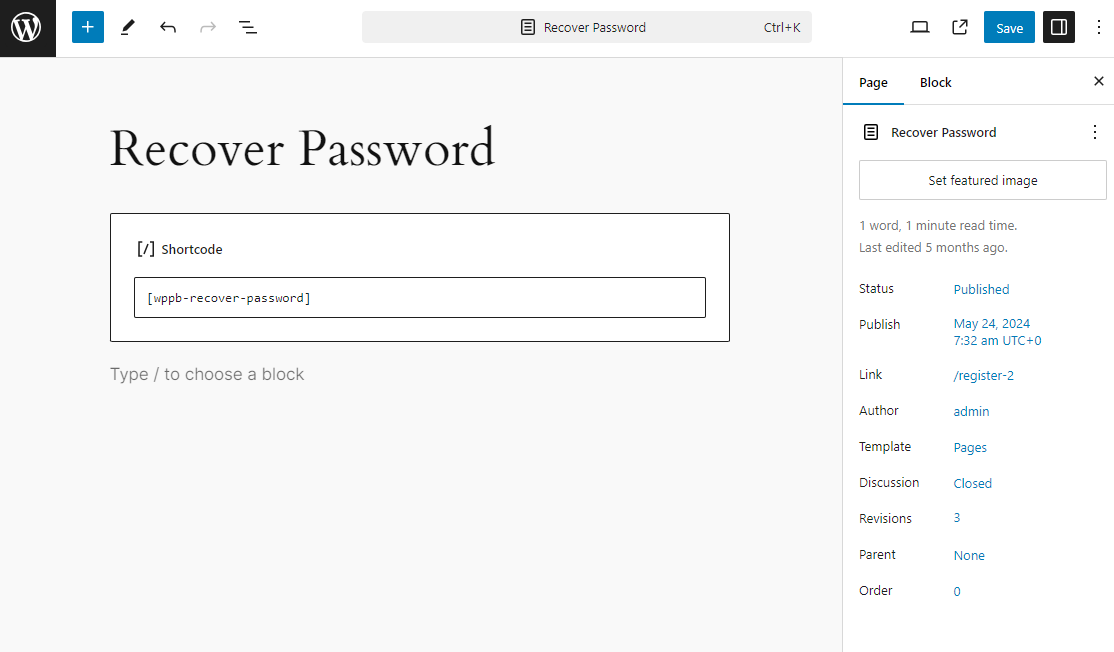
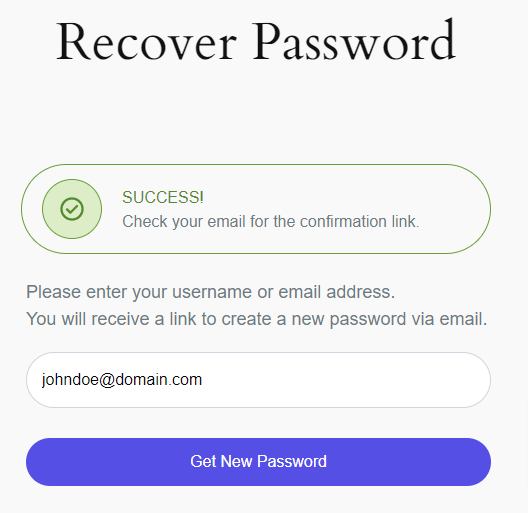
Front End Recover Password Form
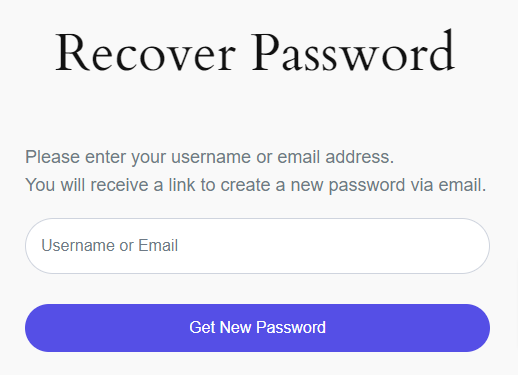
After inserting the Username or Email inside the field and pressing the “Get New Password” button the user will receive an Email Notification.
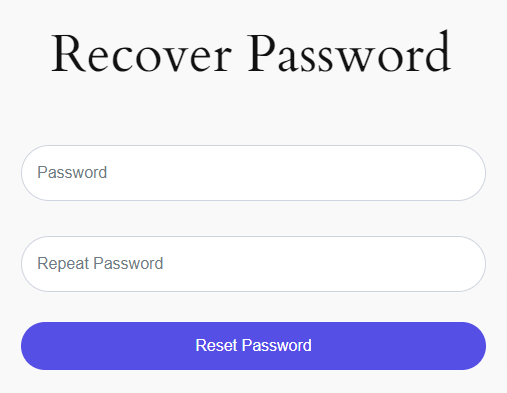
To reset the password the user will need to click on the reset link displayed inside the Email Notification.

After clicking on the reset link the user will go to the Recover Password form where he can reset the password.
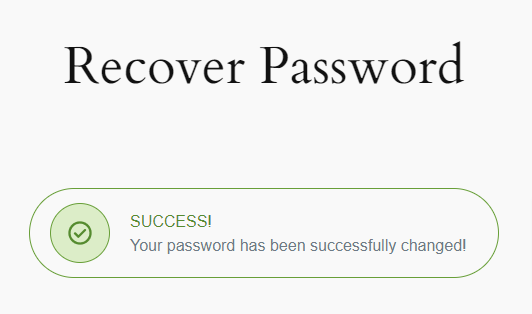
Successful reset
After a successful reset, the user and also the Admin are notified, via an Email Notification, about the password reset.
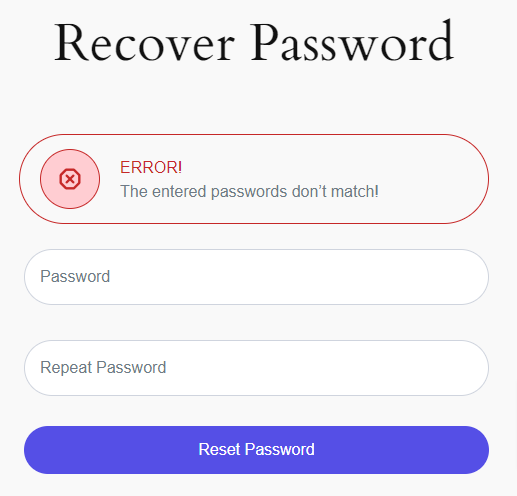
Error when resetting the password
If the passwords don’t match an error will be triggered.
Enabling Ajax validation allows the form to be submitted without a full page reload, providing a smoother user experience and improving performance. To activate Ajax validation for the recover password form, we will need to use the ajax=true argument:
[wppb-recover-password ajax=true]
This shortcode can be used within your content to restrict certain parts and make them display only for logged in/out users or only for certain user roles.
To use it, you need to wrap the content between the opening and closing tags of the shortcode:
[wppb-restrict]
Aenean quis arcu eleifend, tincidunt ligula quis, laoreet lectus.
[/wppb-restrict]
Everything that’s encapsulated between the two tags will be restricted for the logged out user, so only Logged in Users will be able to view it.
[wppb-restrict user_roles="" display_to="" message=""]content[/wppb-restrict]To restrict the content based on one or more User Roles, we will need to specify the user_roles parameter:
[wppb-restrict user_roles="editor, author"]
Aenean quis arcu eleifend, tincidunt ligula quis, laoreet lectus.
[/wppb-restrict]
In the example from above, the content will be shown only to Editors and Authors.
To restrict the content based on one or more User IDs, we will need to specify the users_id parameter:
[wppb-restrict users_id="2, 5"]
Aenean quis arcu eleifend, tincidunt ligula quis, laoreet lectus.
[/wppb-restrict]
In the above example, the content will be shown only to the users with the user id 2 and 5
This allows you to display content only to users who do not have a specific role. Use the parameter user_roles to specify the role(s) from which the content should be restricted.
[wppb-restrict display_to="not_role" user_roles="subscriber"]
Aenean quis arcu eleifend, tincidunt ligula quis, laoreet lectus.
[/wppb-restrict]
In the example from above, the content will be shown only to Editors and Authors.
To modify the message shown to users who do not have access to this content, we will need to add the message parameter:
[wppb-restrict message='You must be logged in to view this content.<a href="/login">Login</a>']
Aenean quis arcu eleifend, tincidunt ligula quis, laoreet lectus.
[/wppb-restrict]
When you specify this parameter, the default message that is setup in Profile Builder → Content Restriction will be overwritten.
For this to work we need to add the display_to parameter with the not_logged_in value to the restriction shortcode:
[wppb-restrict display_to="not_logged_in" message=" "]
Aenean quis arcu eleifend, tincidunt ligula quis, laoreet lectus.
[/wppb-restrict]
In the example, I am also specifying the empty message parameter so we don’t show the Content Restriction message to logged in users.
The User Listing module is available only in Profile Builder Pro. You will have to enable this module in order for the User Listing shortcode to work.
In order to generate the User Listing follow the steps below:

Front End User Listing
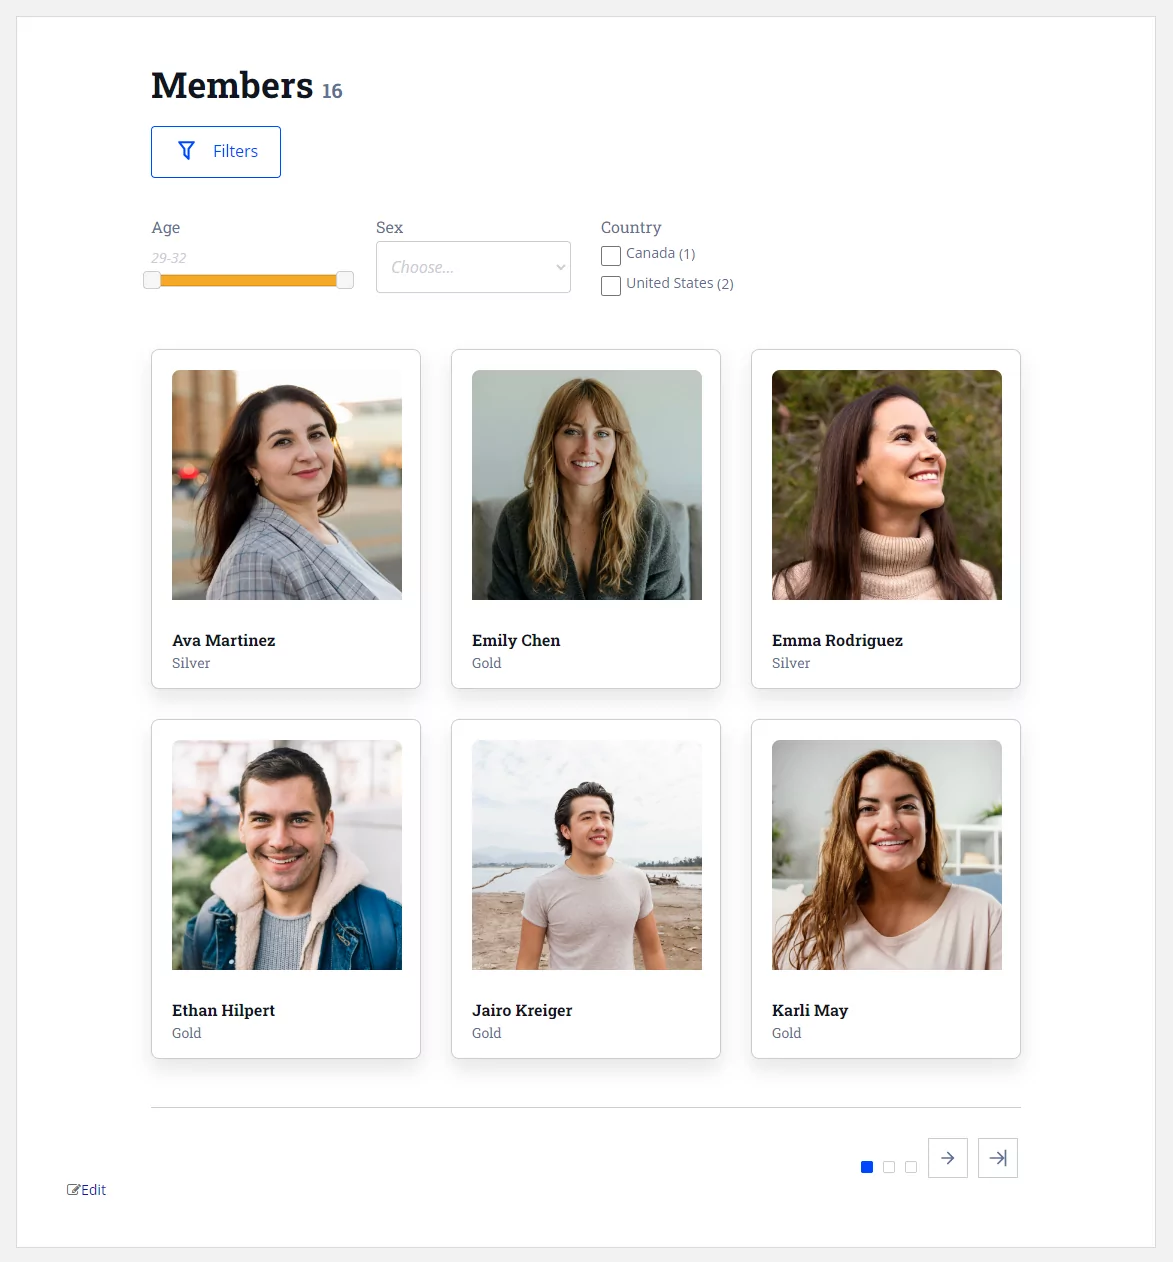
The User Listing module offers many options to customize and control the listing of your users. Make sure to check out the User Listing documentation page.
You can use one or more of the available arguments:
[wppb-list-users name="member-directory" meta_key="custom_field_1" meta_value="value"]
[wppb-list-users include="user_id_1, user_id_2"]
[wppb-list-users exclude="user_id_1, user_id_2"]
Remember though, that the field-value combination must exist in the database.
You can list only the users with a certain Extra Field Meta Name (example: “car”) and value (example: “family”) combination by using the following shortcode:
[wppb-list-users meta_key="car" meta_value="family"]
This way the user listing will contain only the users which own a family car.
Example:
[wppb-list-users name="member-directory" meta_key="custom_field_1" meta_value="value1,value2"]
There are certain situations where you would like to display only a handful of users. You can do this with the following shortcode:
[wppb-list-users include="1,2,3,4"]
The numbers in the include attribute are the IDs of the users you wish to display.
You can also exclude users from certain lists. With the shortcode:
[wppb-list-users exclude="5,6"]
All users will be displayed, with the exception of the users with the IDs 5 and 6.
You might want to display a specific user profile on a page, post or widget. This is possible using the following shortcode:
[wppb-list-users single id="1" name="userlisting"]
Where id contains the id of the user which you want to display the profile for and name specifies which Userlisting template to use.
If the name parameter is not specified, it will display it using the default template.
You can also not specify the id argument to display the profile of the current logged in user:
[wppb-list-users single name="userlisting"]
Create beautiful front-end registration and profile forms with custom fields. Setup member directories, custom redirects, cutomize user emails & more using the all in one user management plugin.
Get Profile BuilderCombine the power of Profile Builder with Paid Member Subscriptions to set up user registration, memberships, and recurring revenue.
Get 25% off with the bundle
