First, log in to your Google Account and then access the Google Cloud Console
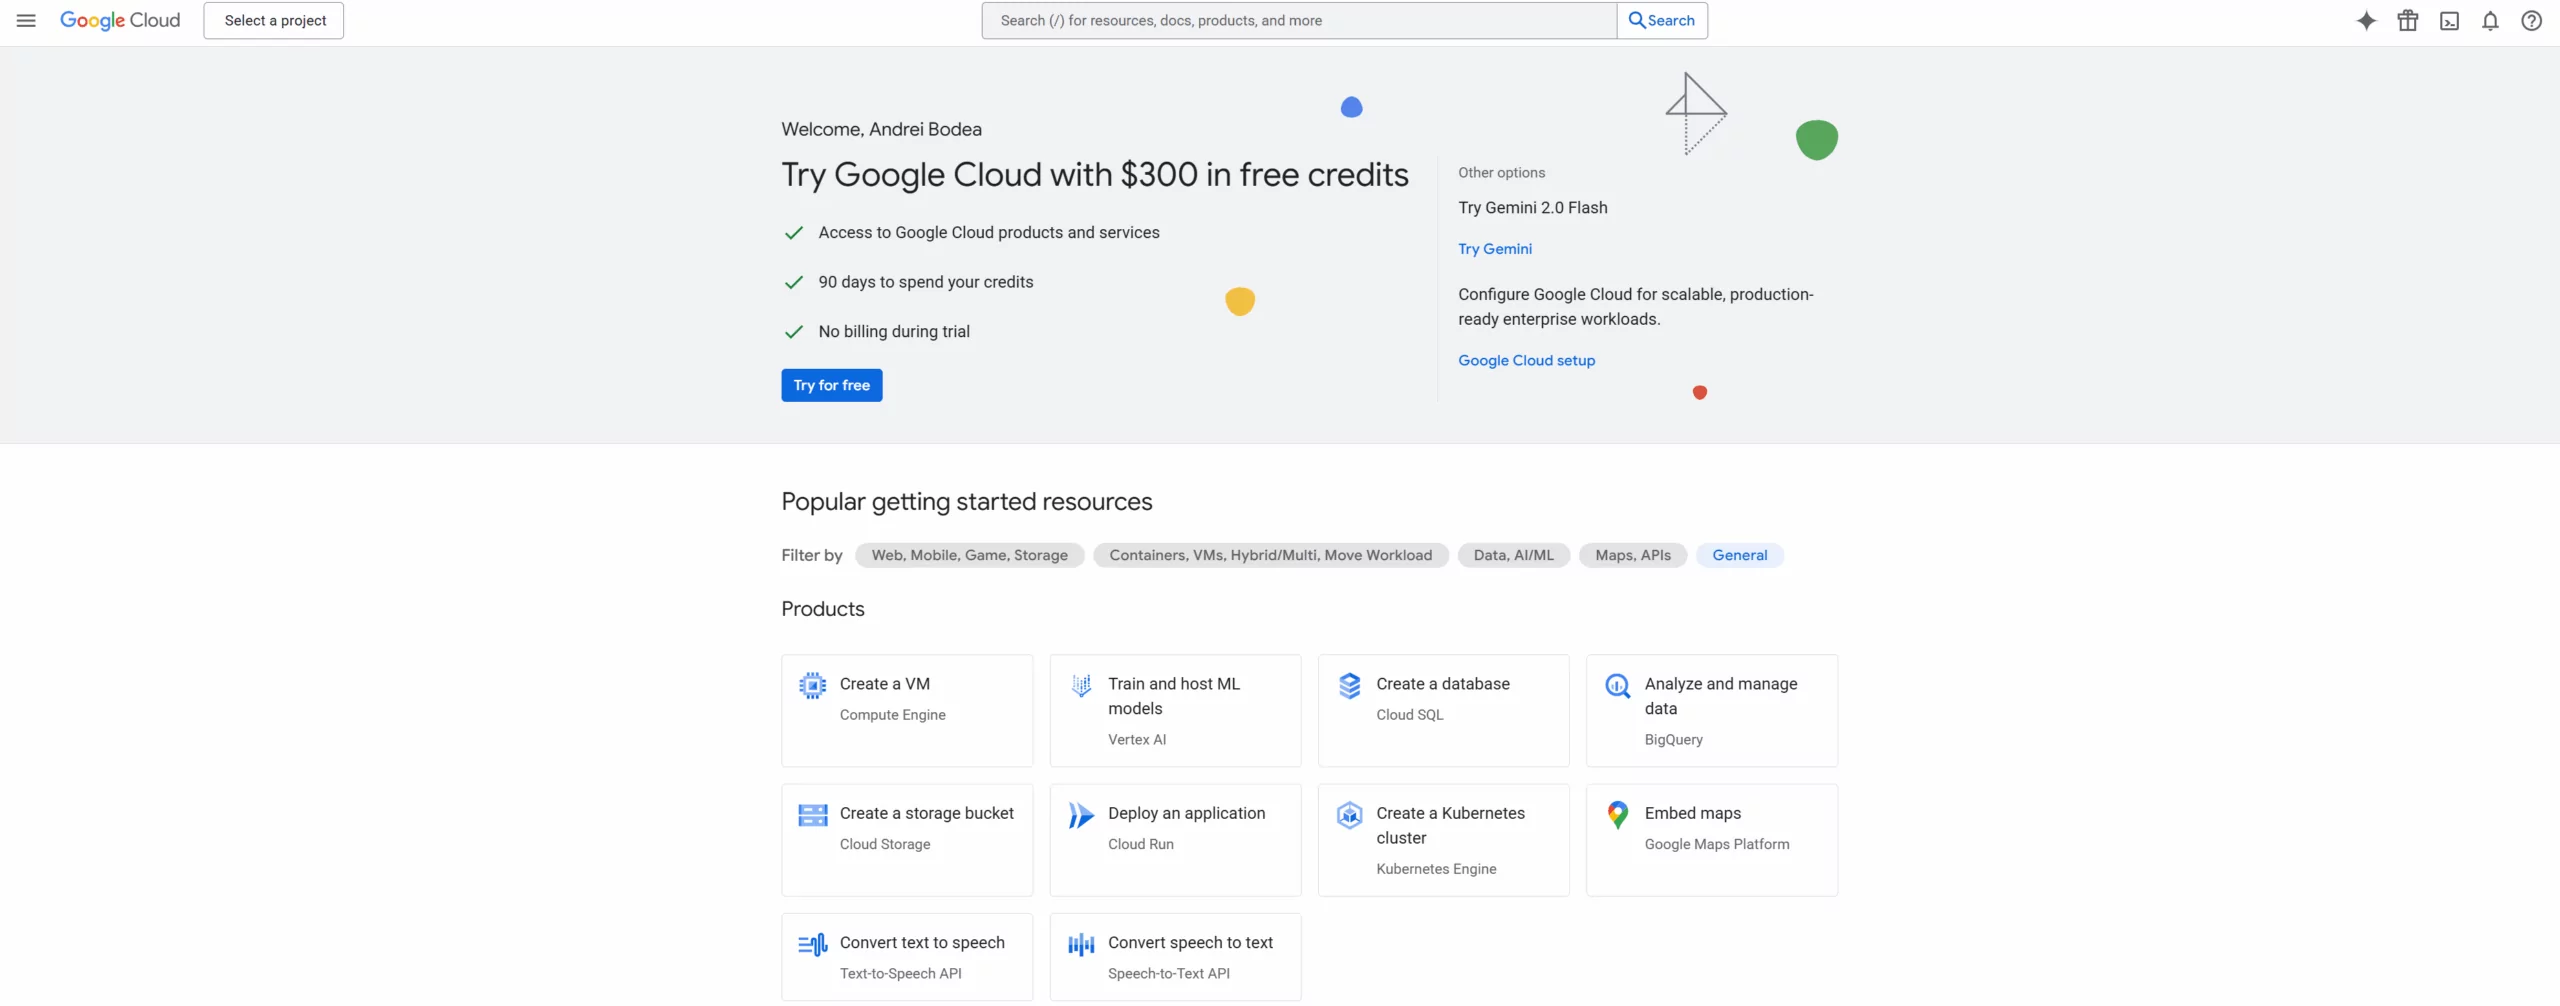
After you log in and access the Google Cloud Console, click on the “Select a project” menu item.
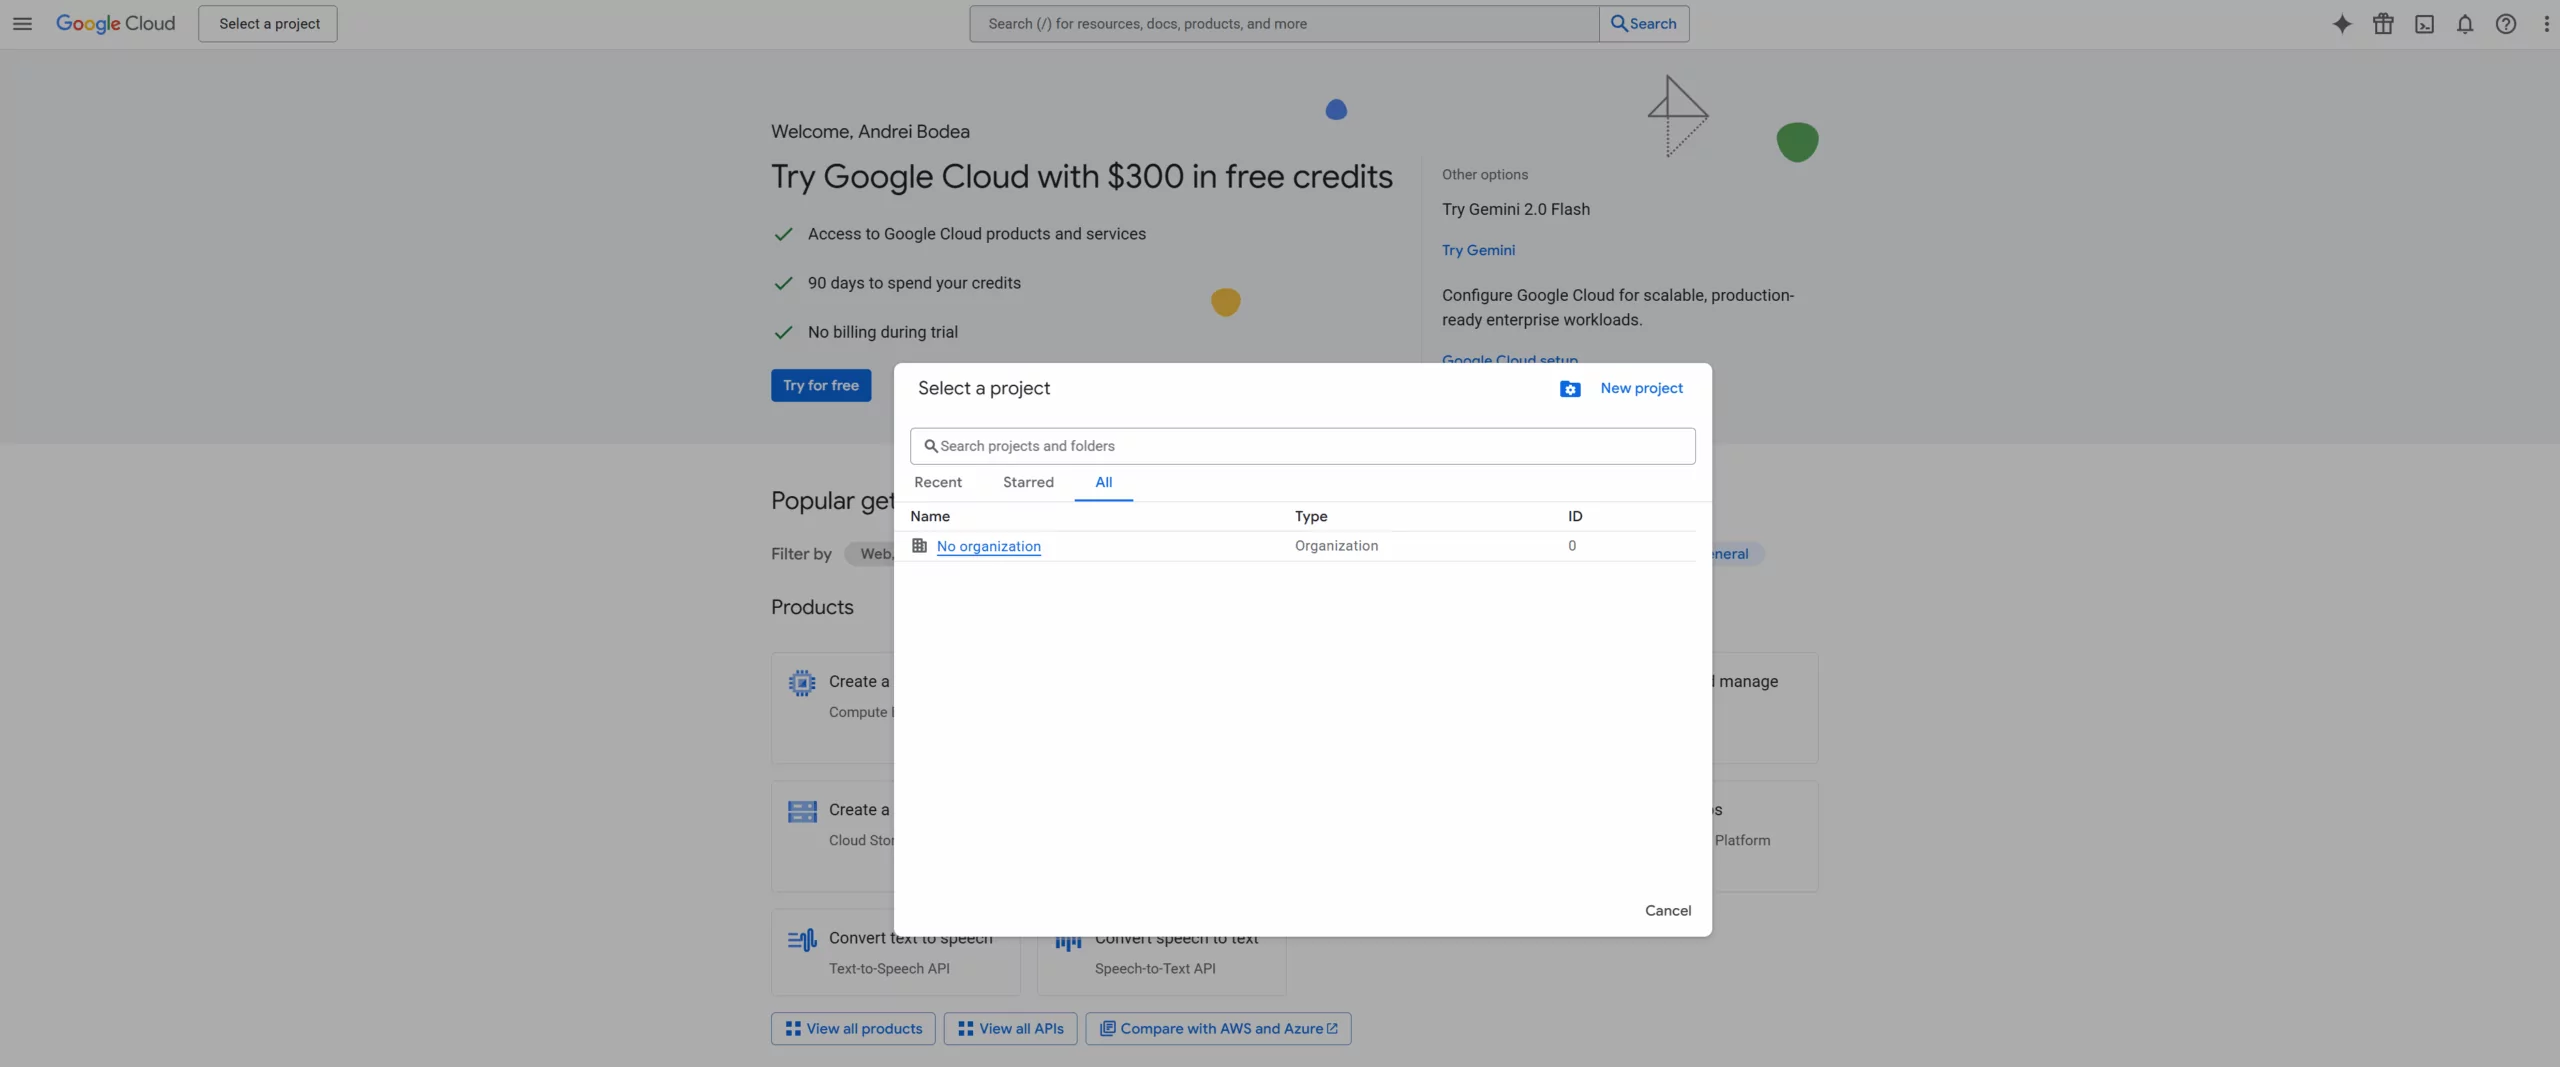
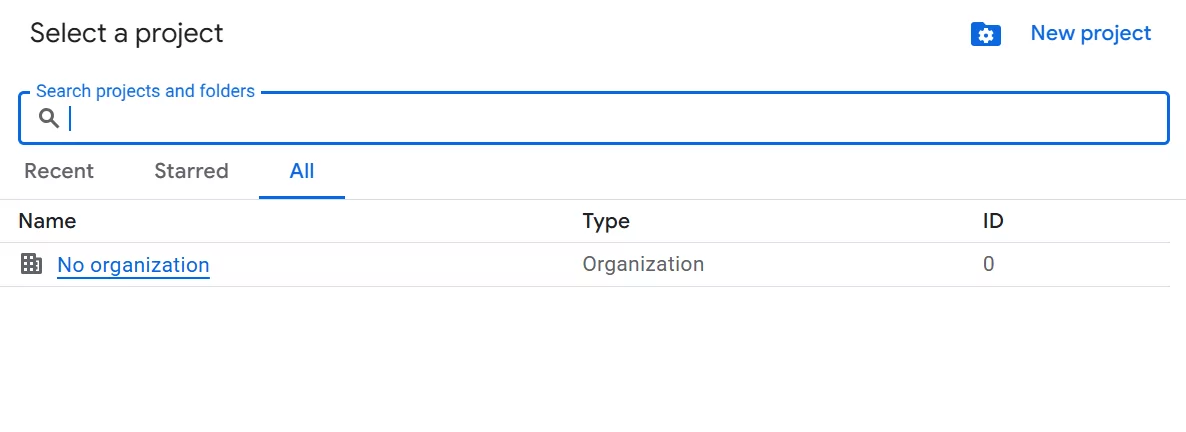
After we click on “Select a project” Menu Item, a pop-up will appear. We will need to click on “New project”.
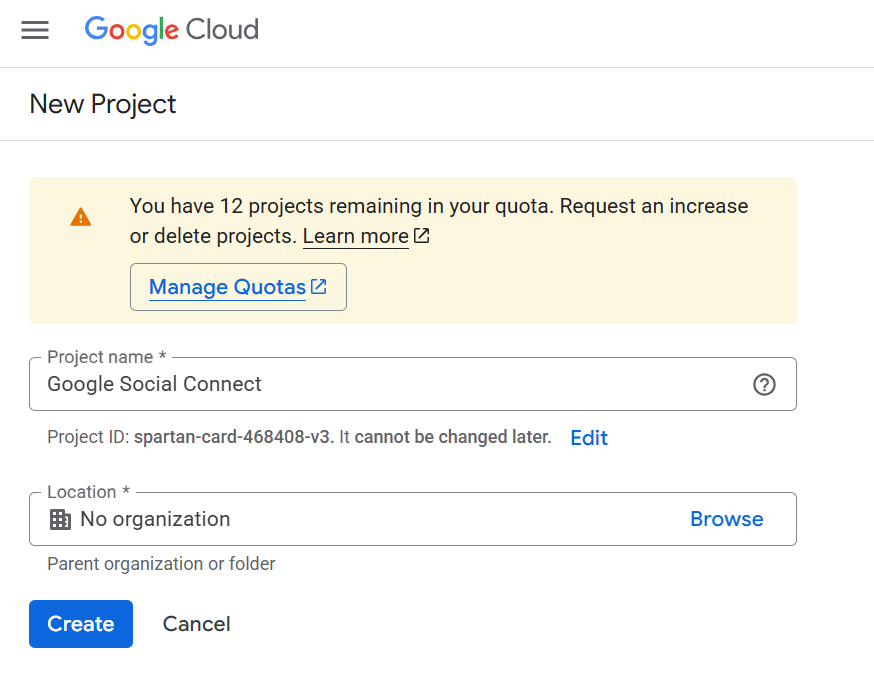
After we click on “New Project”, we will need to choose a name for the project. After finishing to setup the Project, click on “Create”.
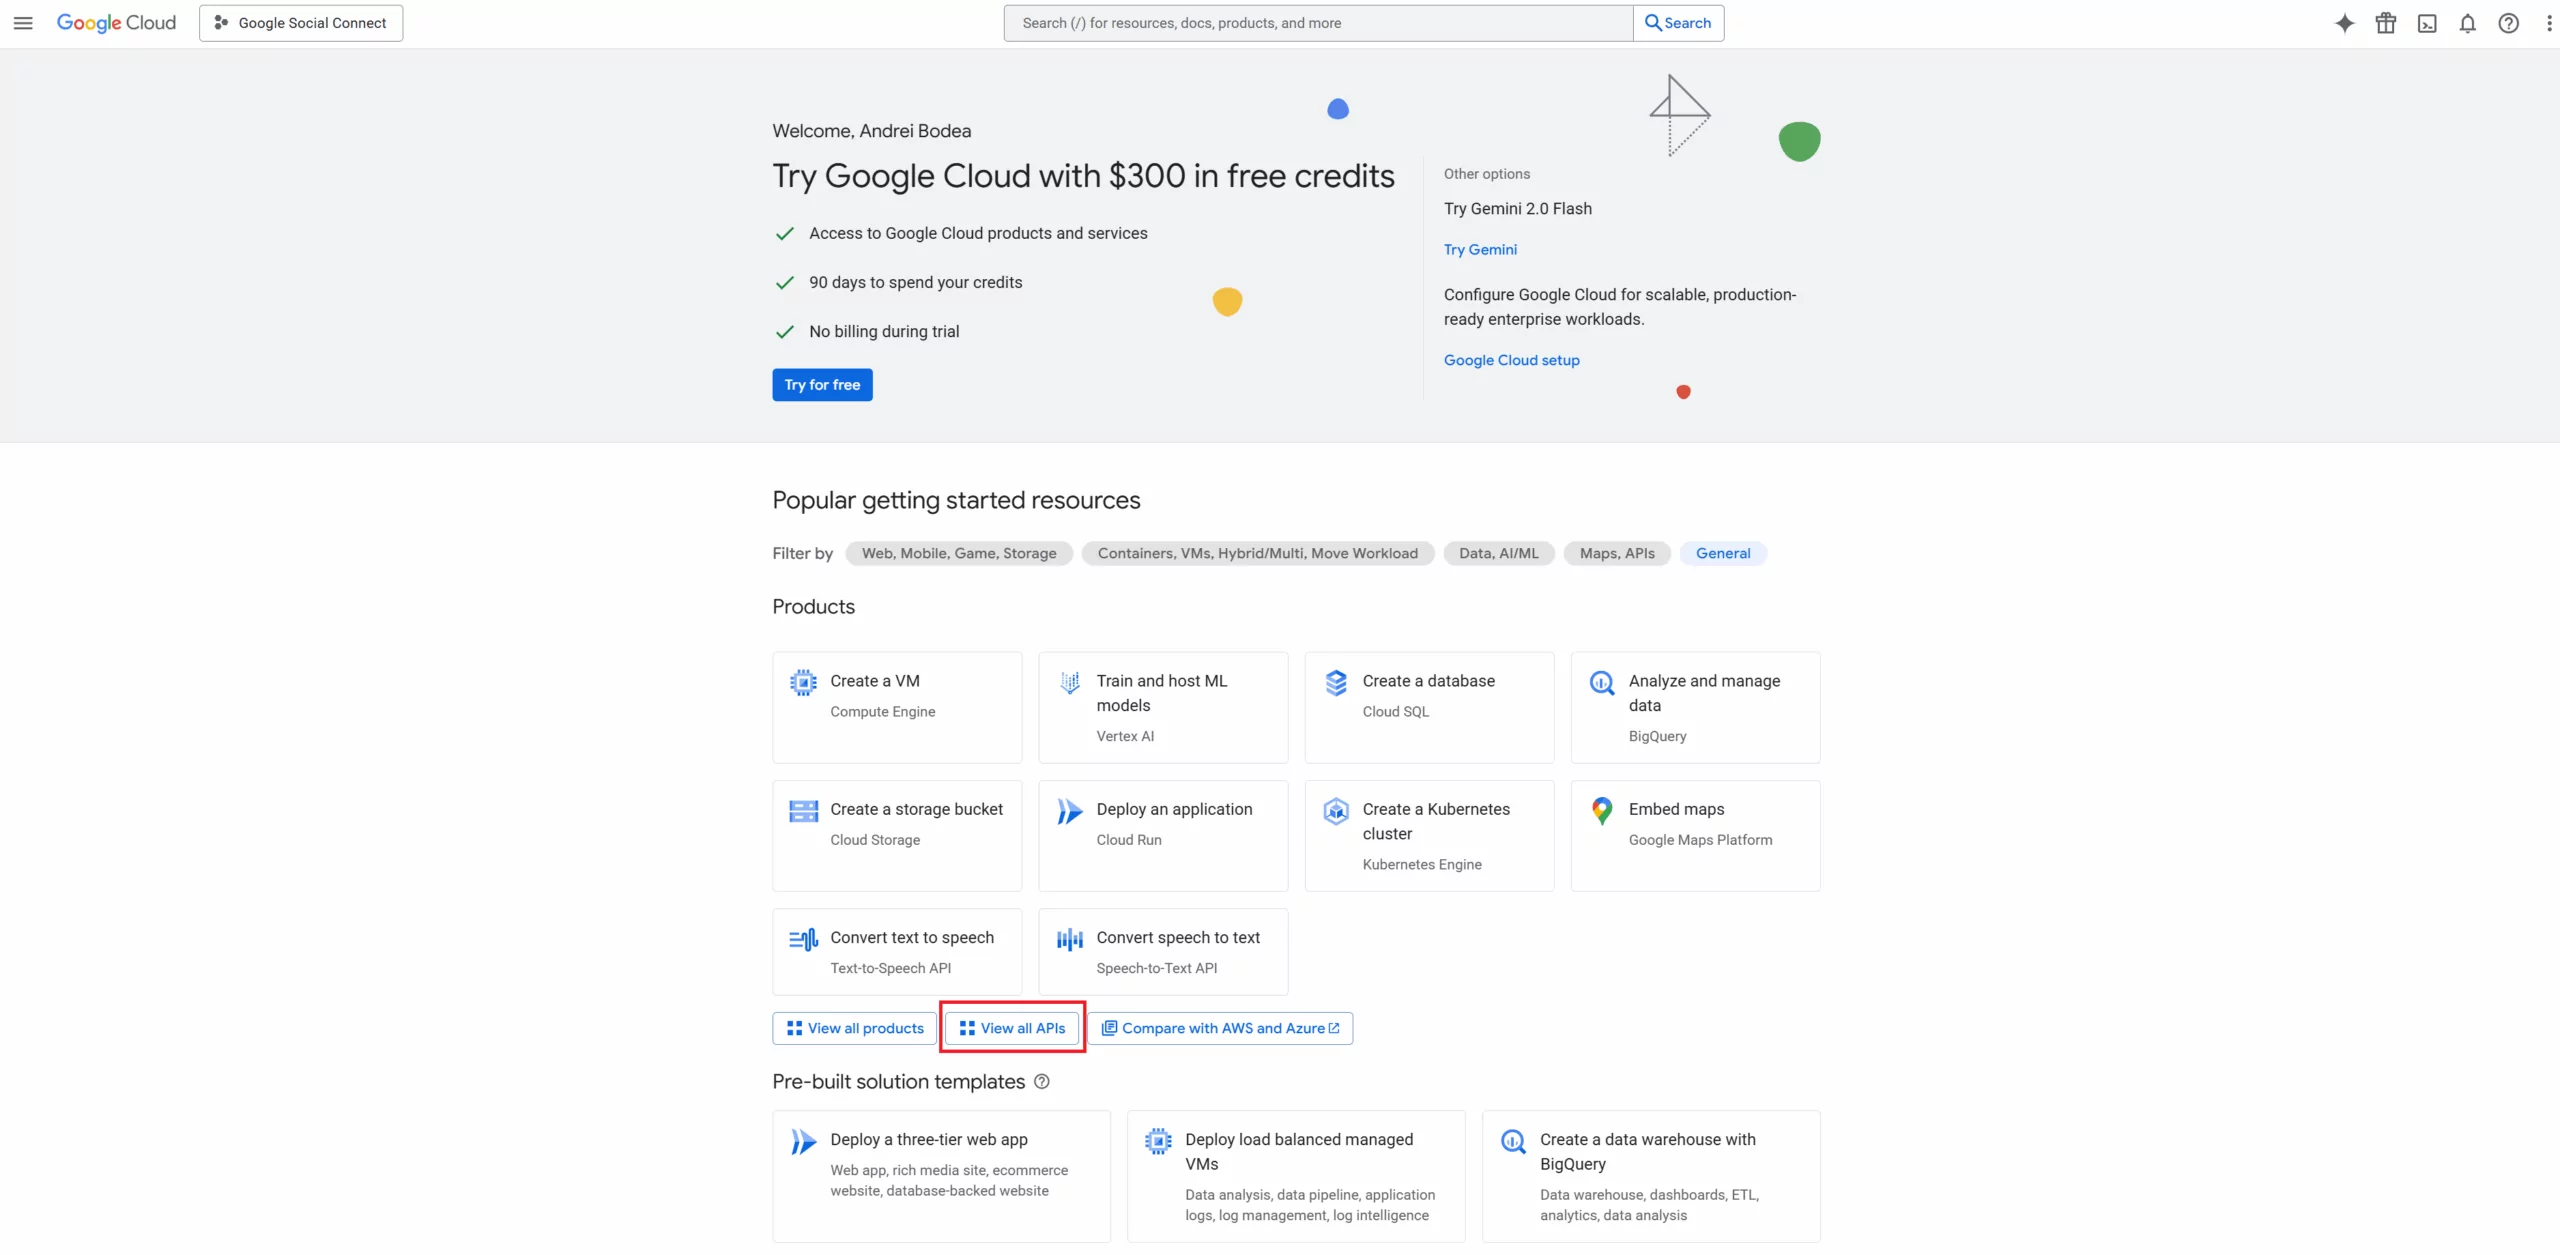
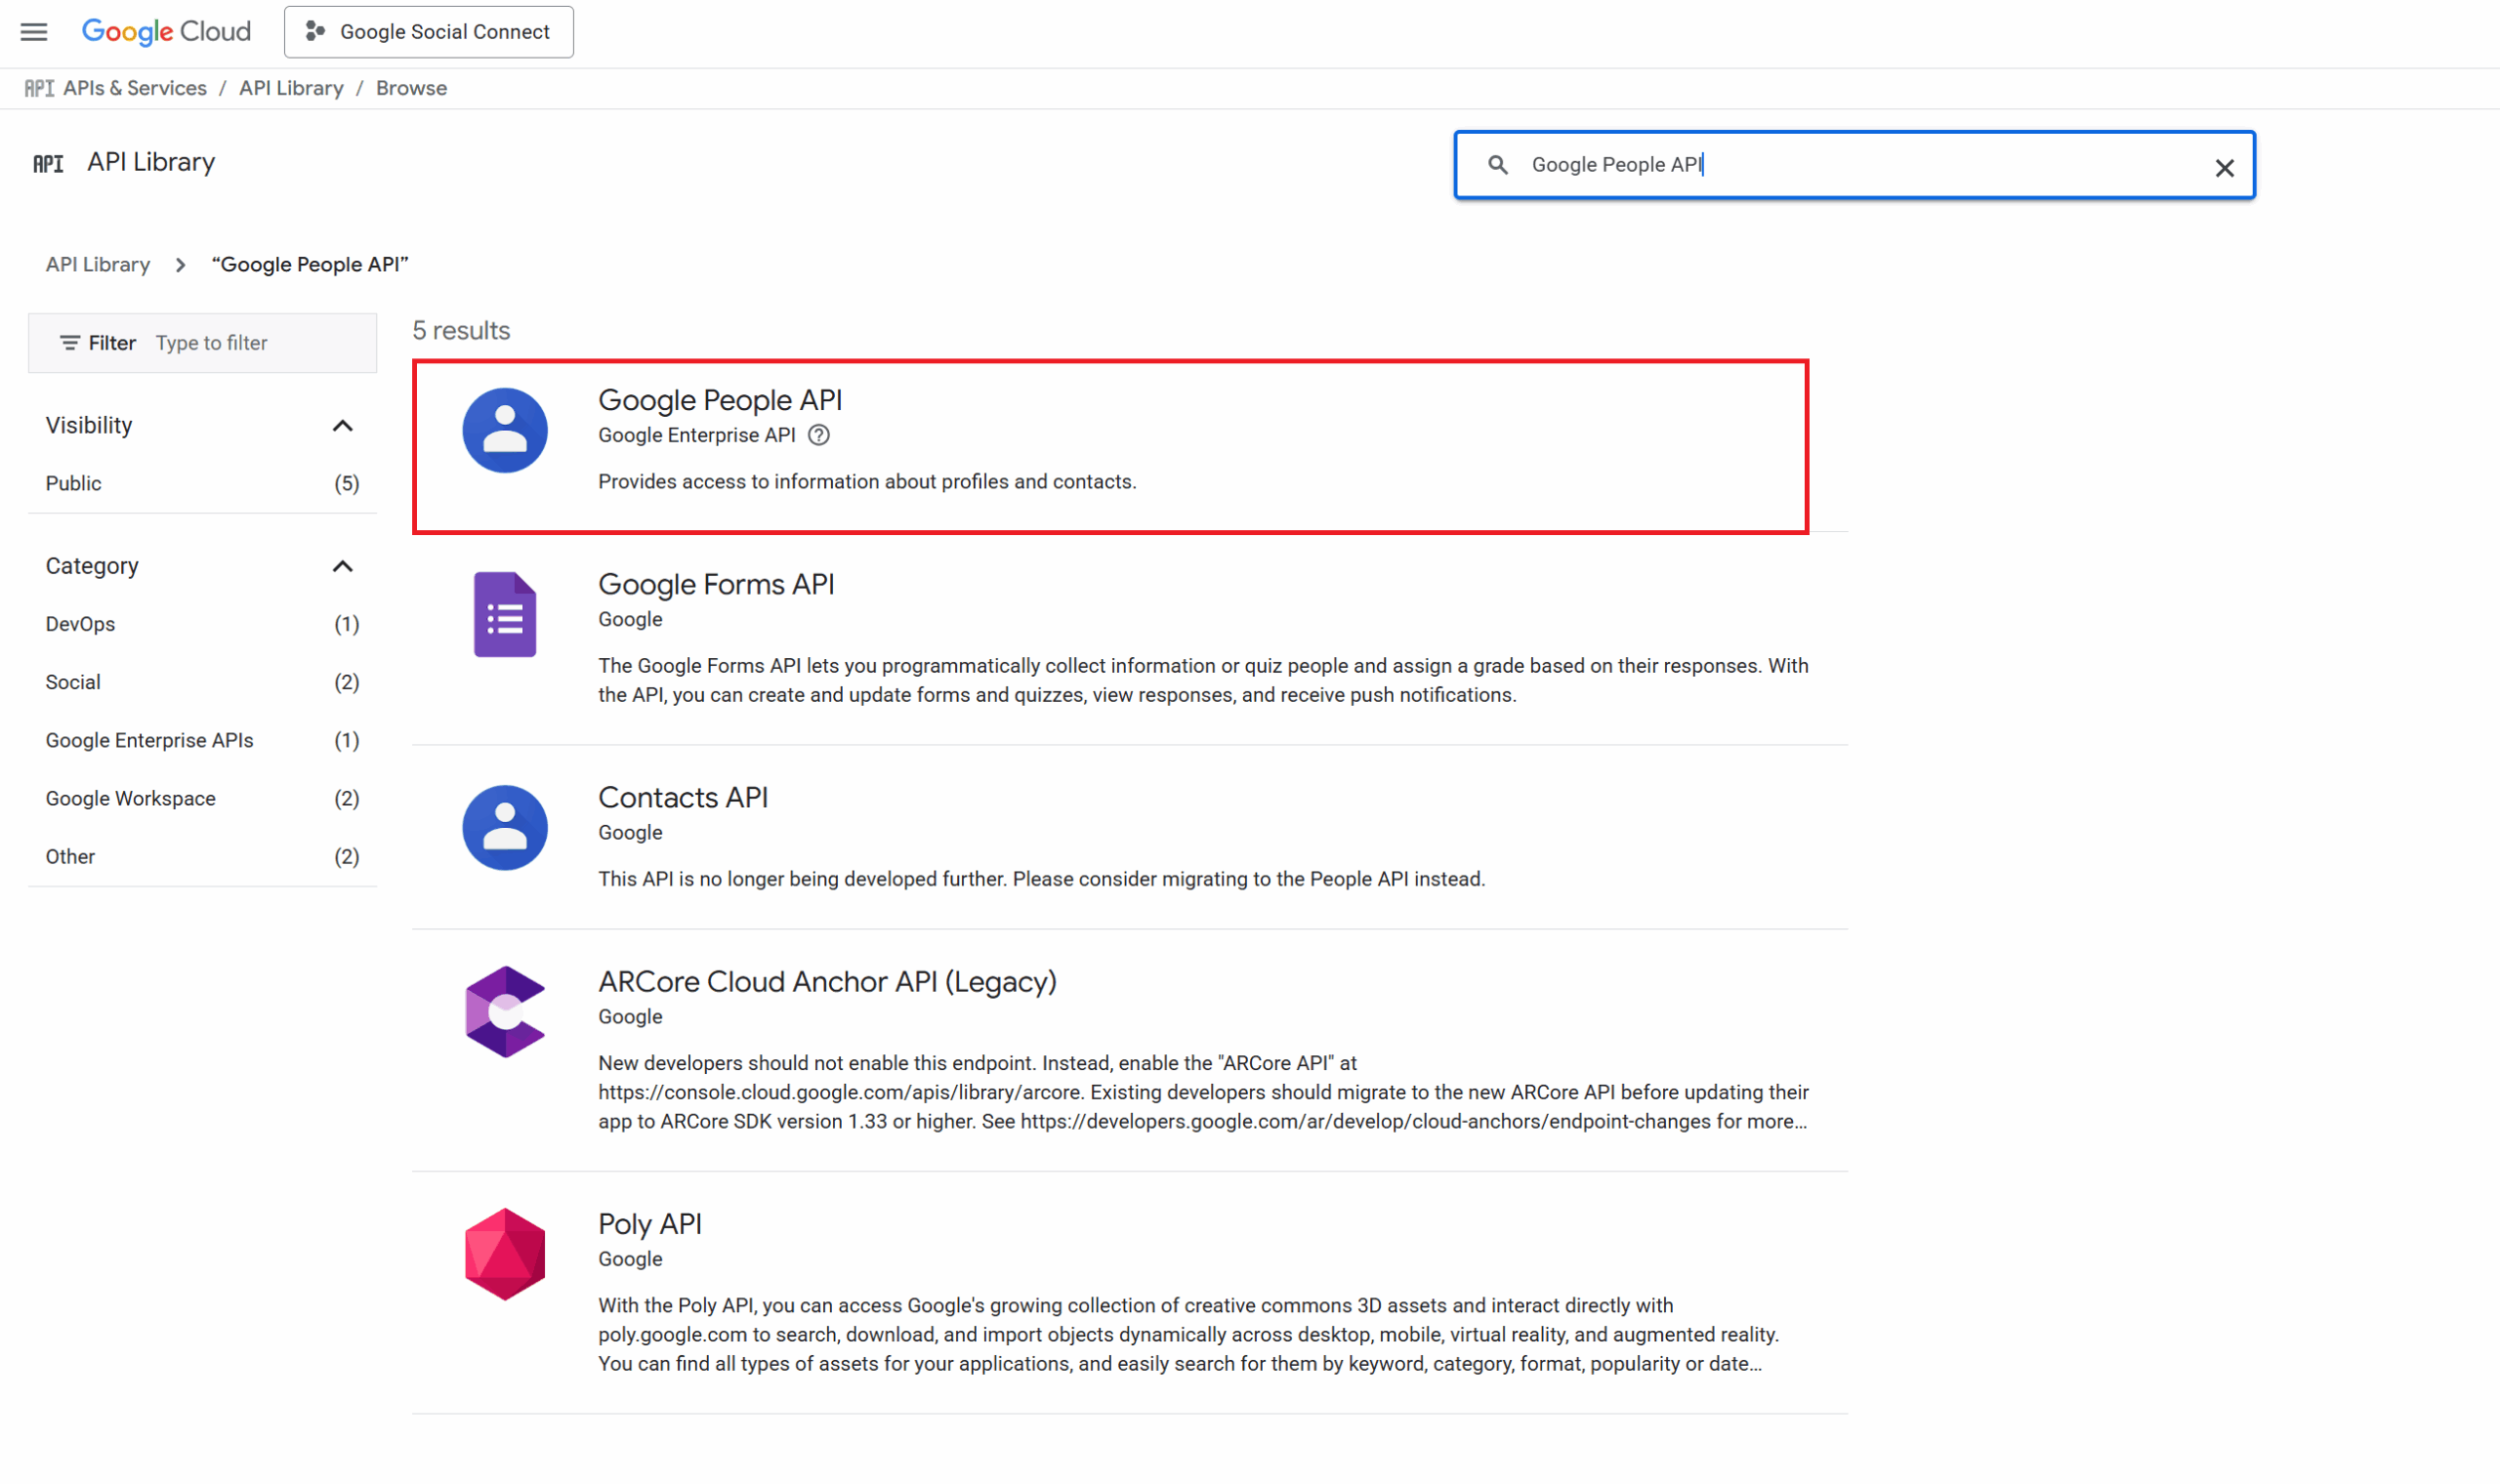
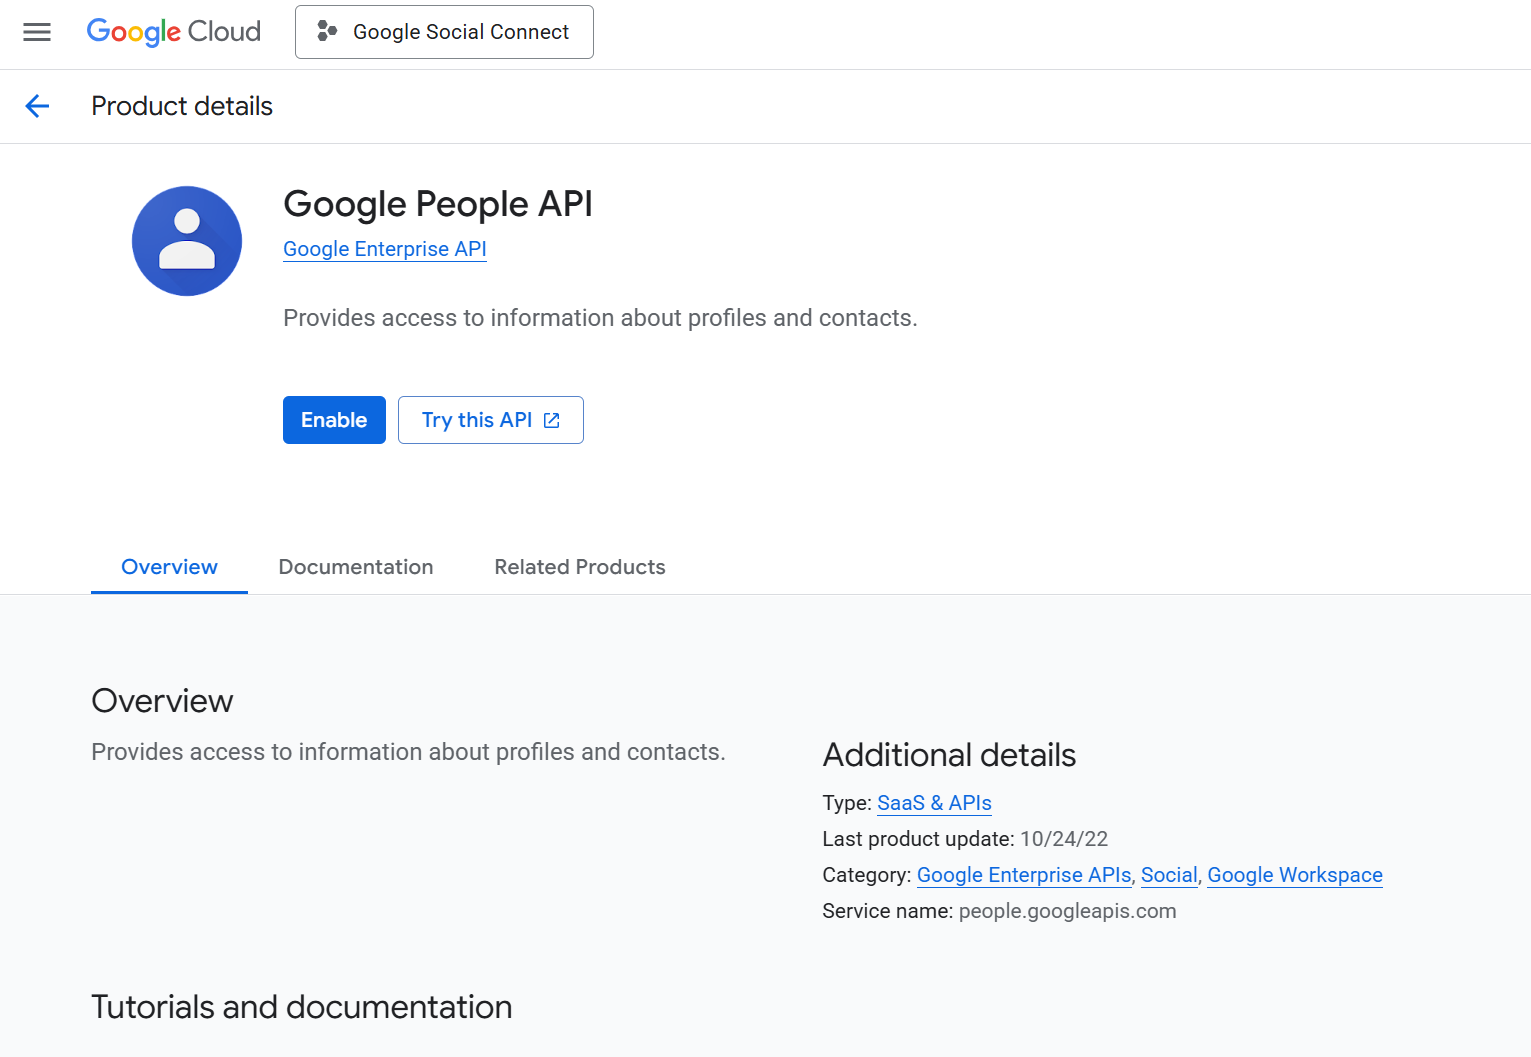
For the Google Social Connect functionality, you will need to activate both the Google+ API and the Google People API. There are multiple ways to locate these APIs, but the easiest method is to navigate to the main dashboard and click “View all APIs”. After which, perform a search for each API.
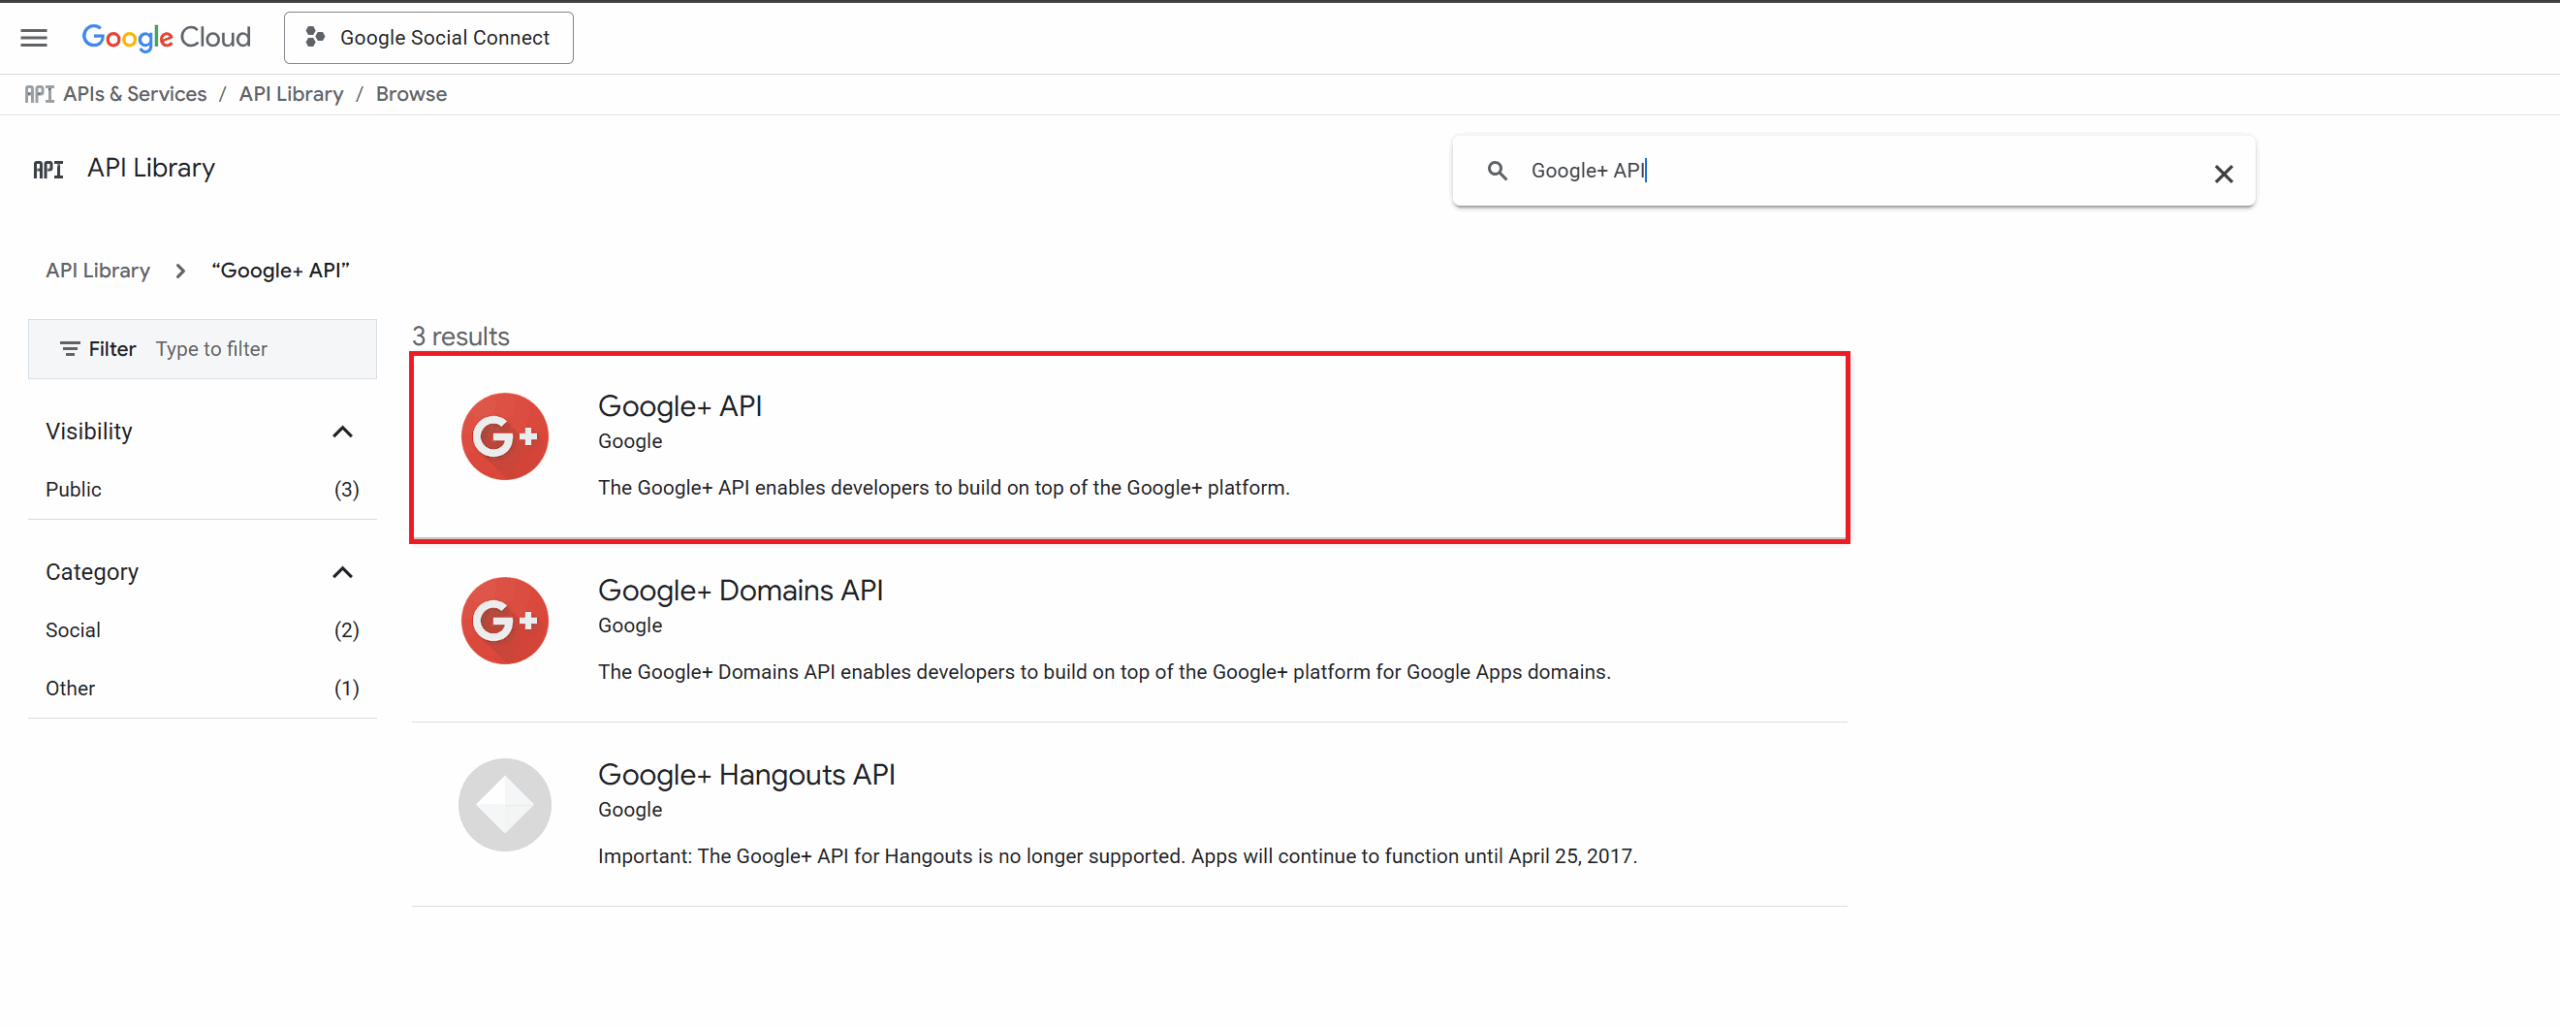
Once you’ve located the API, select it from the list and click “Enable”.
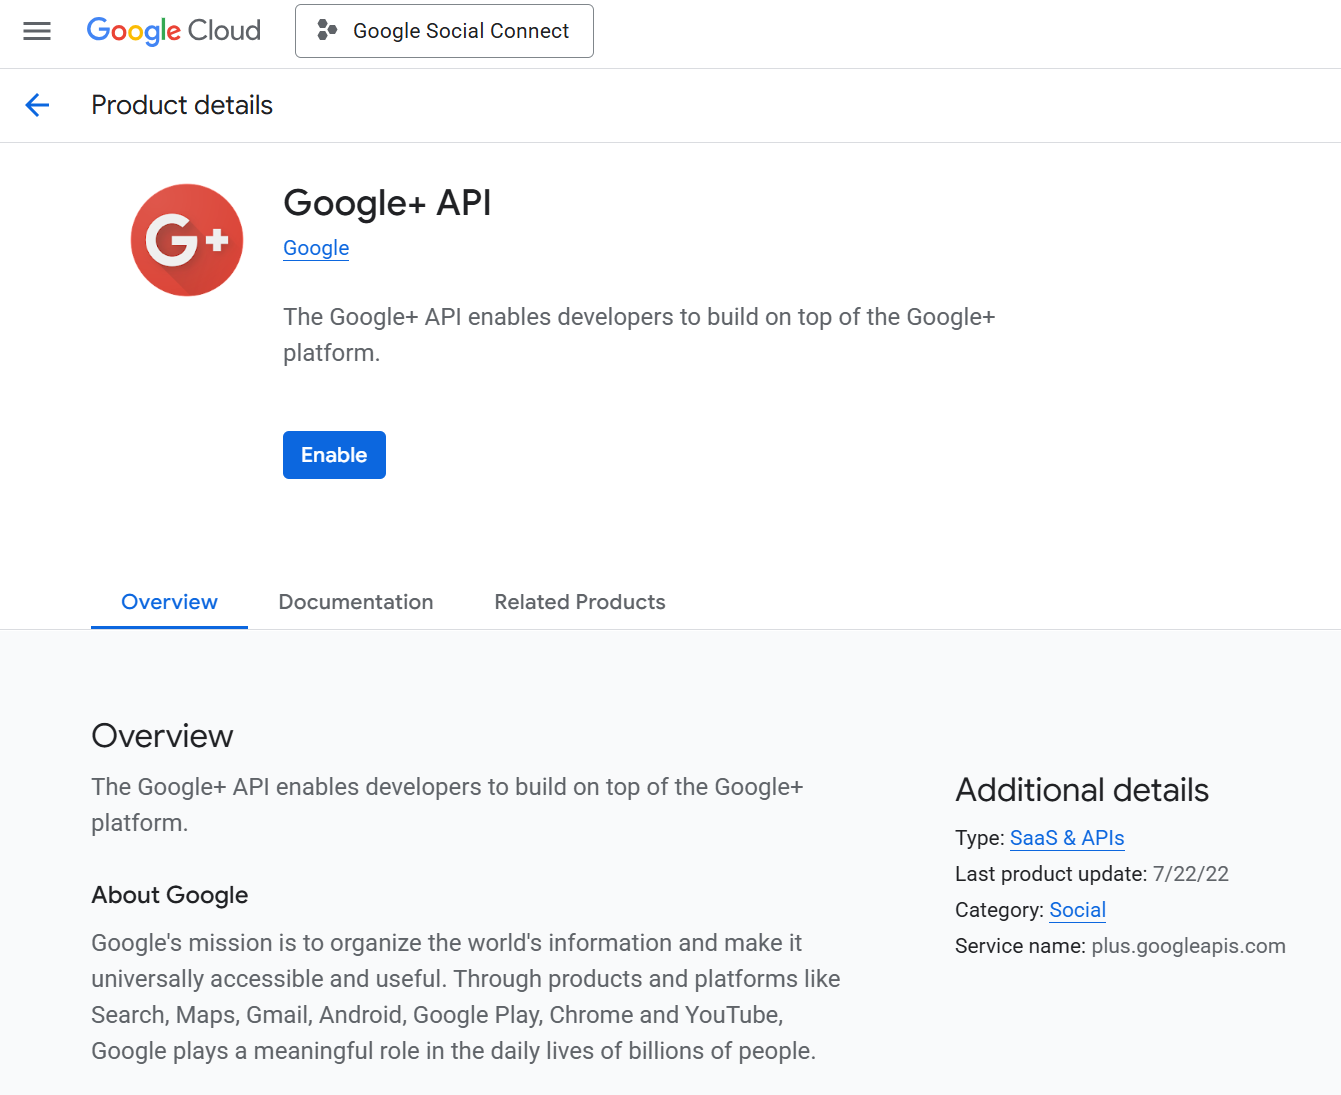
Once you’ve located the API, select it from the list and click “Enable”.
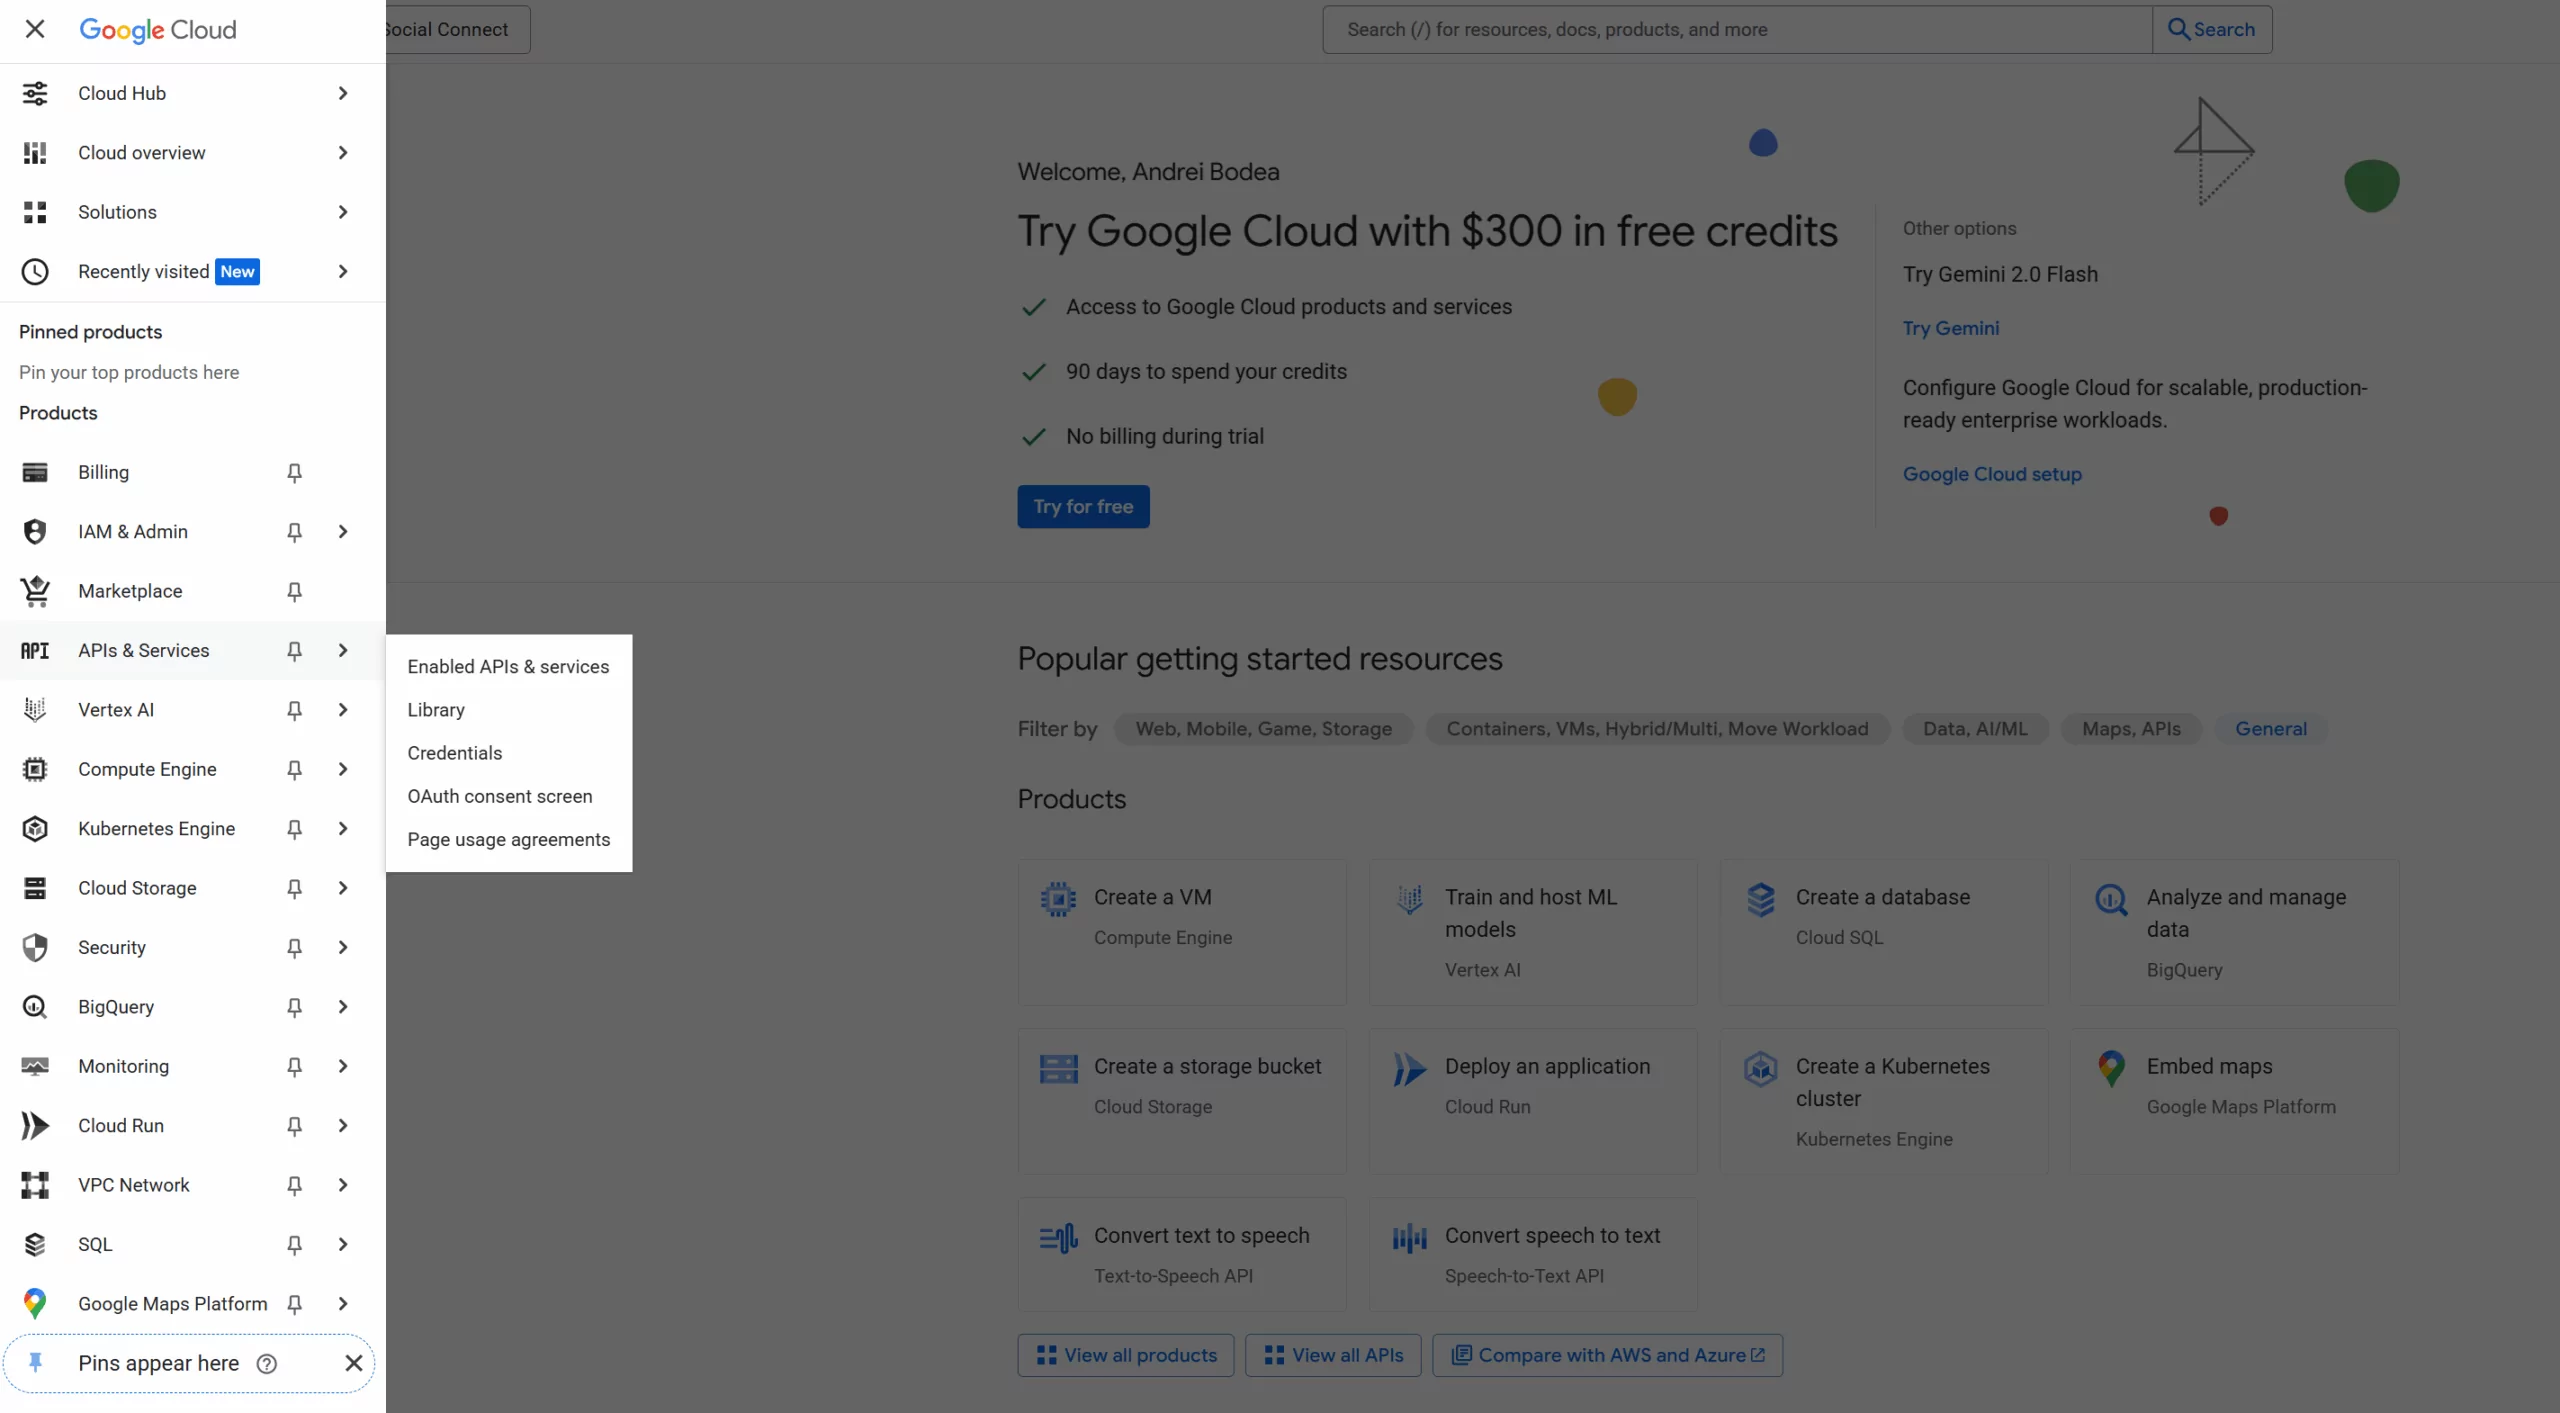
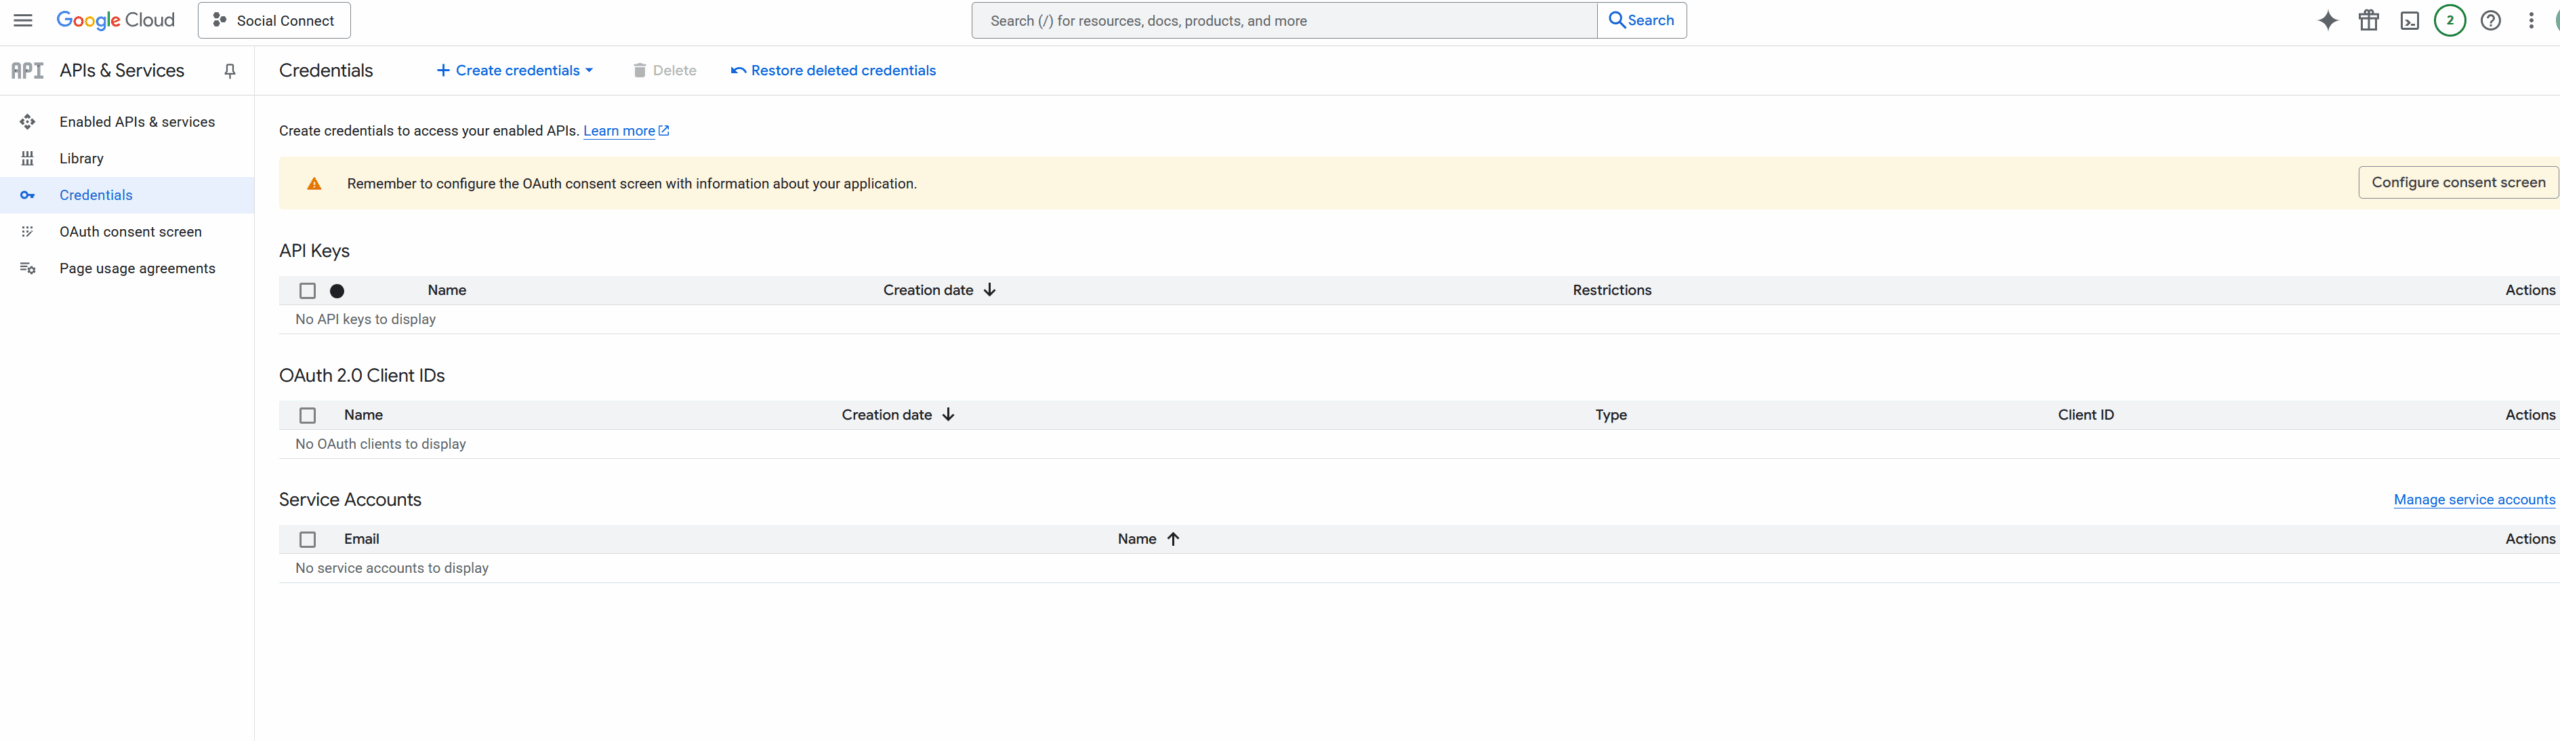
With both APIs now enabled, go back to the main Google Cloud Console screen and from the left menu, go to APIs & Services → Credentials.
If this is your first time creating such a project, you will need to configure the OAuth consent screen with information about your application. A yellow notice will appear at the top of the page prompting you to do this. From that notice, click the “Configure consent screen” button. This section can also be found in Google Auth Platform → Overview.
Then click “Get Started” and complete the form with your own application details.
Step 1. App information:
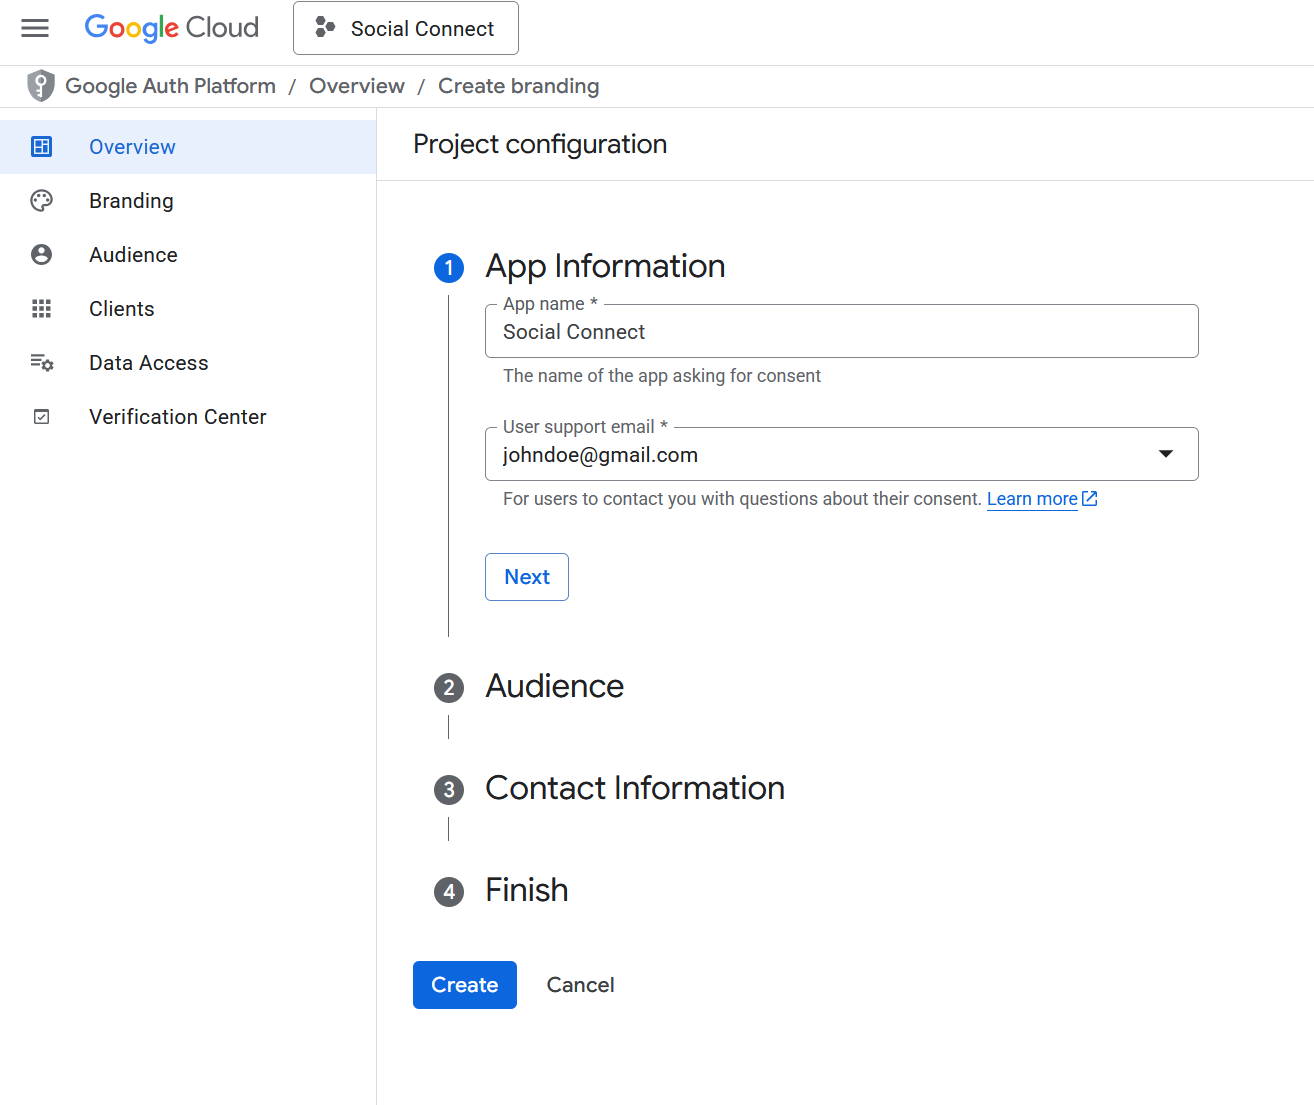
Step 2. Audience:
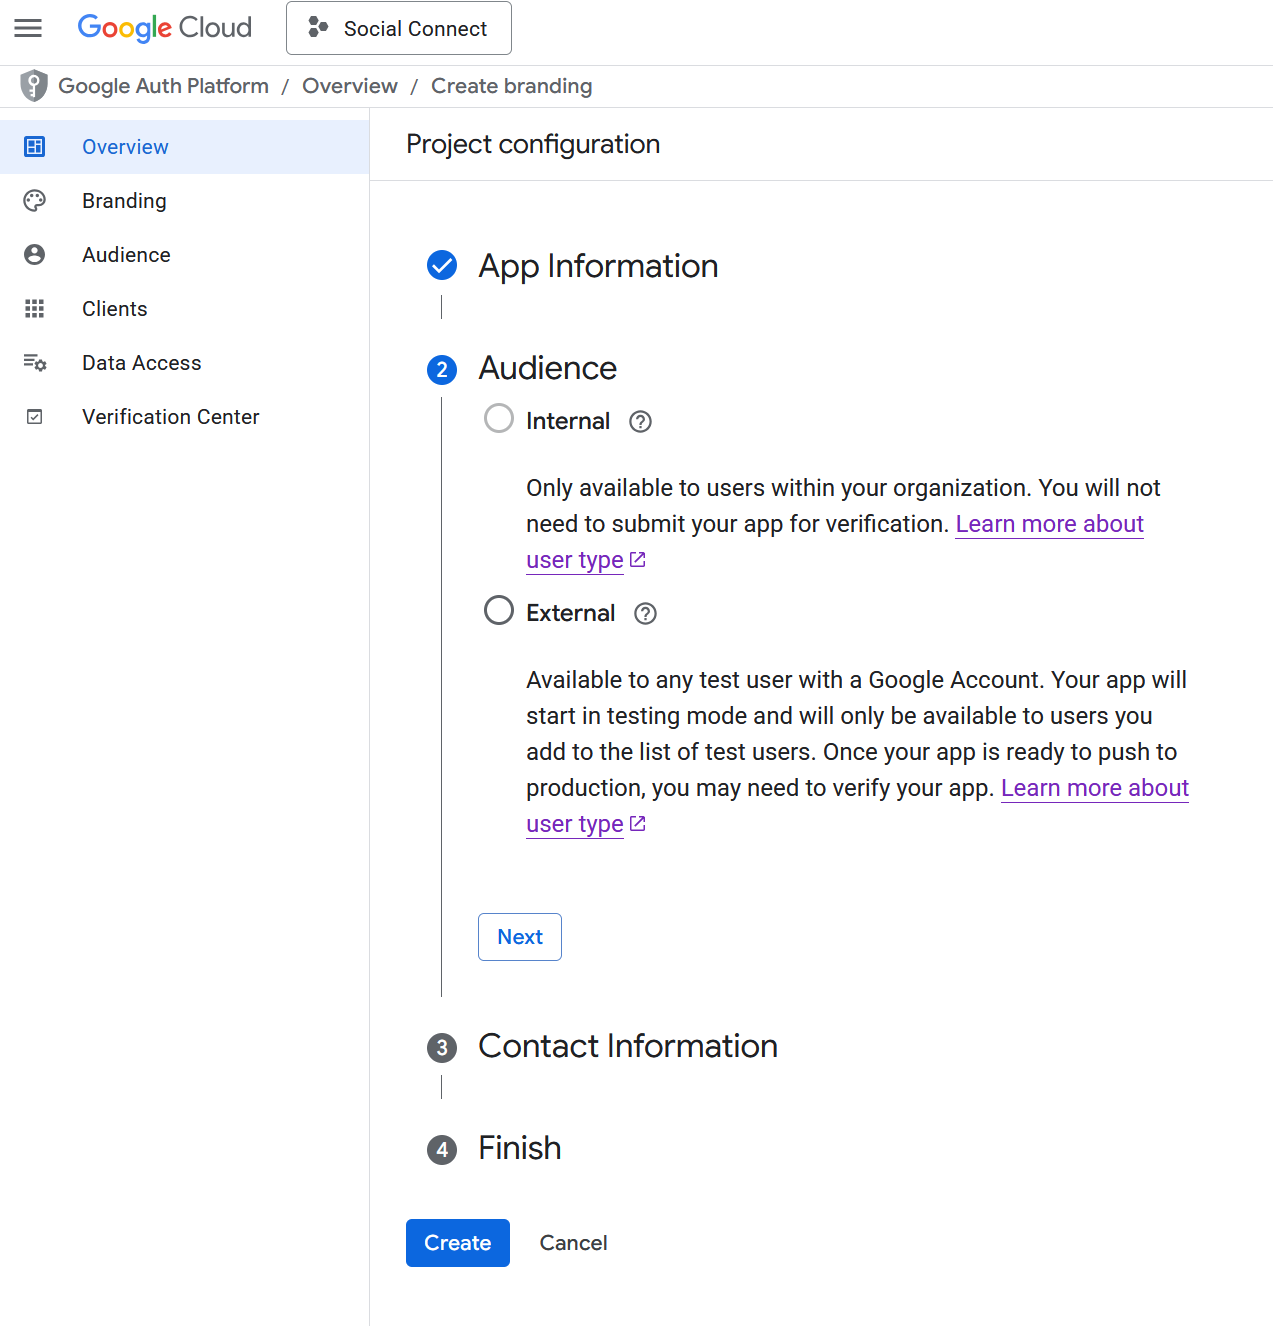
Step 3. Contact Information:
Here, you need to add the email address in order for Google to notify you about any changes to your project.

Step 4. Finish:
Here, you need to agree to the Google API Services: User Data Policy.
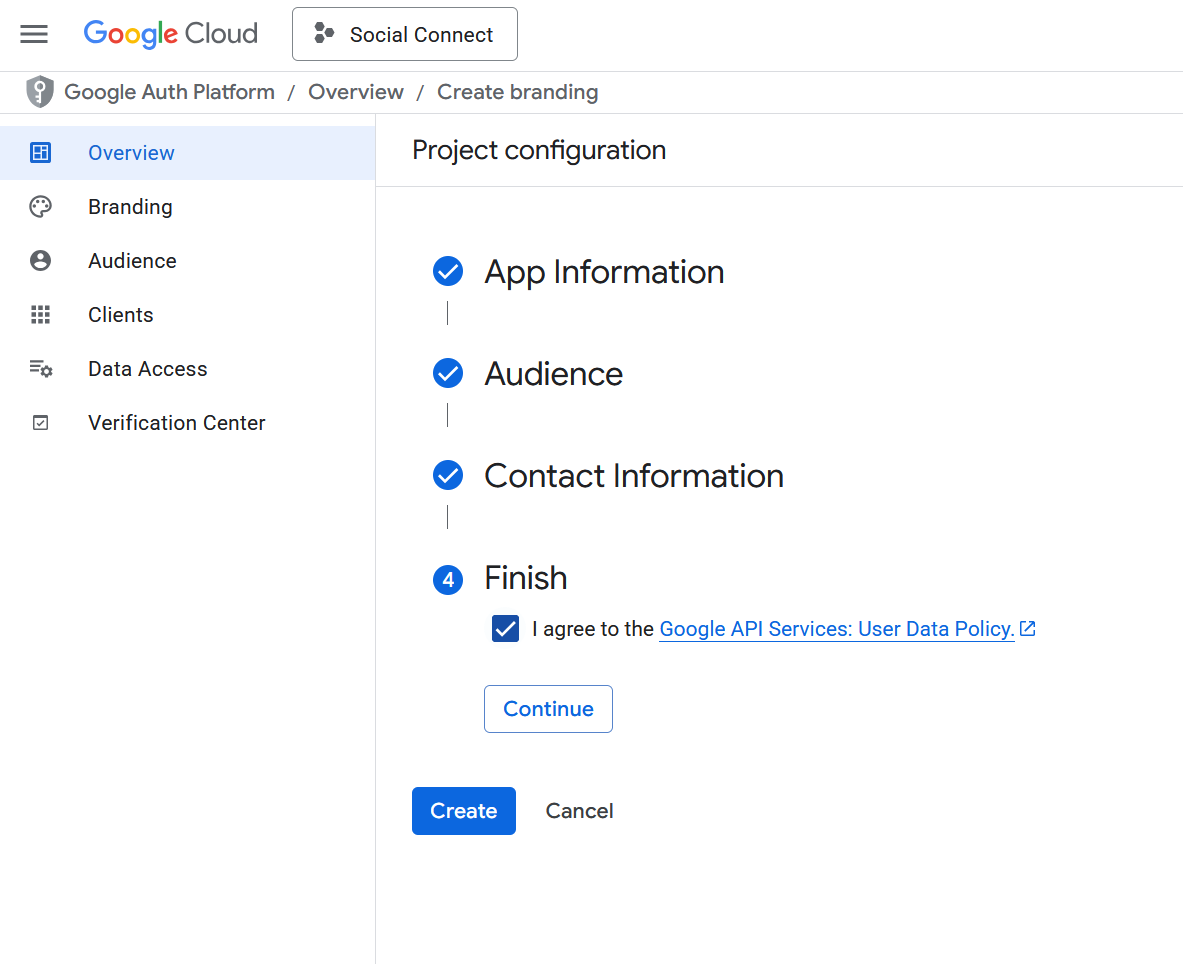
And to finish this process, click on Create.
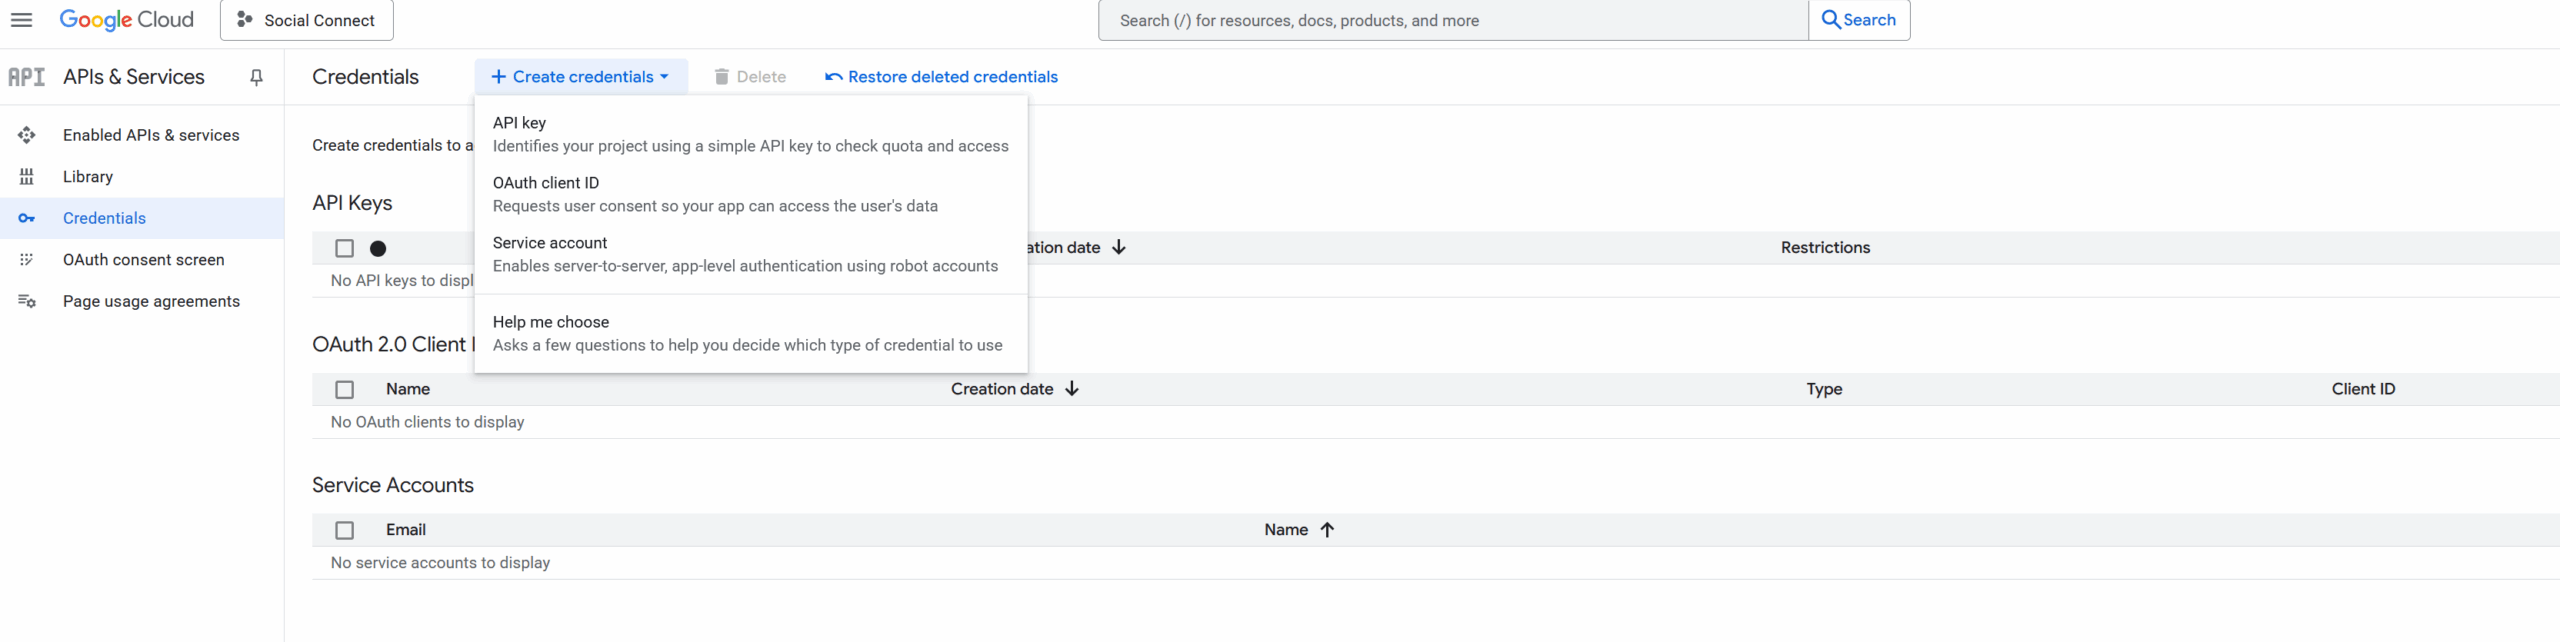
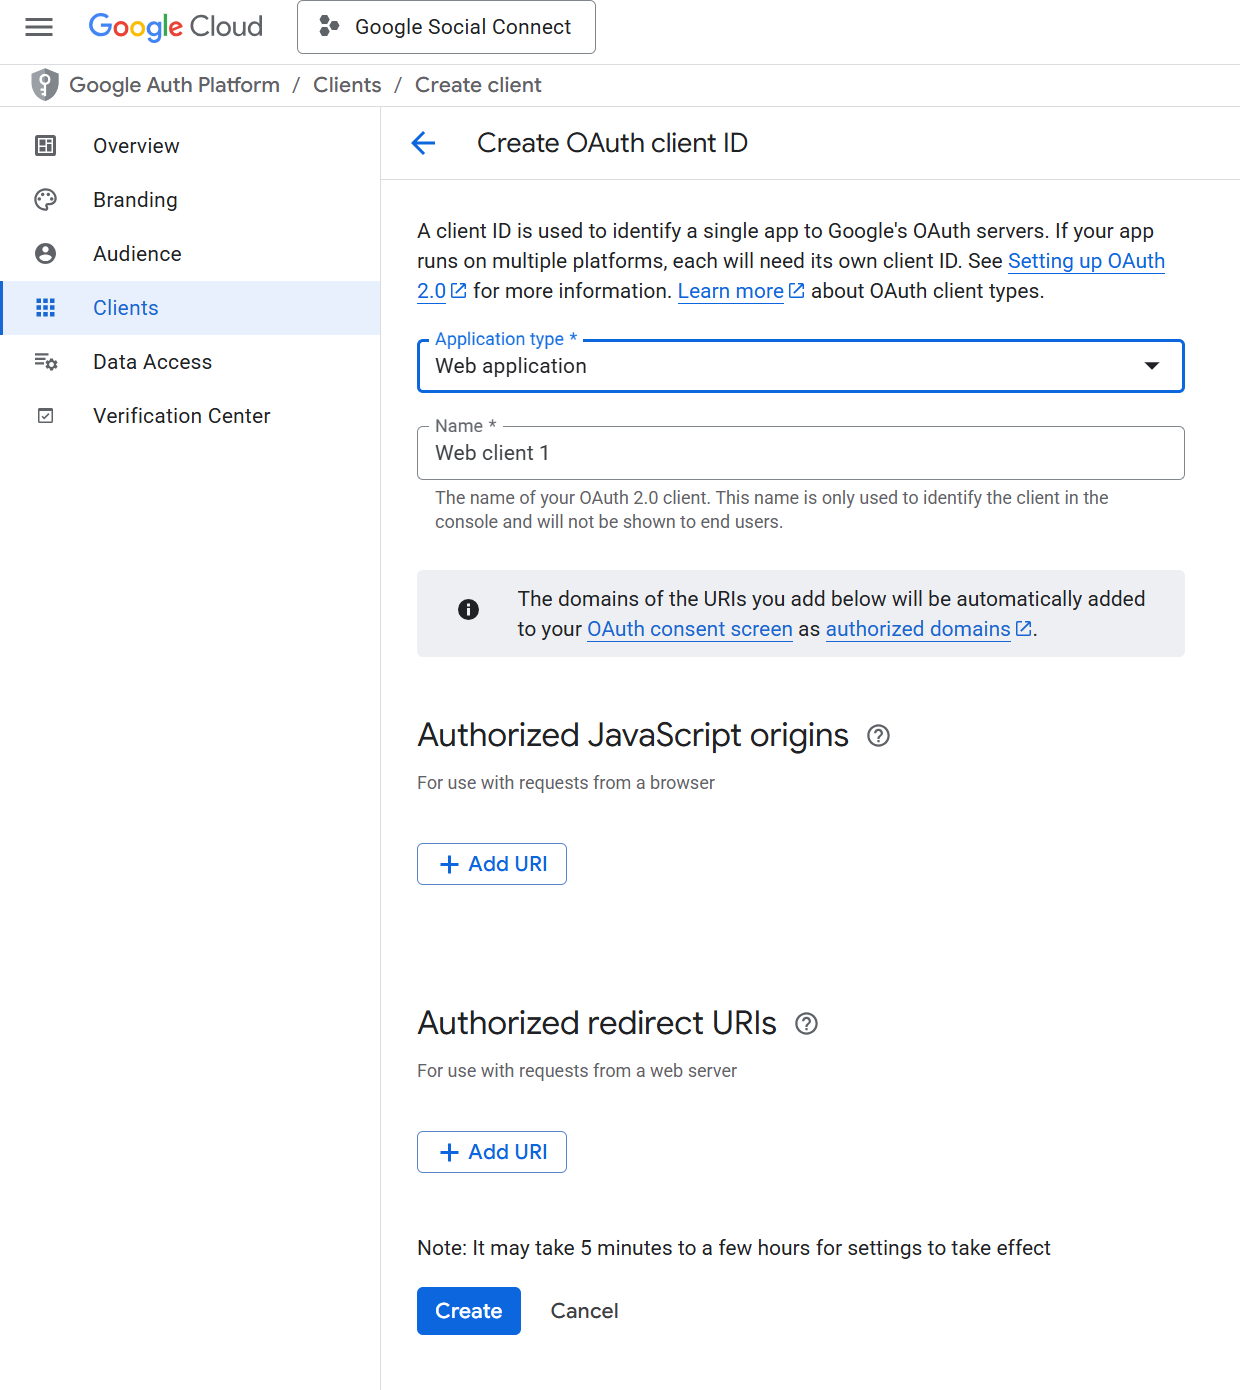
Now that the project is configured, return to APIs & Services → Credentials, click on “Create Credentials”, and select OAuth Client ID.
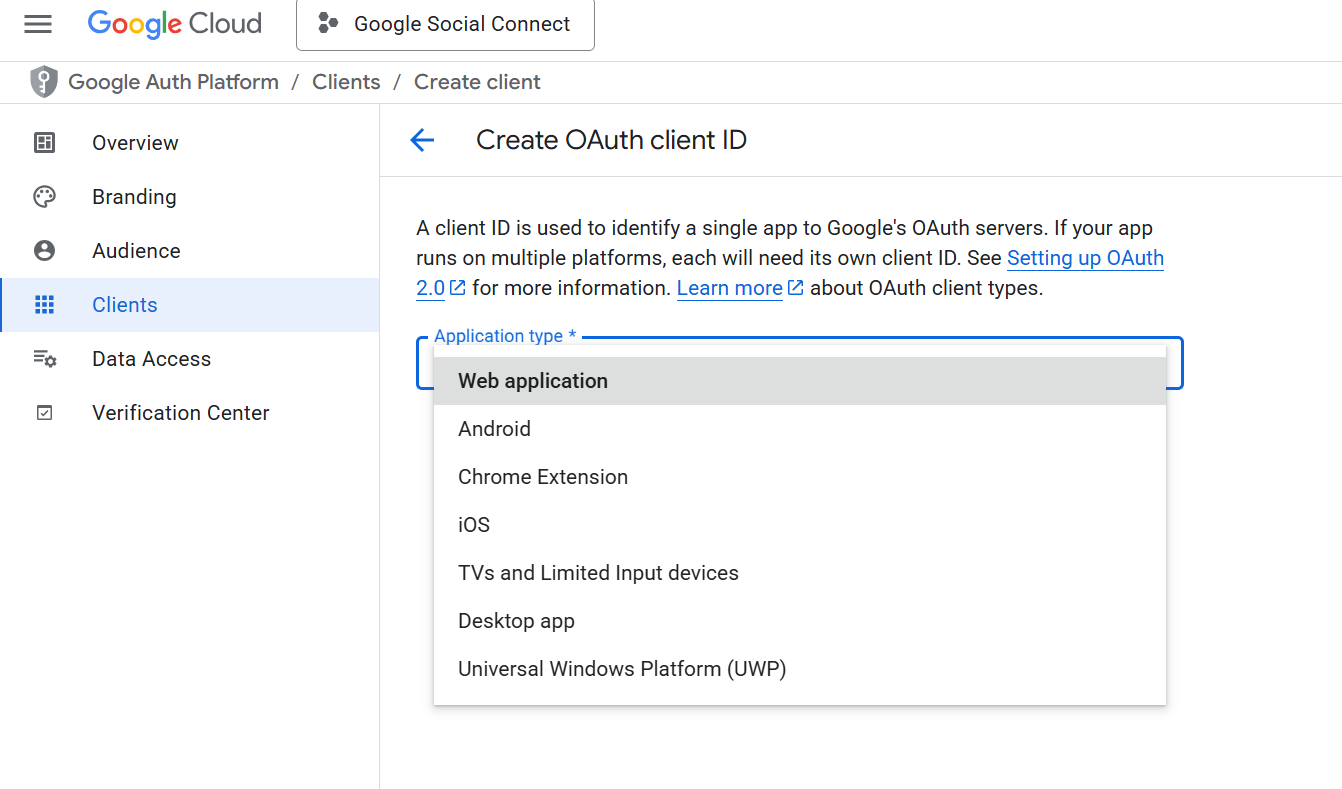
On this page, under Application Type, select your application type. In most cases, this will be “Web application”.
And now, we will need to set the following options:
• Name – add your own name
• Authorized JavaScript origins – add your website URL – Example: https://www.yourdomain.com
• Authorized redirect URLs – add your website URL – Example: https://www.yourdomain.com
After you finish click on “Create”.
After clicking “Create”, your Client ID credentials will be displayed. Copy the Client ID, and also, as Google recommends, make sure you have copied or downloaded the information below and securely stored it.

After you copy the Google Client ID, go to your website → Dashboard → Profile Builder → Social Connect → Enable Google Login and paste your Client ID and the name of your OAuth 2.0 client. Scroll to the bottom to Save.

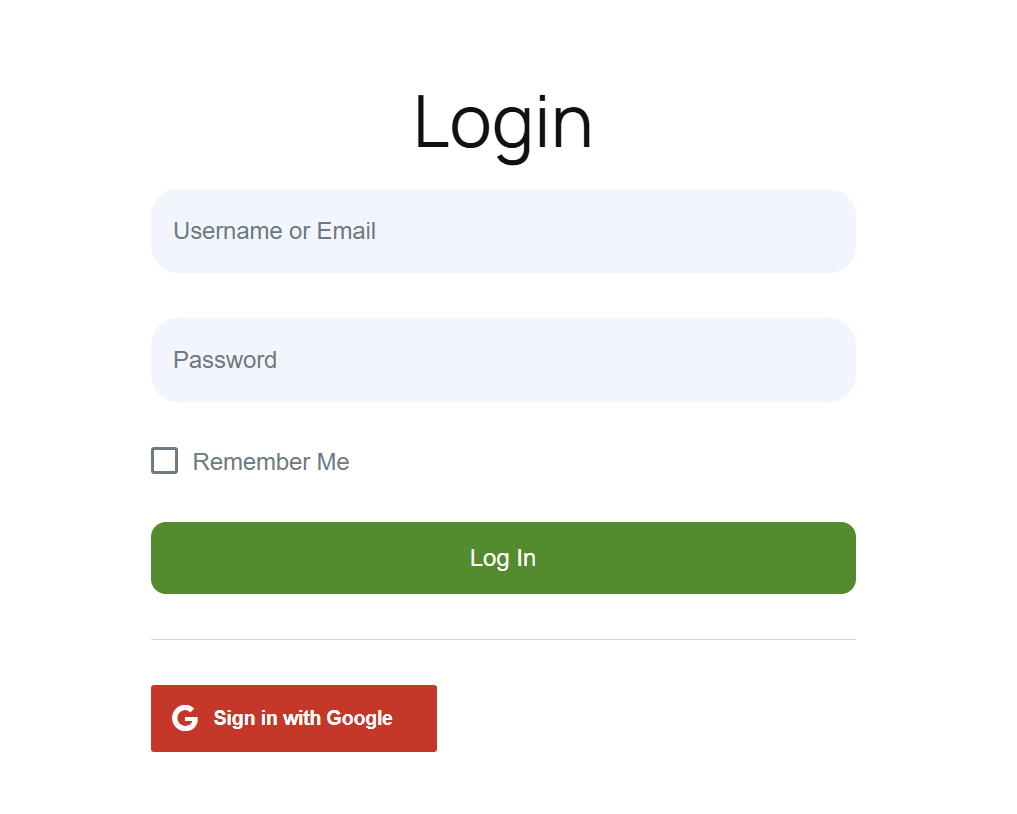
Social Login with Google is available on WordPress Default and Profile Builder forms.
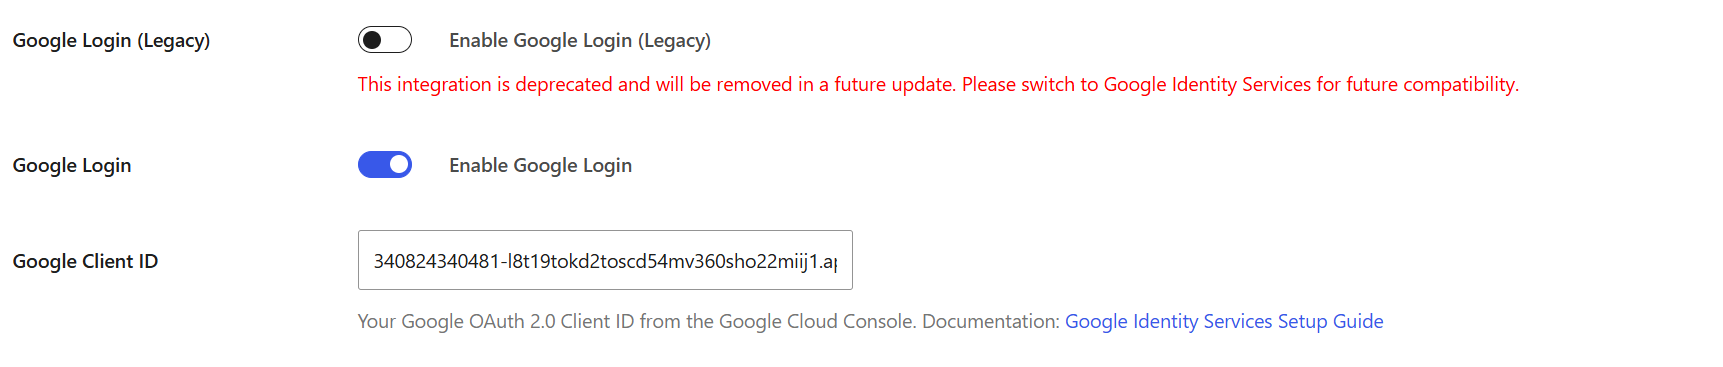
Migration from old Google integrationIf you are using the older Google Social Connect integration, you will need to migrate to the new implementation using Google Identity Services for future compatibility, as the old integration has been deprecated by Google.
You can make this change by navigating to Profile Builder → Social Connect, disabling the “Google Login (Legacy)” toggle, and enabling the standard Google Login, where you will need to enter your Client ID.
Create beautiful front-end registration and profile forms with custom fields. Setup member directories, custom redirects, cutomize user emails & more using the all in one user management plugin.
Get Profile BuilderCombine the power of Profile Builder with Paid Member Subscriptions to set up user registration, memberships, and recurring revenue.
Get 25% off with the bundle
