The Profile Builder Divi integration works with the popular page builder in two ways:
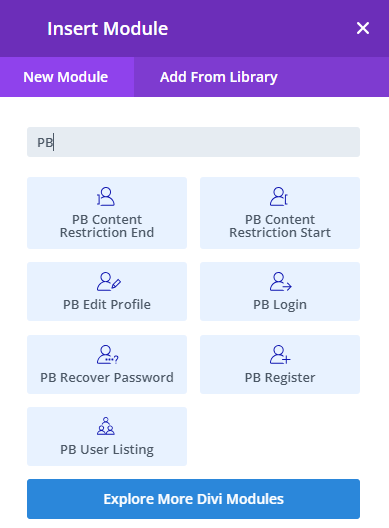
The Profile, Login, Recover Password, and Register modules can be inserted into any page using the Insert Modules Interface.
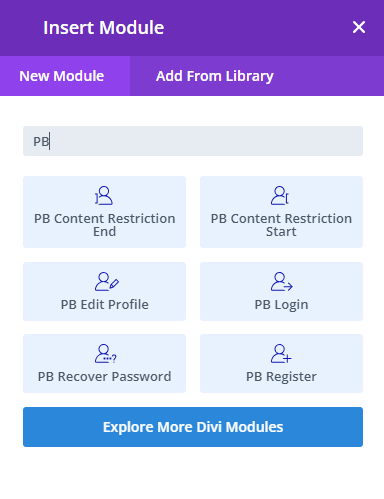
The Register, Edit Profile, Login, and Recover Password modules can be inserted into any page using the Insert Modules Panel. You can find them in the Profile Builder section under the New Module tab.
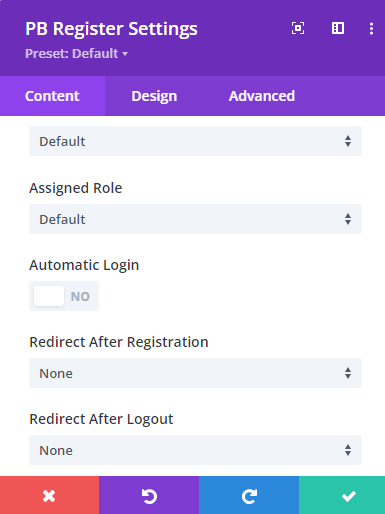
Using the Register Module you can set up a custom Divi register form as well as customize it.
The Register Module has controls for Form Settings, Redirects, and Advanced in its Content tab. For the Default form, you can select the Assigned Role from a list of available user roles, toggle the Automatic Login functionality, and define after Registration and after Logout Redirects.
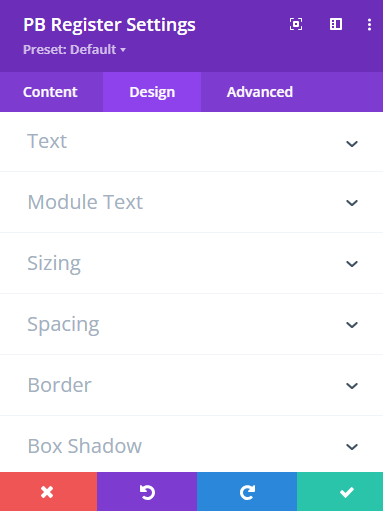
The Design tab is populated with style controls for all the fields included in the selected form and for other form elements like the Social Connect section.
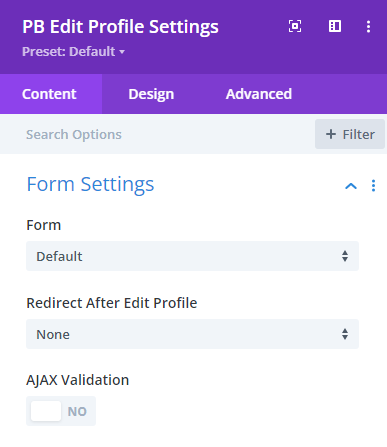
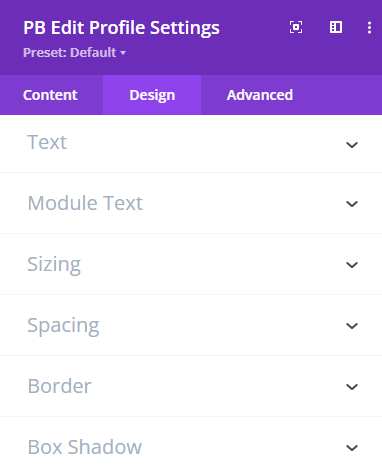
The Edit Profile Module has controls for Form Settings and Redirects in its Content tab. For the Default form, you can set an After Edit Profile Redirect.
The Design tab is populated with style controls for all the fields included in the selected form and for other form elements like the Social Connect section.
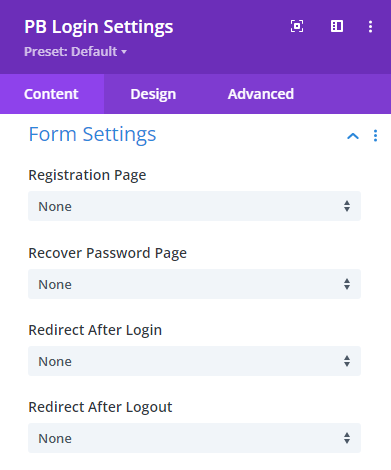
The Login Module has controls for Form Settings and Redirects in its Content tab. They allow Registration and Recover Password links to be set along with After Login and After Logout Redirects.
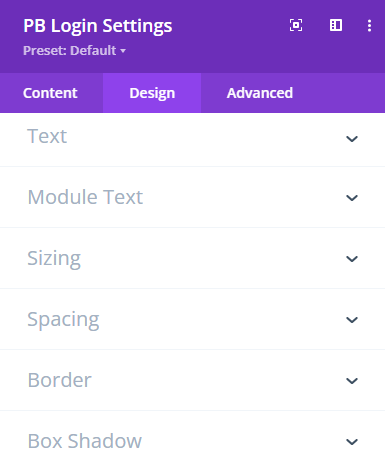
The Design tab is populated with style controls for all the different elements of the form.
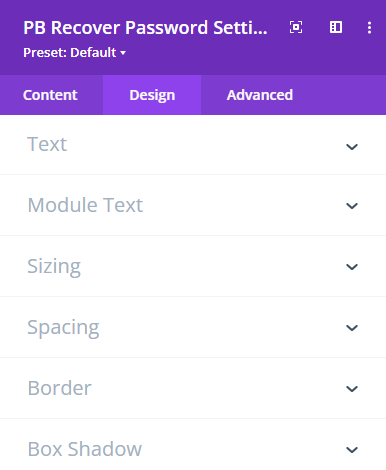
The Recover Password module has controls for Form Settings in regards to Ajax Validation.
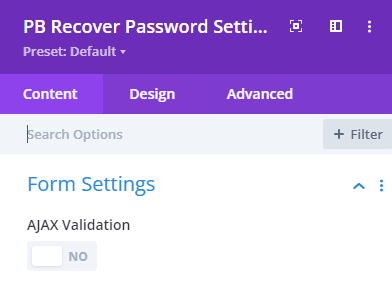
The Design tab is populated with design controls for all the different elements of the form.
You can read more about this integration on the official Divi documentation page.
As part of Profile Builder’s integration with the Divi builder, you have the option to restrict the visibility of modules based on the logged-in status of the user or based on the user role.
The Module Content Restriction can be used in two ways: by setting parameters for a specific module or by using the Content Restriction Start and Content Restriction End modules pair.
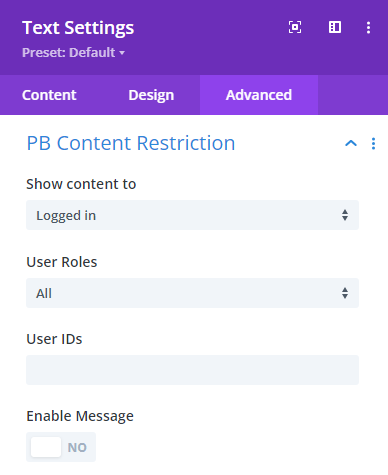
Each module will have a new Profile Builder Content Restriction section above the Advanced options. In this section, you can find all the options that would correspond to the available content restriction shortcode parameter options.
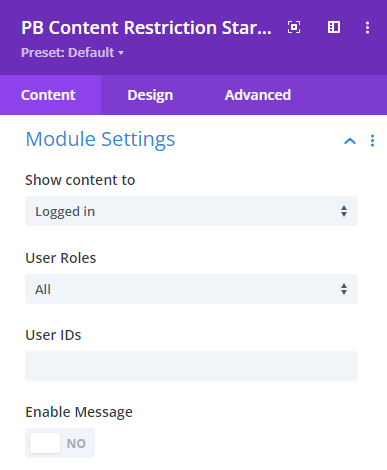
Inside the insert module, you can find the two Content Restriction Start and Content Restriction End modules. They work as a pair, restricting all the content that they encapsulate.
The Content Restriction Start module has the options that are shown in the Profile Builder Content Restriction section for other modules, while the Content Restriction End module does not have any options and is simply used to mark the end of the section that is to be restricted.
Create beautiful front-end registration and profile forms with custom fields. Setup member directories, custom redirects, cutomize user emails & more using the all in one user management plugin.
Get Profile BuilderCombine the power of Profile Builder with Paid Member Subscriptions to set up user registration, memberships, and recurring revenue.
Get 25% off with the bundle
