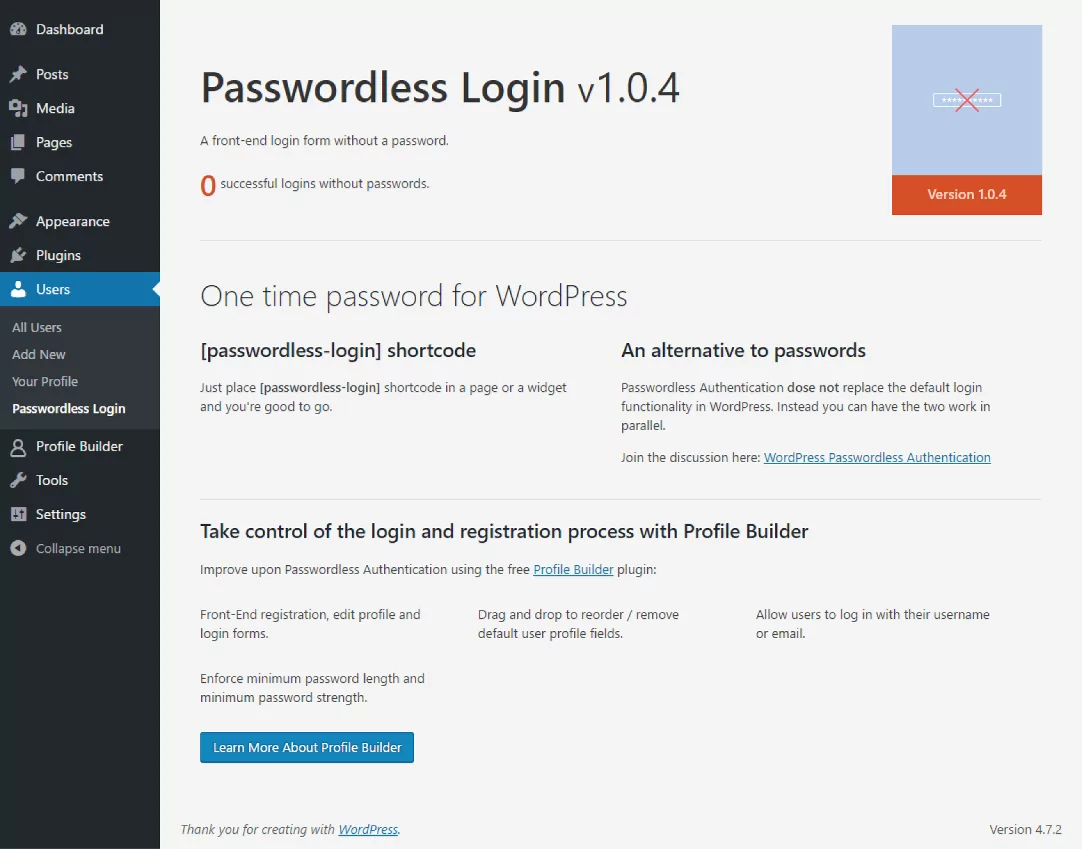
Passwordless Login Plugin is a modern way of logging into your WordPress site without the use of a password.
Instead of asking users for a password when they try to log in to your website, we simply ask them for their username or email.
The plugin creates a temporary authorization token and saves it into an usermeta entry which is valid for 10 minutes.
It then sends the user an email with a link which contains the token.
When the user clicks on the link, he gets sent to your website where the access token is verified and if it is valid, it will create the log in WordPress Cookie, successfully authenticating the user.
First of all, click on the button below to download the plugin. Once downloaded, you can install the plugin as a normal WordPress plugin, by uploading the .zip file in your WordPress Admin -> Plugins -> Add New -> Upload Plugin.
Alternatively, you can install the Passwordless Login Plugin by extracting the folder found inside the archive and uploading the entire folder via FTP to your /wp-content/plugins folder found inside your WordPress install.
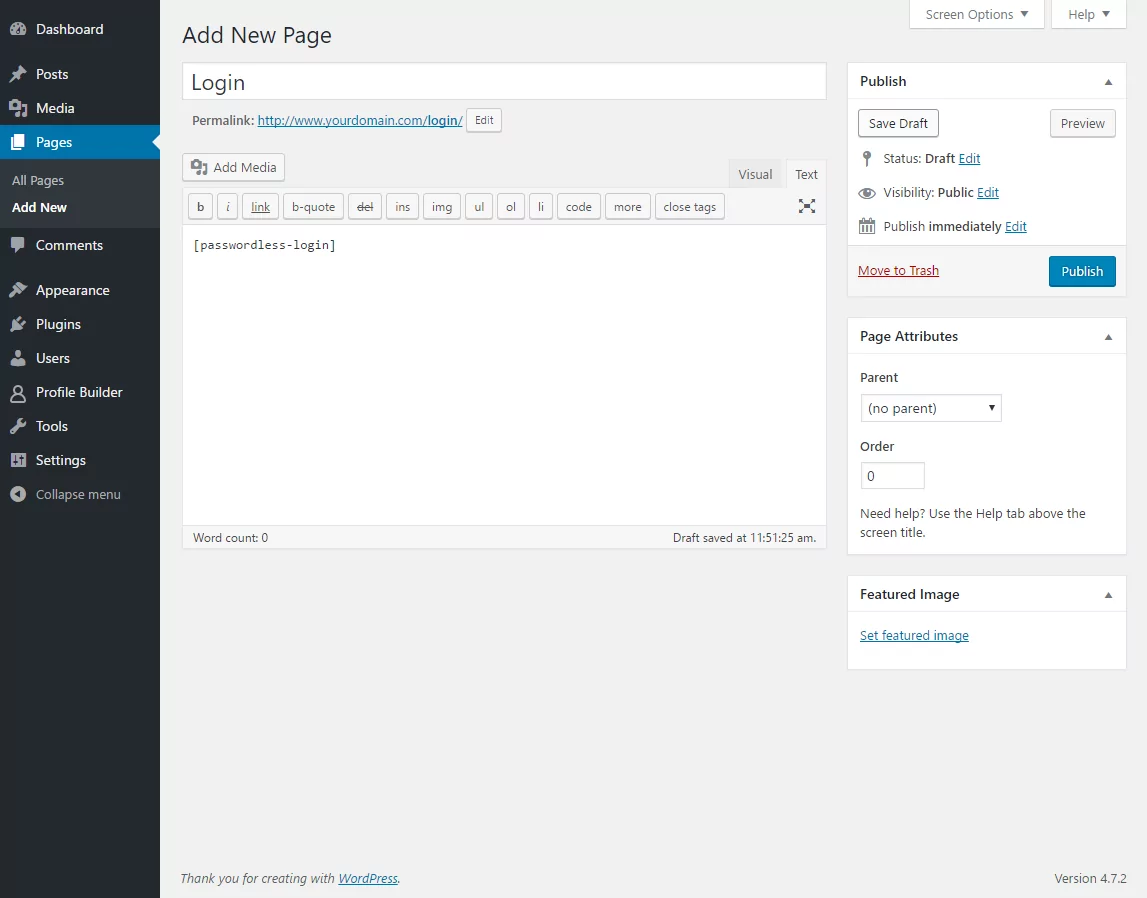
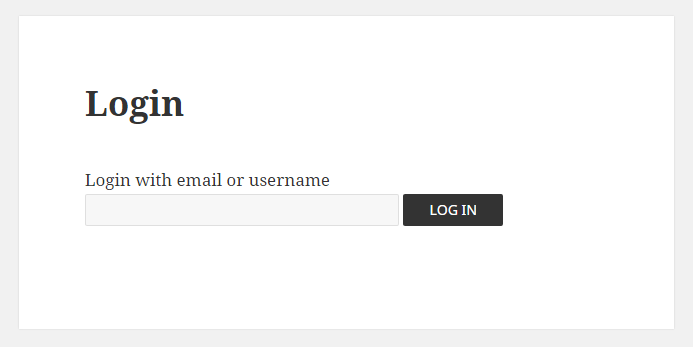
In order to create a Passwordless Login form in Front End you will need to add the [passwordless-login] shortcode inside a page.
Passwordless Login form in Front End
The Passwordless Login shortcode can also be added as a widget in the sidebar by going to Appearance -> Widgets and adding the [passwordless-login] shortcode inside the Content box of a Text Widget.
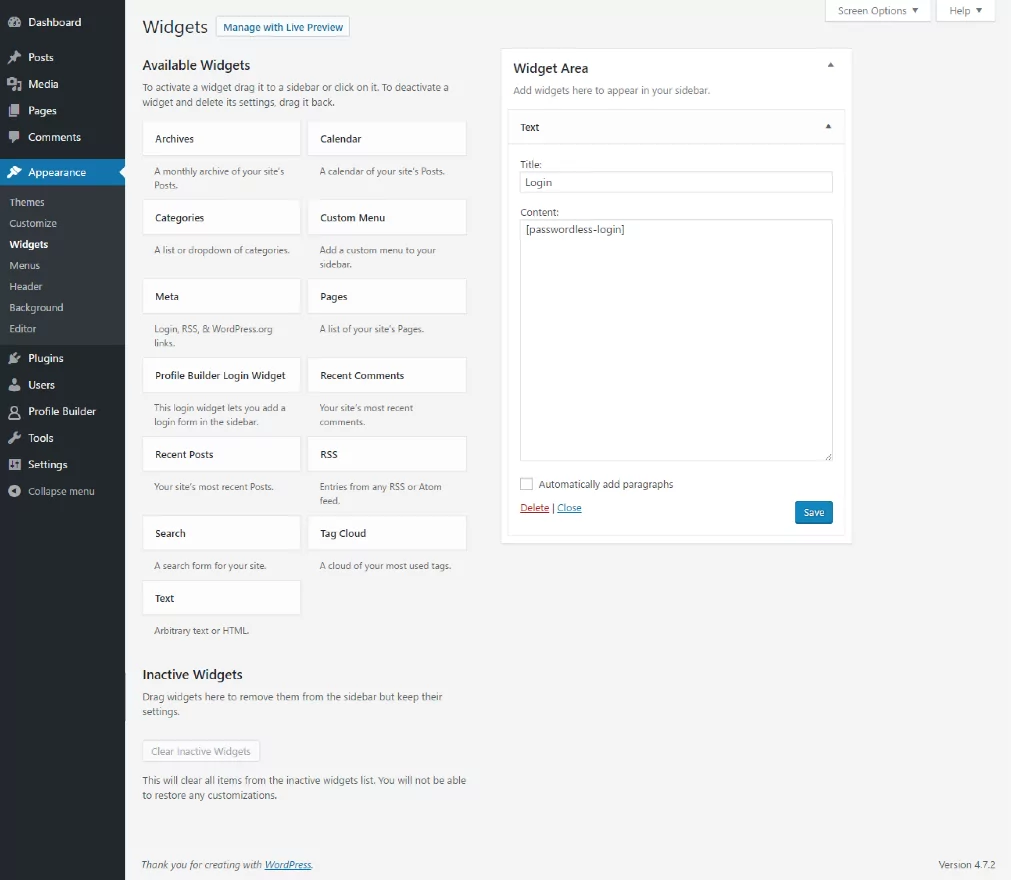
Passwordless Login Widget in Front End
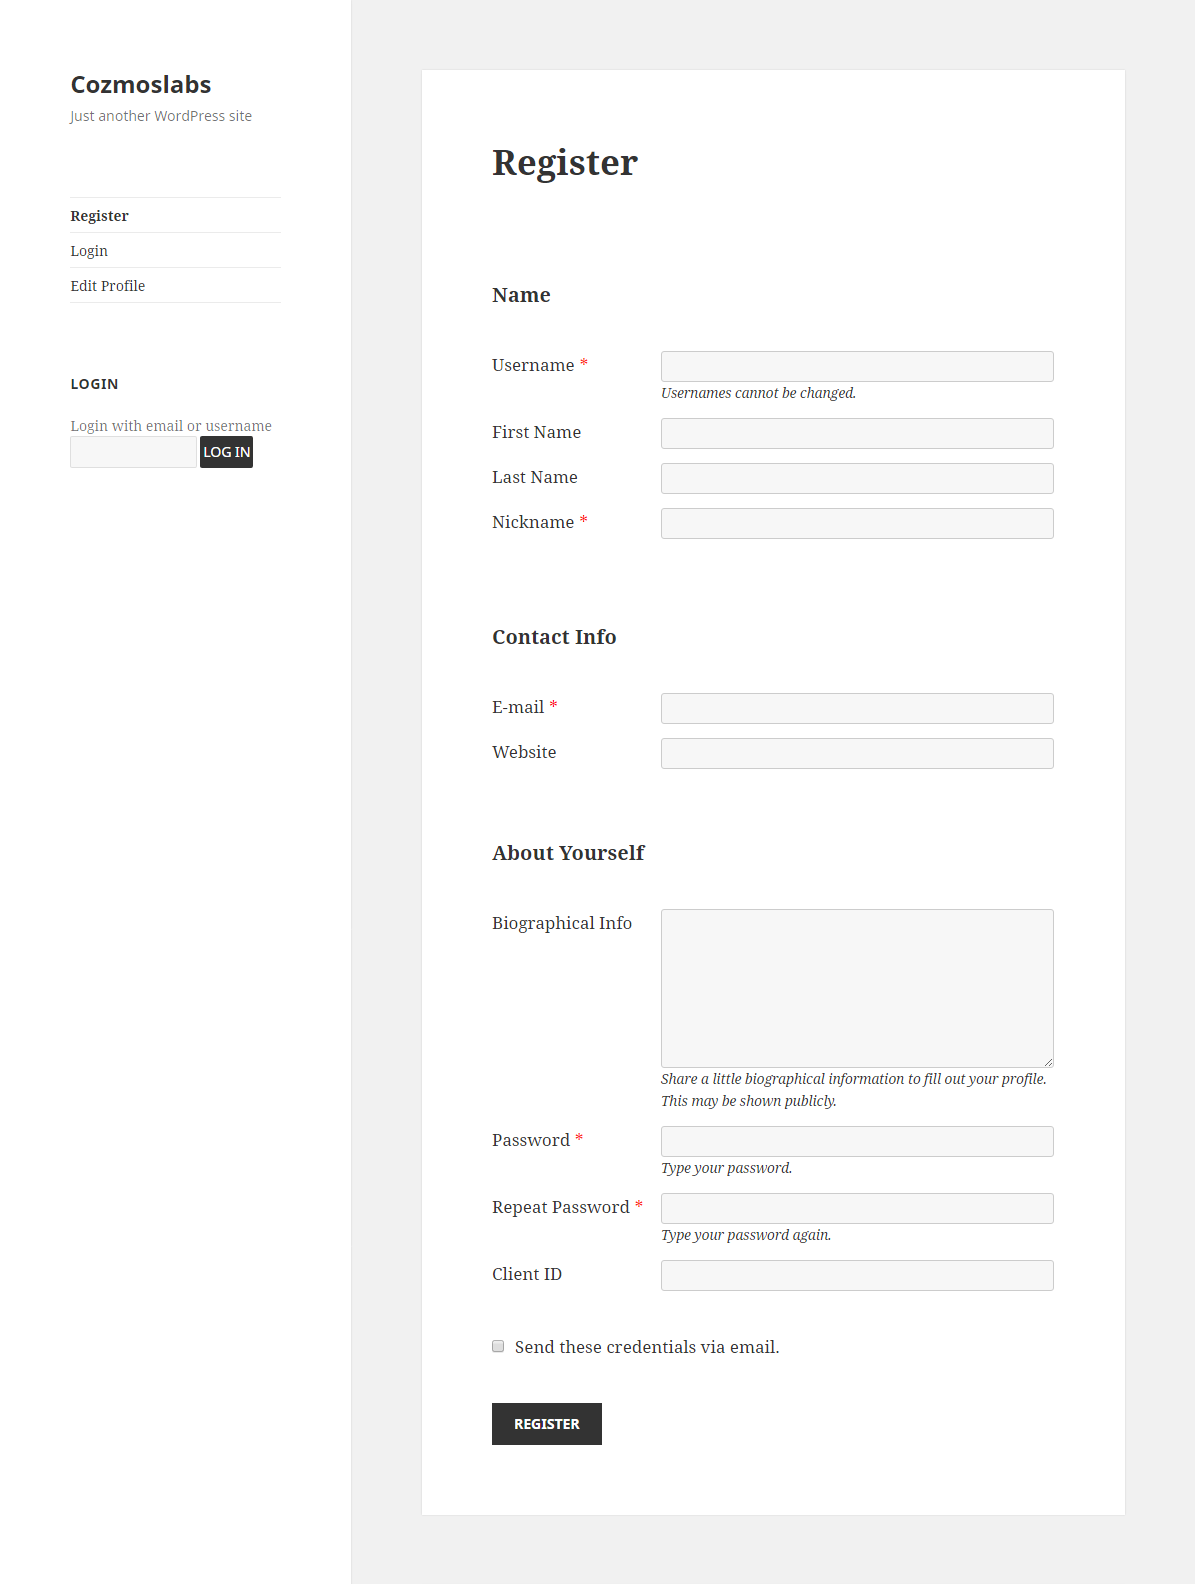
In order to use the Passwordless Login plugin your users will need first to Register.
Profile Builder Free, Profile Builder Basic or Pro is compatible with Passwordless Login plugin and you can use the [wppb-register] shortcode to generate a Registration form in Front End and the [wppb-edit-profile] shortcode to generate an Edit Profile form in Front End.
You can also use the [wppb-login] shortcode if you want to give your users the possibility to login with a password.
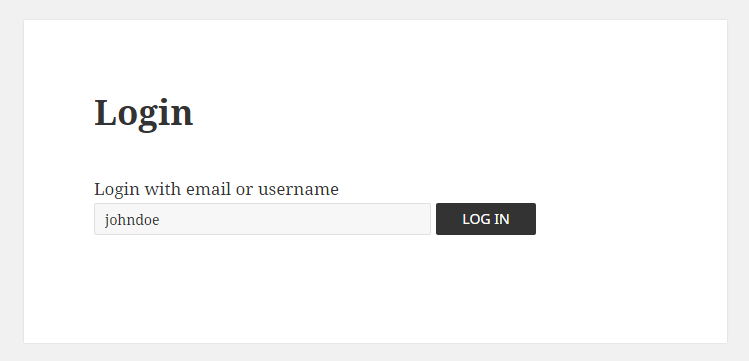
Registered users will be able to login using the Passwordless Login form in Front End.
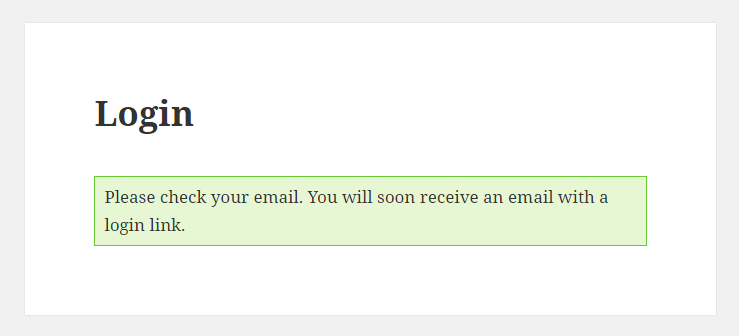
After clicking on the Log In button a notice will be displayed. Also the plugin creates a temporary authorization token and saves it into an usermeta entry which is valid for 10 minutes. It then sends the user an email with a link which contains the token.
This how the Email Notification received by the user looks like.
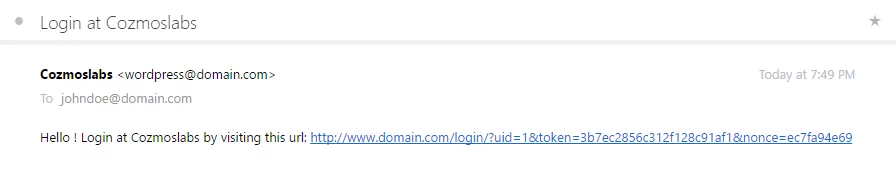
When the user clicks on the link he gets sent to your website, on the Login page, where the access token is verified and if it is valid it will create the Log In WordPress Cookie successfully authenticating the user.

You will need to use some custom code in order to modify the Email Notification:
1. Create an empty plugin like this: https://gist.github.com/sareiodata/76f701e01db6685829db
2. Add the following code to the end of it:
/*
 * Filter to modify the Email Notification sent to the user by the Passwordless Login Plugin
 */

add_filter ( 'wpa_email_message', 'wppbc_change_email_notifcation_paswordless_login', 20, 2 );
function wppbc_change_email_notifcation_paswordless_login($content, $url){
    $blog_name = get_bloginfo( 'name' );
    $message = sprintf("Login to $blog_name by visiting this url: $url - My Custom text" , $url );
    return $message;
}
3. Install this plugin via FTP (copy it inside wp-content/plugins) or create a zip archive with it and install it via the WordPress plugin upload functionality
You will need to use some custom code in order to modify the Passwordless Login success message and also to add the “Send Again” link:
1. Create an empty plugin like this: https://gist.github.com/sareiodata/76f701e01db6685829db
2. Add the following code to the end of it:
/*
 * Filter to modify the Passwordless Login success message and also to add a "Send Again" Link
 */

add_filter('wpa_success_link_msg', 'wpac_new_message');
function wpac_new_message(){
    return "Please check your email. You will soon receive an email with a login link. Send Again";
}
3. Install this plugin via FTP (copy it inside wp-content/plugins) or create a zip archive with it and install it via the WordPress plugin upload functionality
Create beautiful front-end registration and profile forms with custom fields. Setup member directories, custom redirects, cutomize user emails & more using the all in one user management plugin.
Get Profile BuilderCombine the power of Profile Builder with Paid Member Subscriptions to set up user registration, memberships, and recurring revenue.
Get 25% off with the bundle
