Table of Contents
MailChimp Add-on allows users to subscribe to your MailChimp lists directly from the Register and Edit Profile forms. You can associate your MailChimp form fields with Profile Builder fields for each of your audiences.
You can choose whether your new users are subscribed automatically or must confirm their subscription through the double opt in option. Also you can select if your automatically subscribed users receive a welcoming email.
MailChimp is an Advanced add-on, available with a Profile Builder Basic, Pro, or Agency license only.
After purchasing a premium version of Profile Builder, you can check the following guide on how to install Profile Builder.
For the MailChimp add-on to work as expected, you’ll also need to have the following plugin installed and activated on your site:
In order to generate a MailChimp API key, you will need to login into your MailChimp Account.
In the lower-left side you will see your account -> Click on your name -> Profile -> Extras -> API keys -> Click on Create A Key.
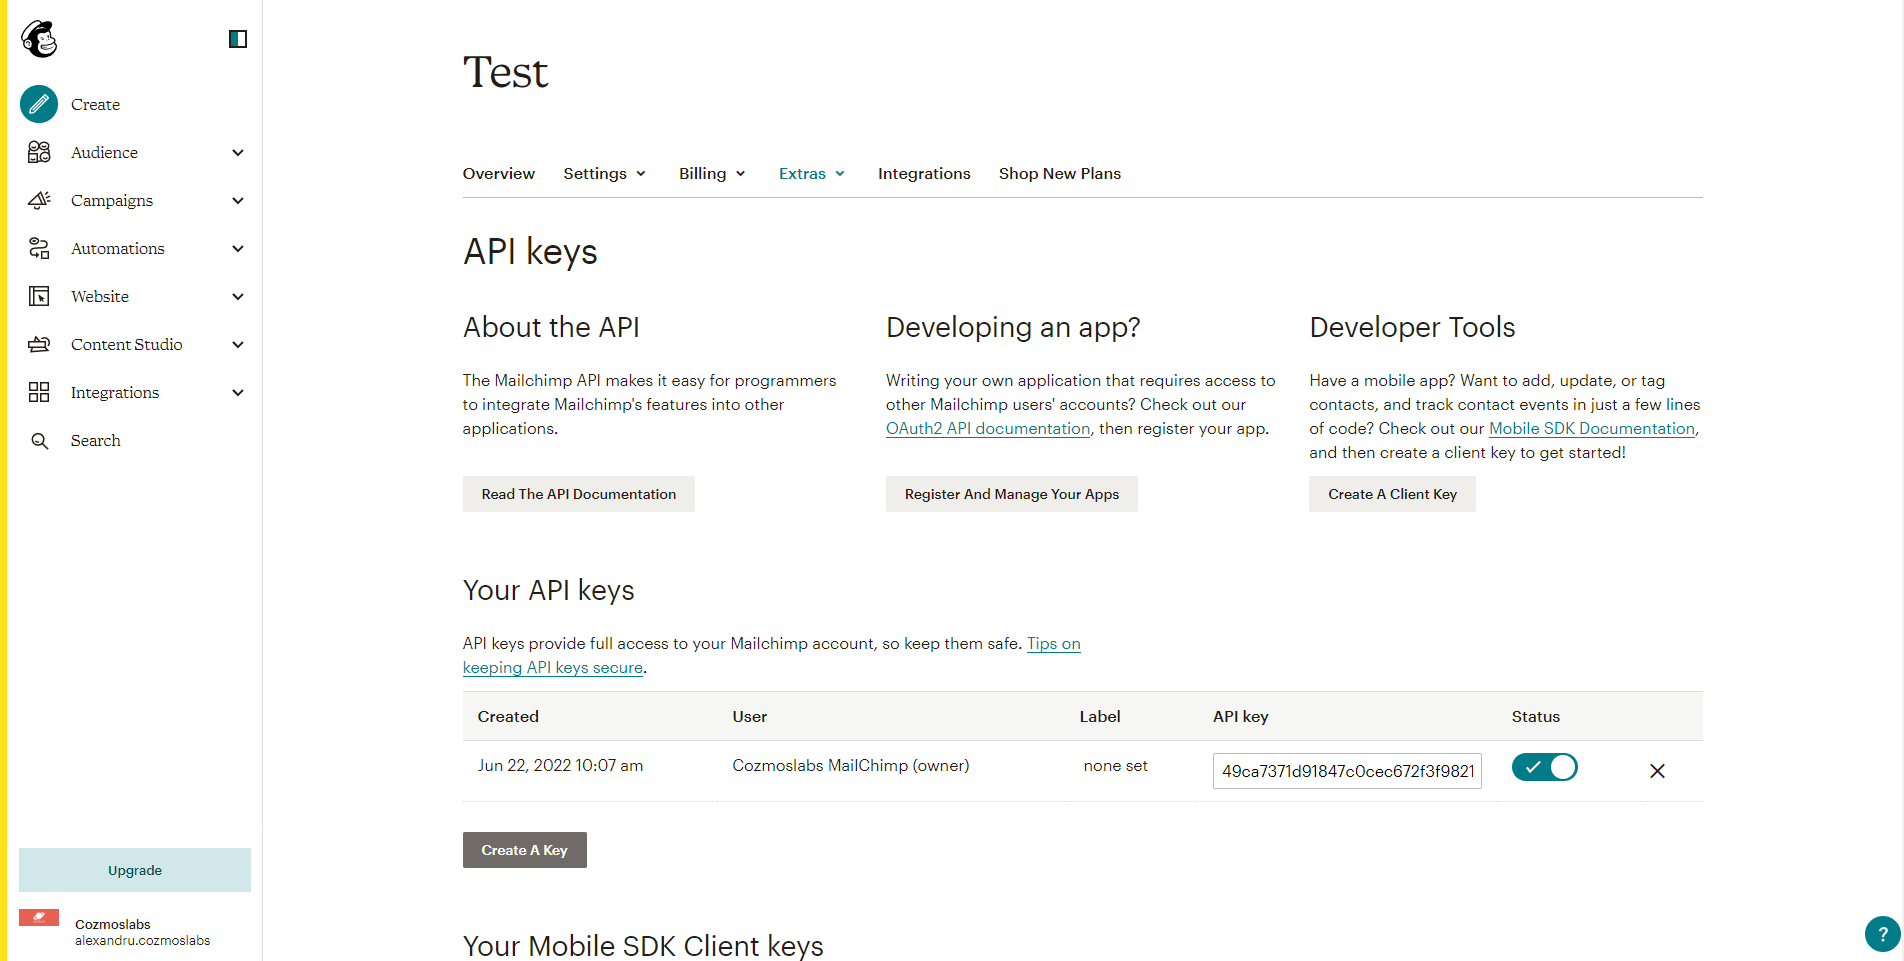
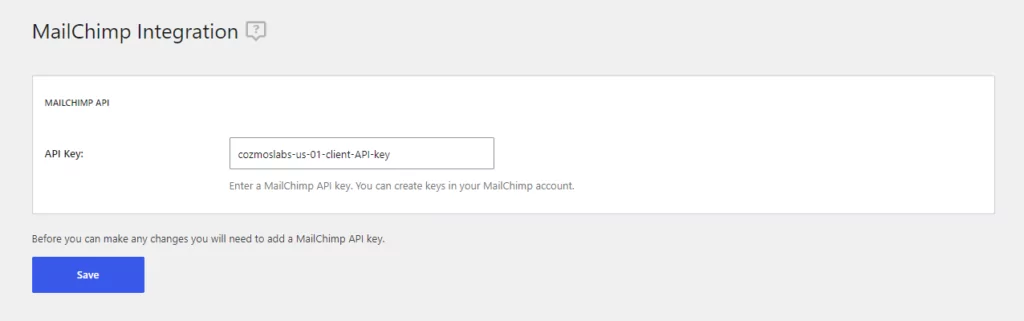
You will need to add and save the generated MailChimp API key in Profile Builder -> MailChimp in order to load your MailChimp Lists.
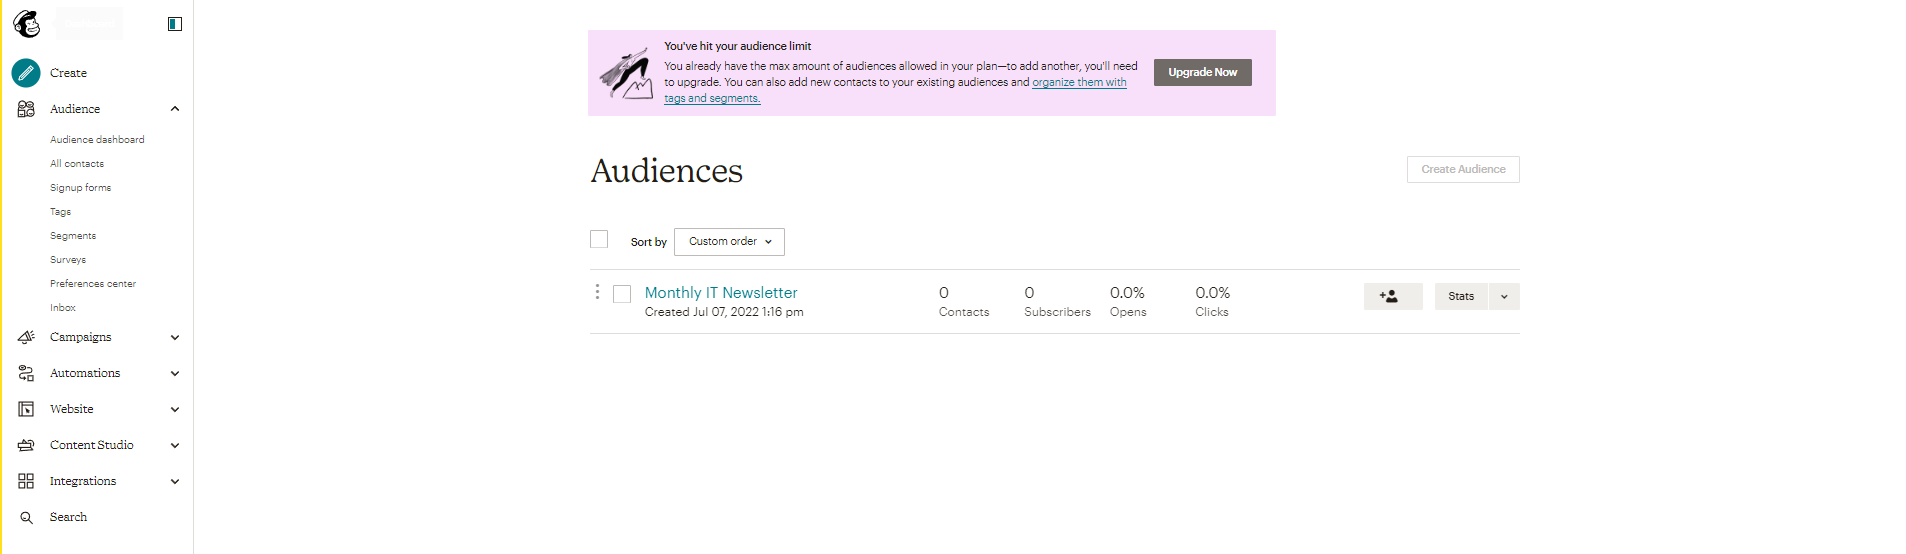
To create a MailChimp Audience you will need to login into your MailChimp Account and click on Audience. Here you will be able to create your first Audience by clicking on the “Create Audience” button.
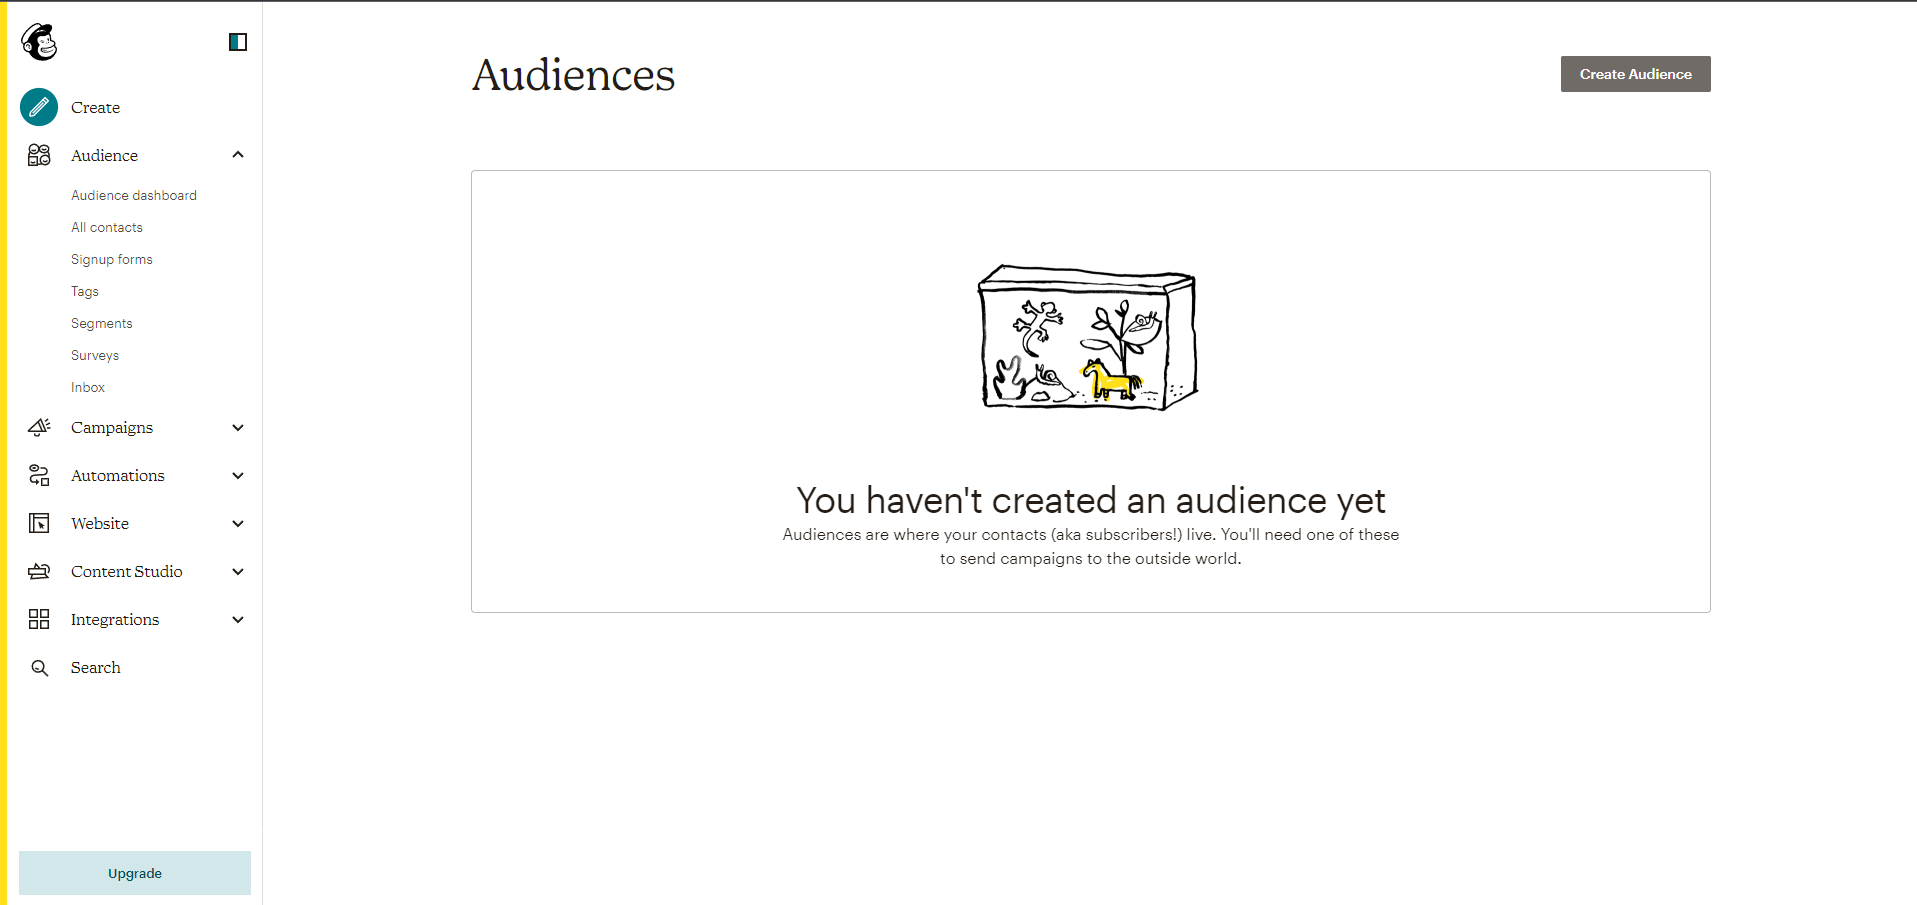
After you click on the “Create Audience” button you will be able to set up and save your first MailChimp Audience.
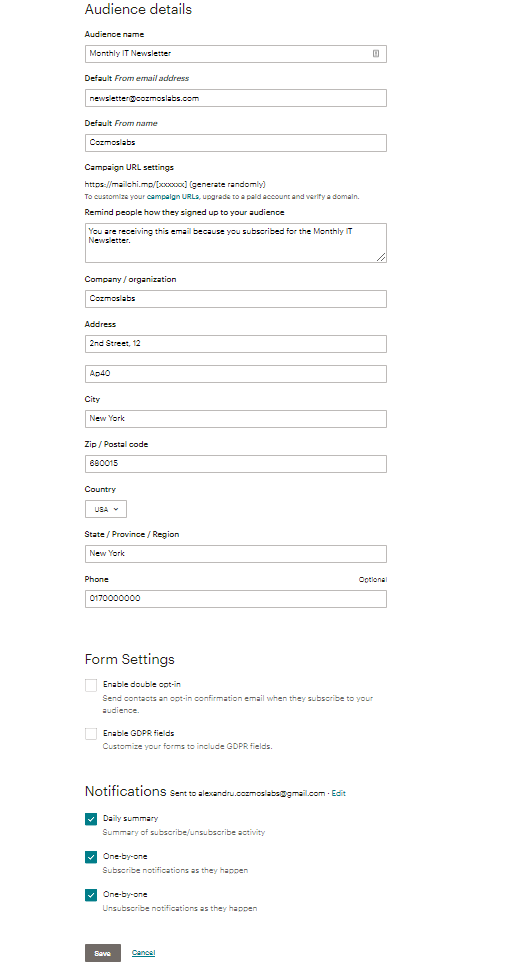
After we save the MailChimp Audience we will see it on the Audience page.
The next step is to set up the Signup Form. We can go to our Signup Forms if we click on Audience -> Signup forms.
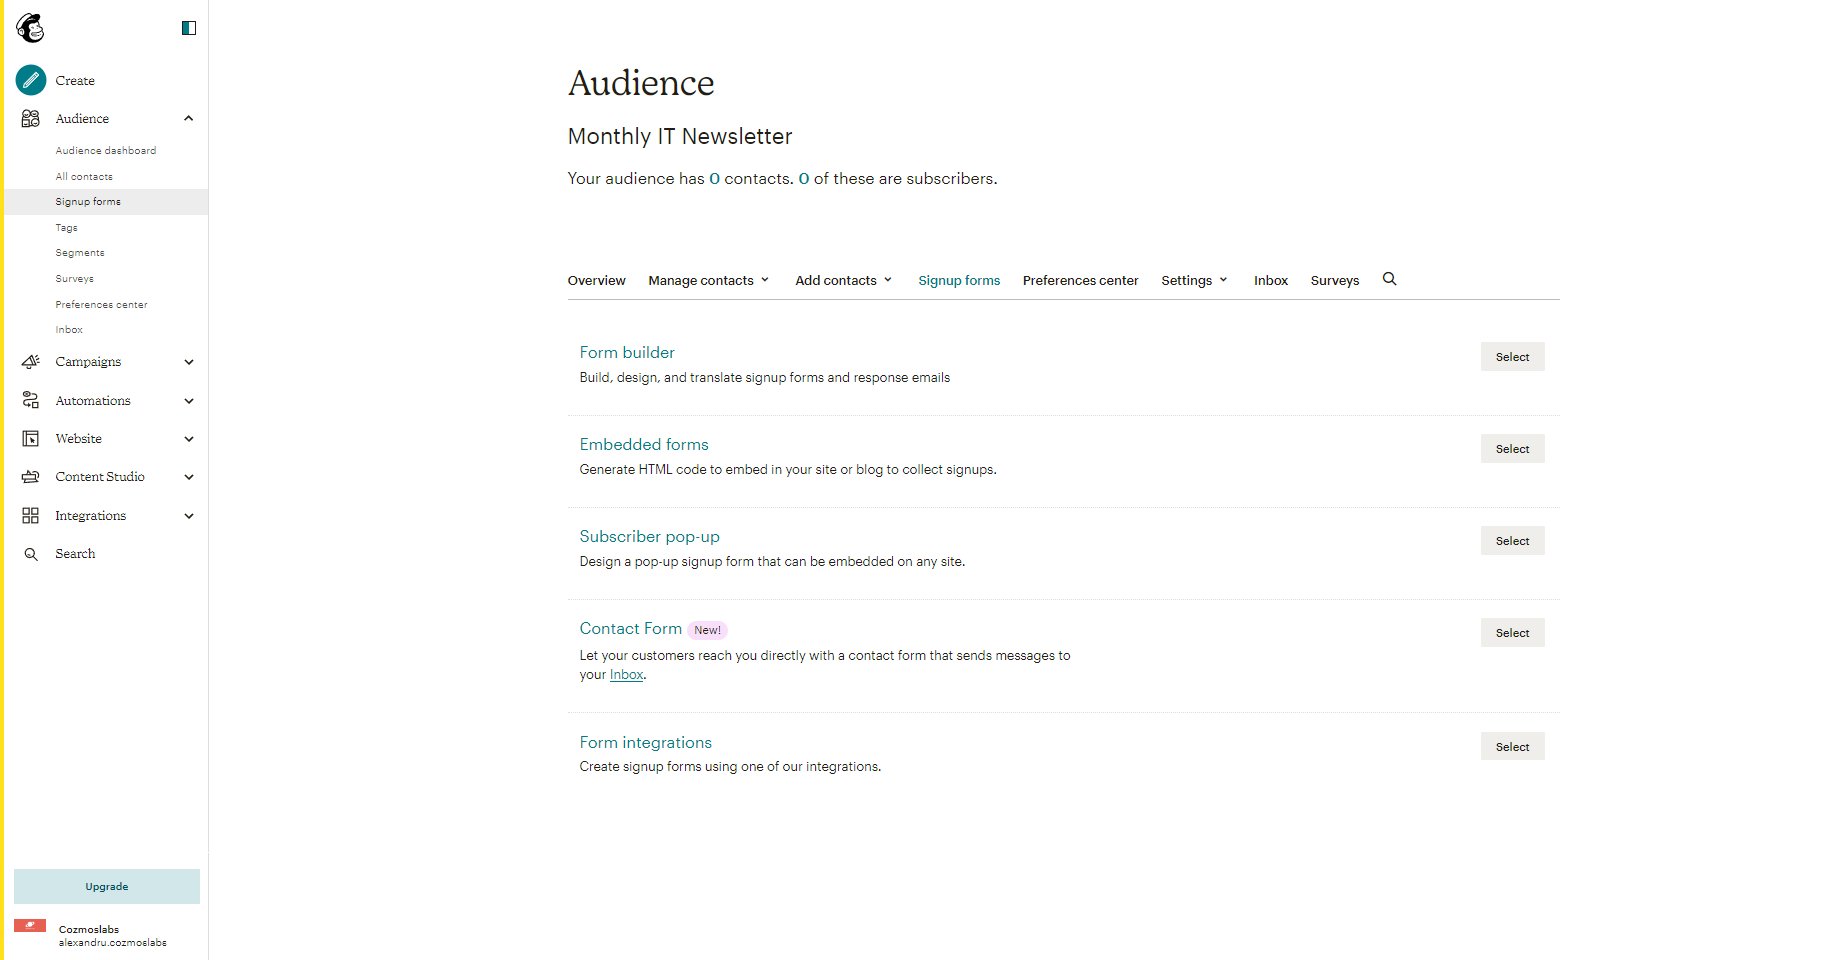
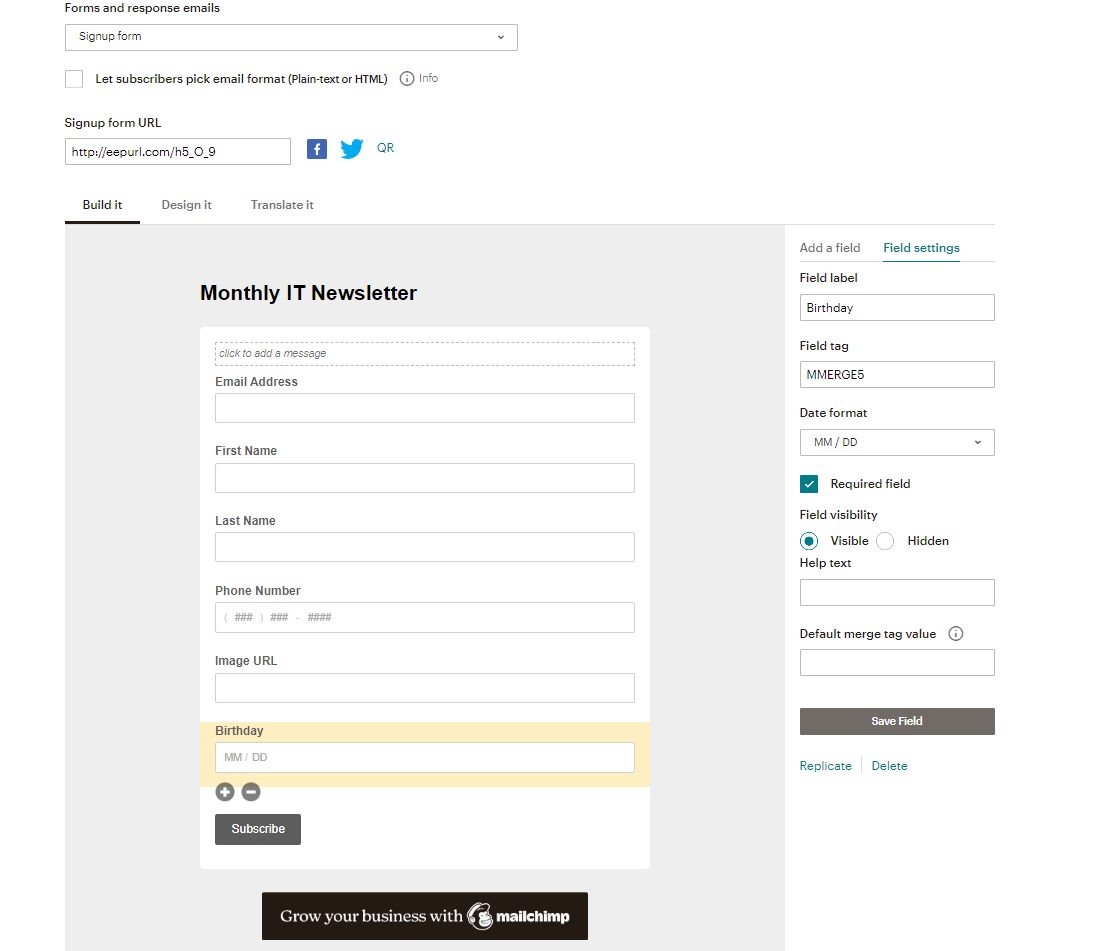
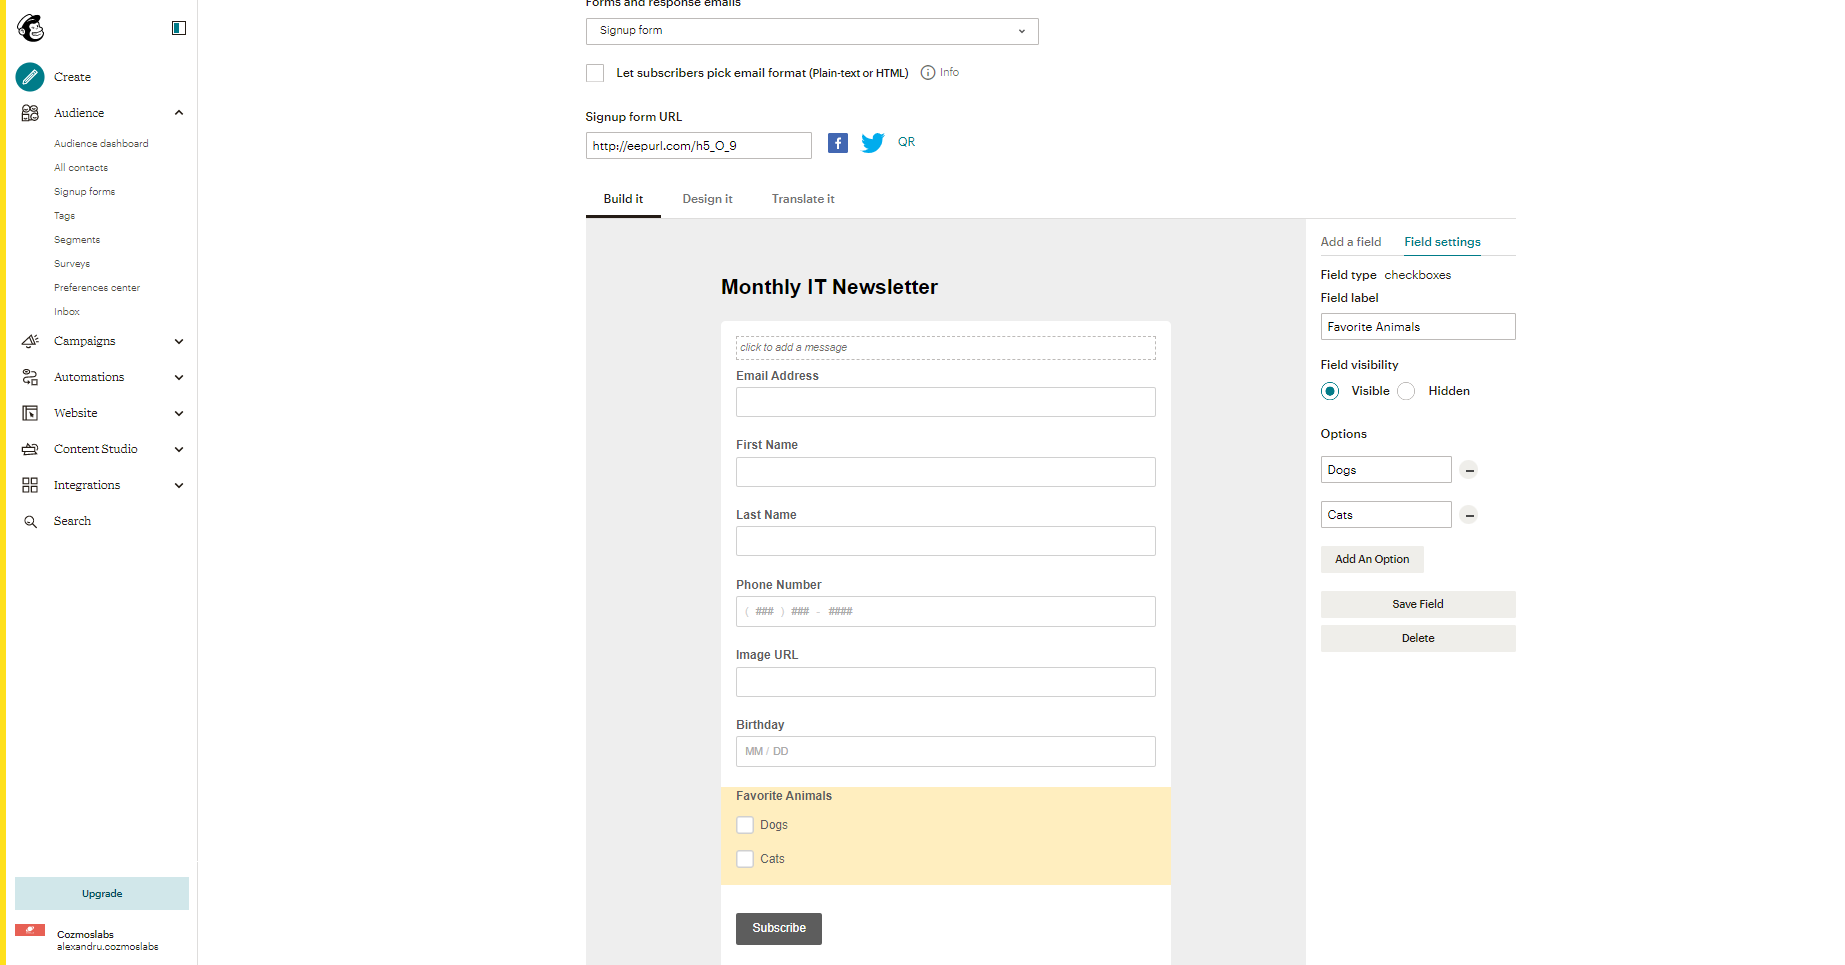
We will select the Form builder option for our MailChimp Audience. By default, the Signup Form has only a few fields. In most cases, this is sufficient when setting up a Newsletter but if you want to collect more user data we can add other extra fields.
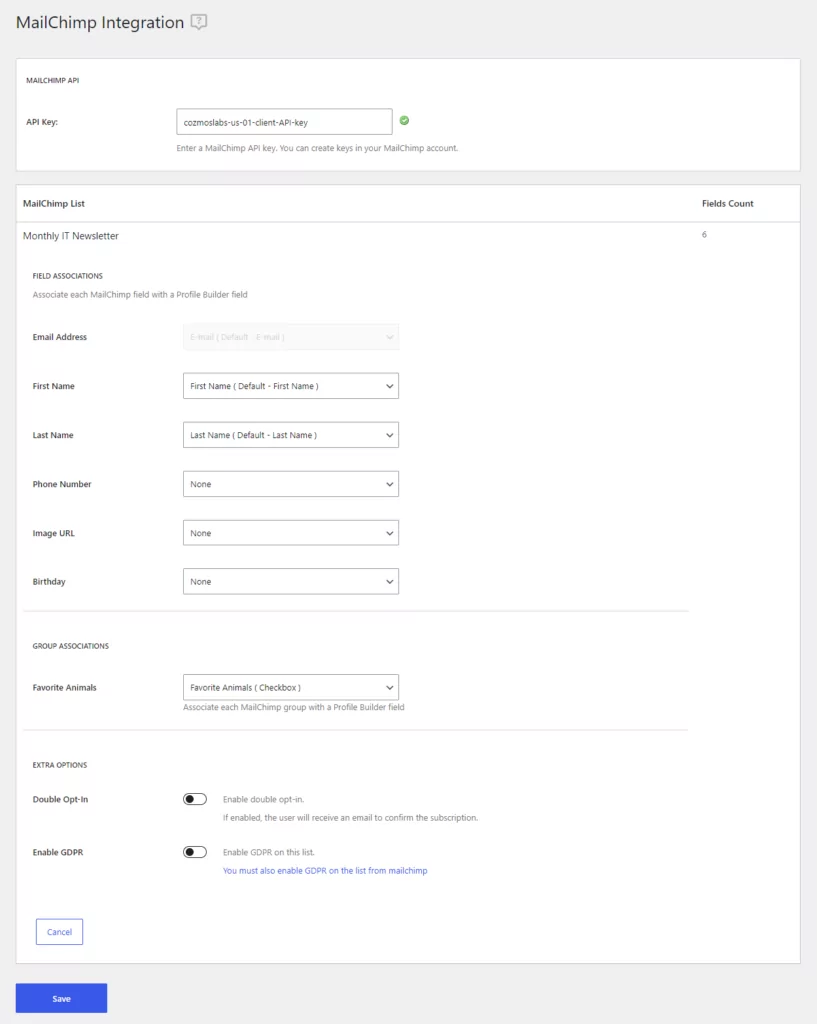
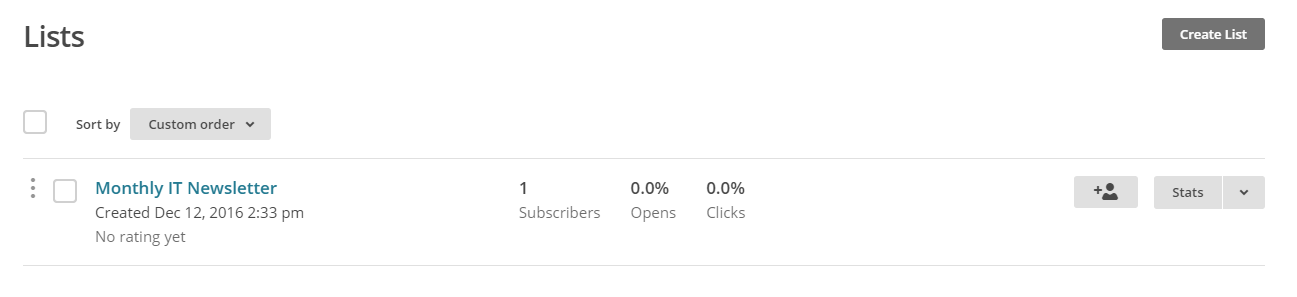
If the API Key is valid then the “Monthly IT Newsletter” list will be loaded and you will be able to edit it. In the Edit Panel of a list, you will be able to associate each of the MailChimp Fields with Profile Builder Fields.
By default, the Email Address field from MailChimp is associated with the Default E-mail field from Profile Builder and this cannot be edited.
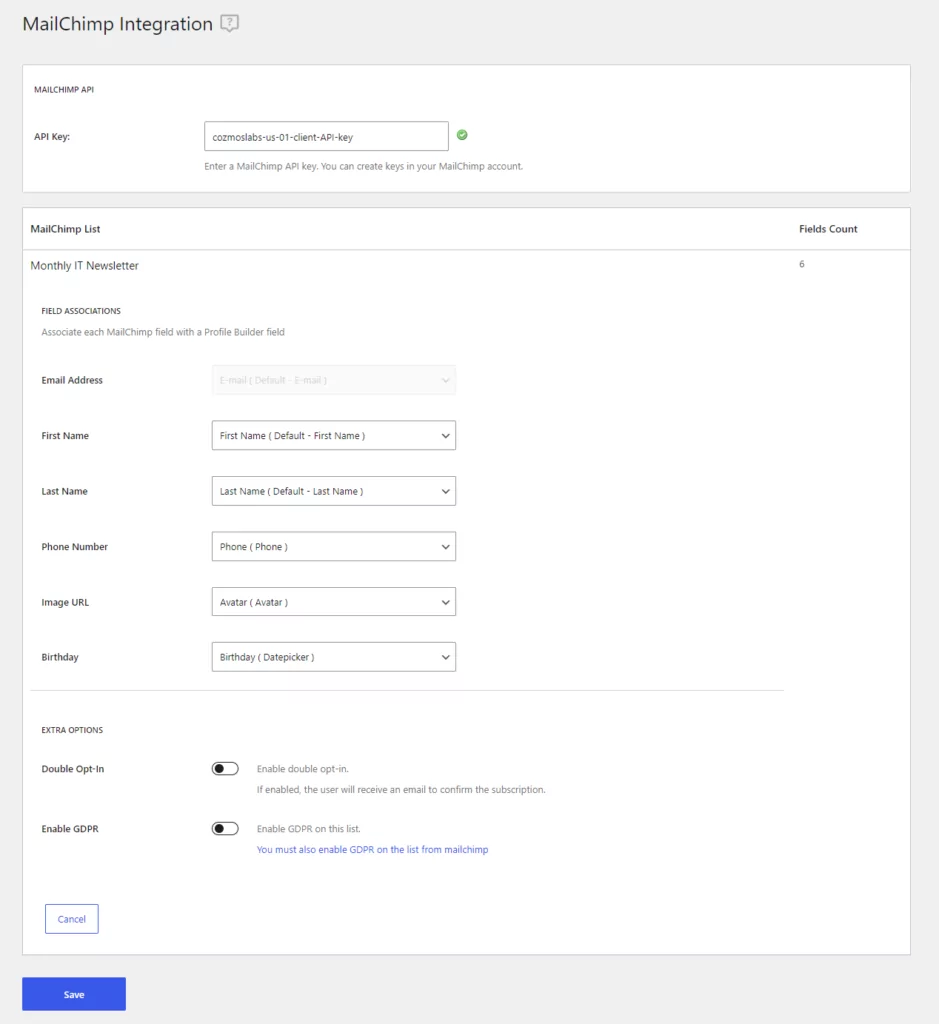
If your MailChimp list contains the First Name and Last Name fields, they will also be associated by default with their correspondents from Profile Builder. The Profile Builder Phone, Avatar and Birthday fields were created in Profile Builder -> Manage Fields.
Notes
In the Edit Panel we can set Extra Options:
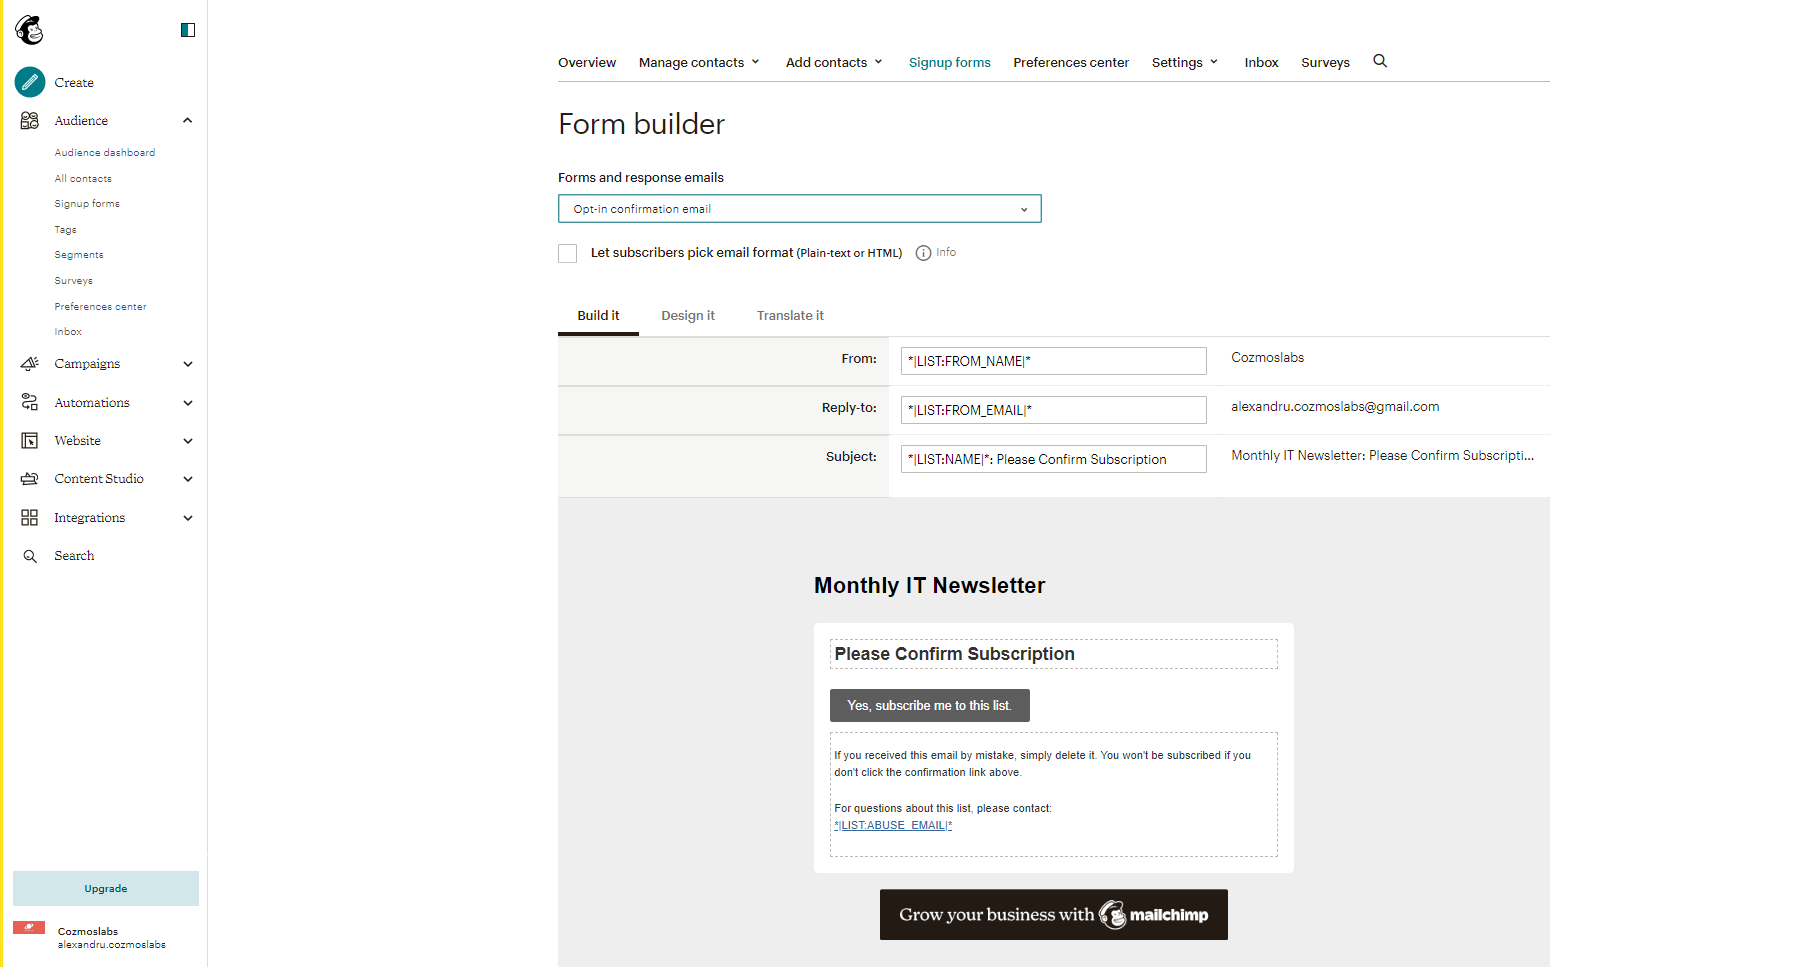
To customize the Double Opt-In Email template sent by MailChimp you will need to go to Lists -> Click on the List Name -> Signup Forms -> General Forms.
In the “Forms and response emails” drop-down select the Opt-in confirmation email.
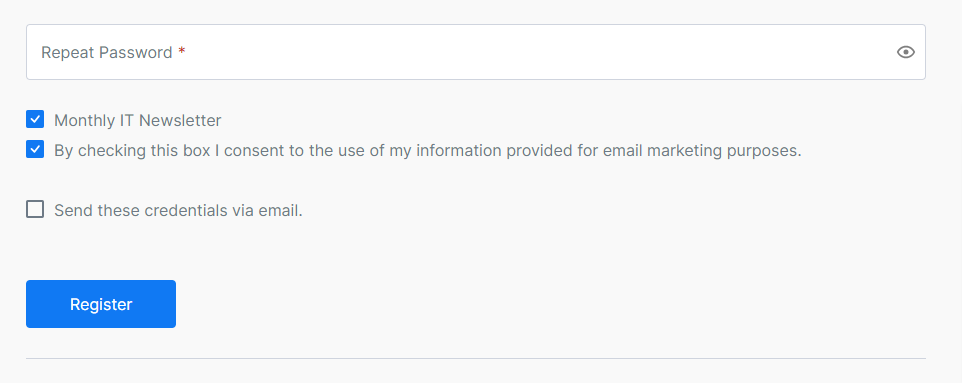
By enabling this option the following GDPR checkbox will appear on the front-end forms:
For this checkbox to work correctly you must also enable the GDPR on the list from Mailchimp.
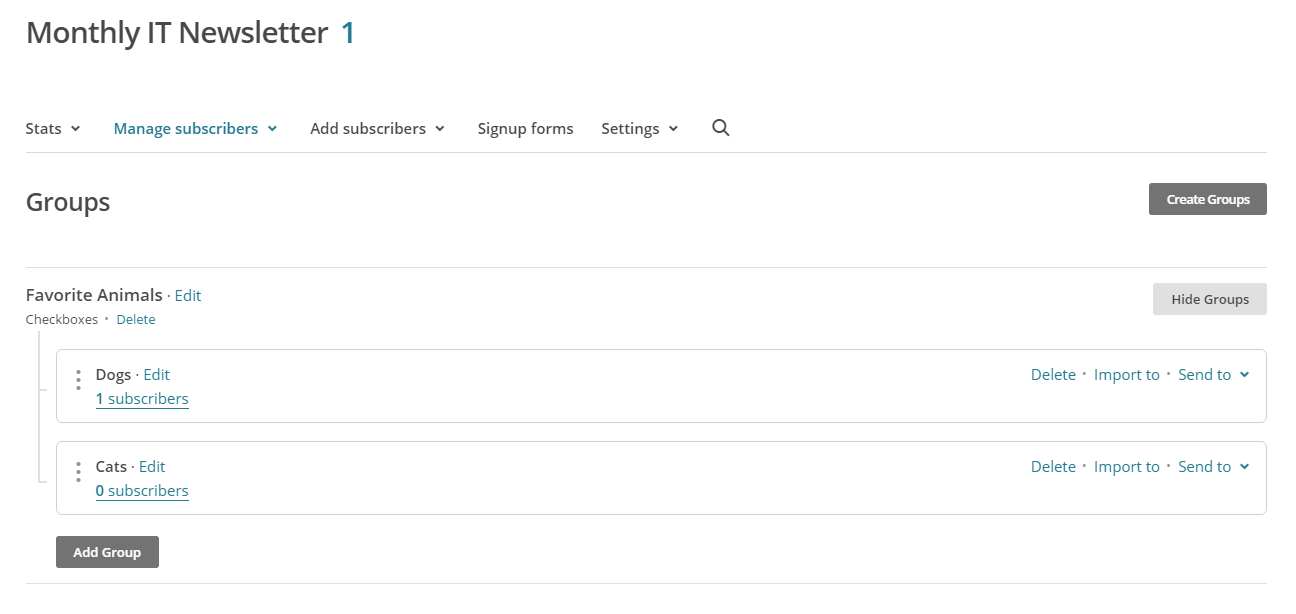
You may want to add users into certain MailChimp Groups, depending on the information they provide through Checkboxes, Radios or Select Drop-downs Fields, so that you can better segment your campaigns. To do this, you will have to associate MailChimp Groups with Profile Builder Fields, the same way as with field associations.
For example, lets say you have a Checkbox Field in your Signup form called Favorite Animals with 2 options: Dogs and Cats.
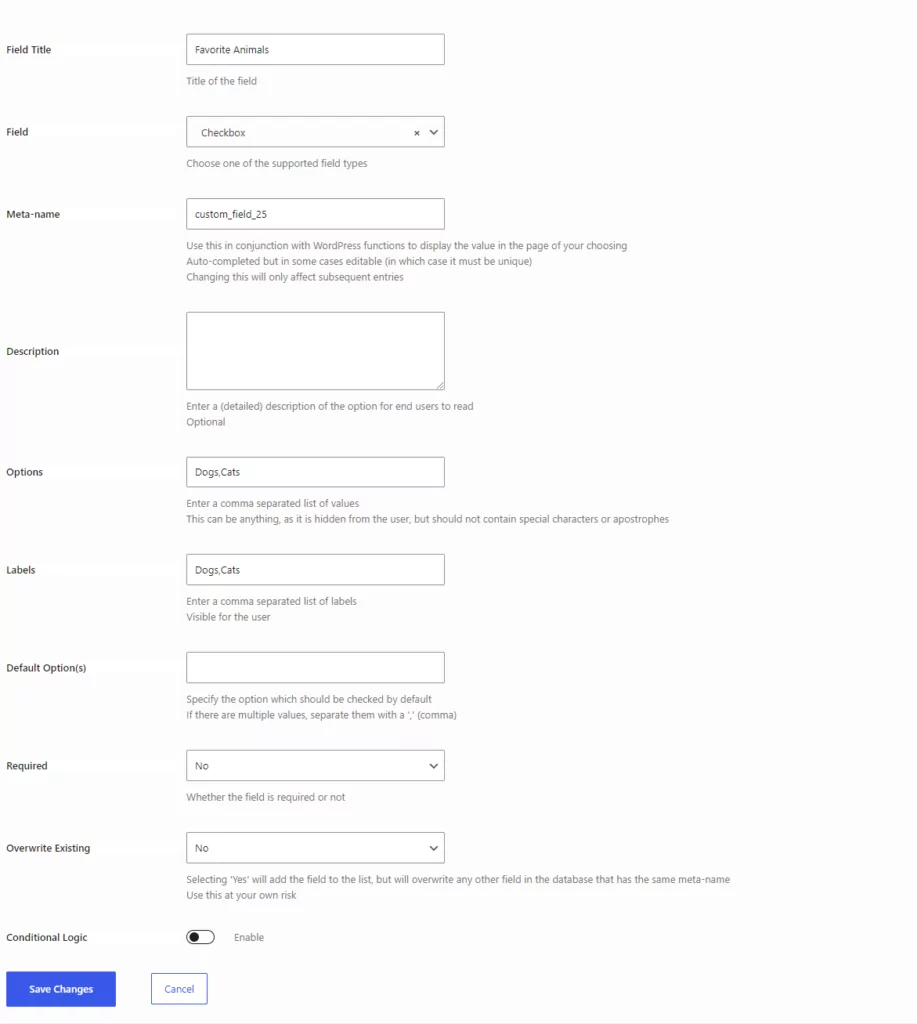
You will need to go to Profile Builder -> Manage Fields and add a checkbox field with the Field Title: Favorite Animals and in Options / Labels add: Dogs, Cats.
Now if you go to Profile Builder -> MailChimp -> Your list -> Group Associations -> Pair Favorite Animals with the Favorite Animals ( Checkbox ) created in Manage Fields.
Once the add-on is active the MailChimp Subscribe field will be added to the fields drop-down in Manage Fields. Here you will select the list you wish your new users to be added to.
By default, the field shows both on Register forms and on Edit Profile forms, but you can hide it from the latter if you wish. Also, you can set it to be “Checked by Default”.

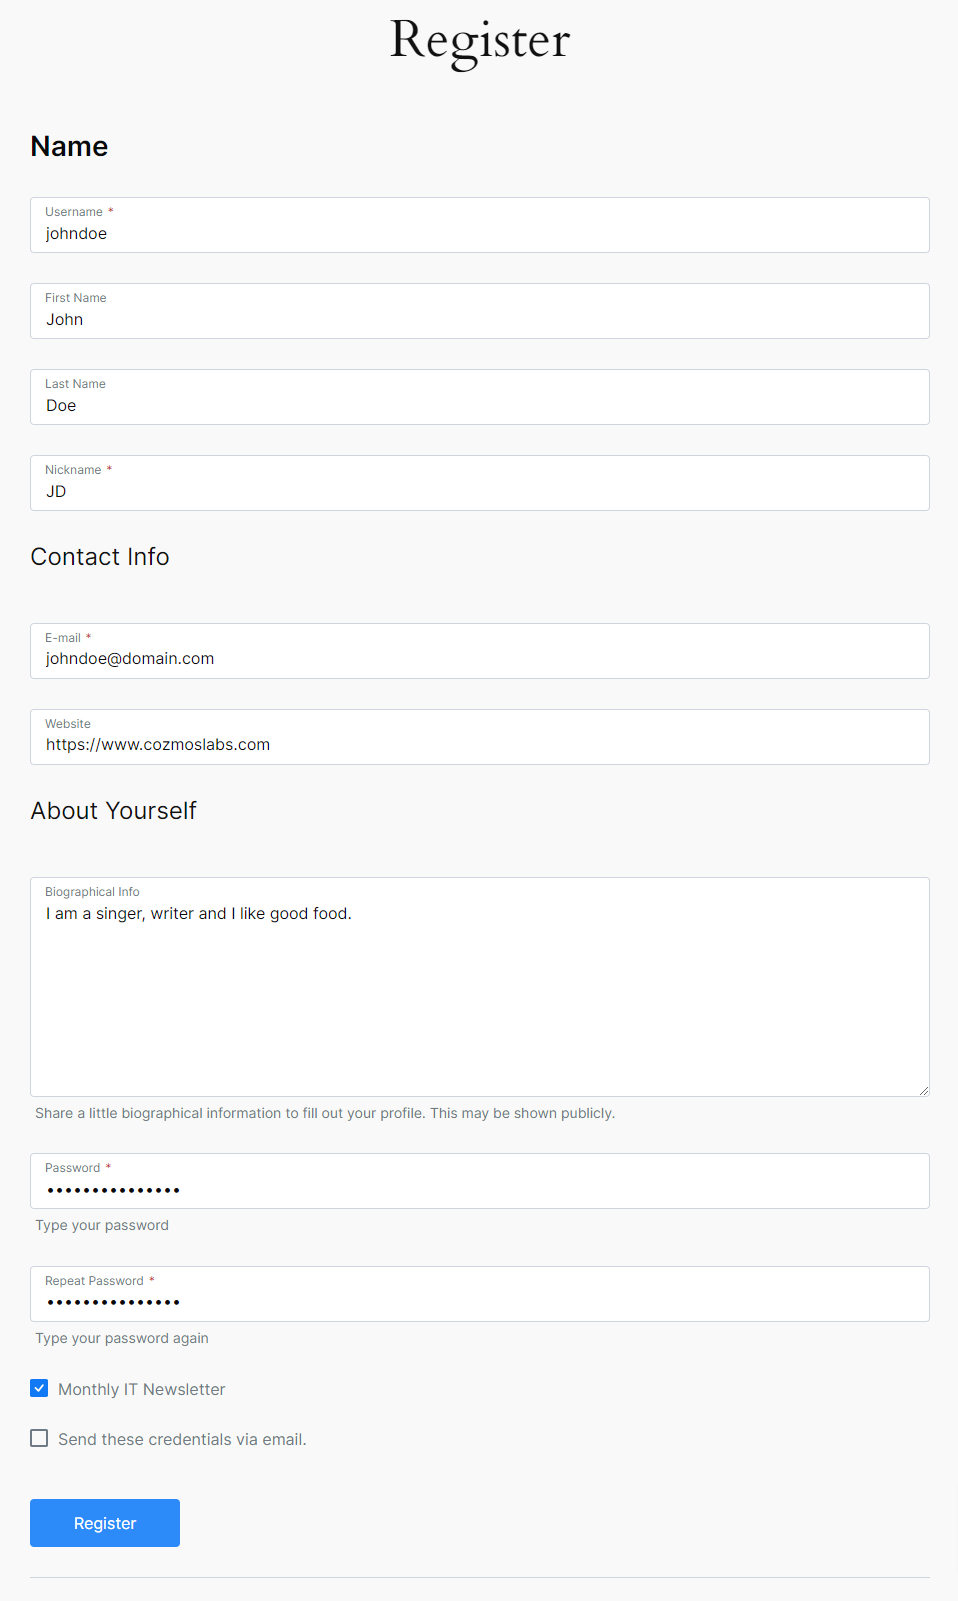
User Side
In the front-end part of your website, the field will be displayed as a checkbox. If the users check this option, when the registration is complete the data of the fields that have been associated with the MailChimp Fields will be sent to MailChimp and the new user will be subscribed to the list you have selected.
Double Opt-In option
If the “Double Opt-In” option is checked then after Registration this is the email received by the user.
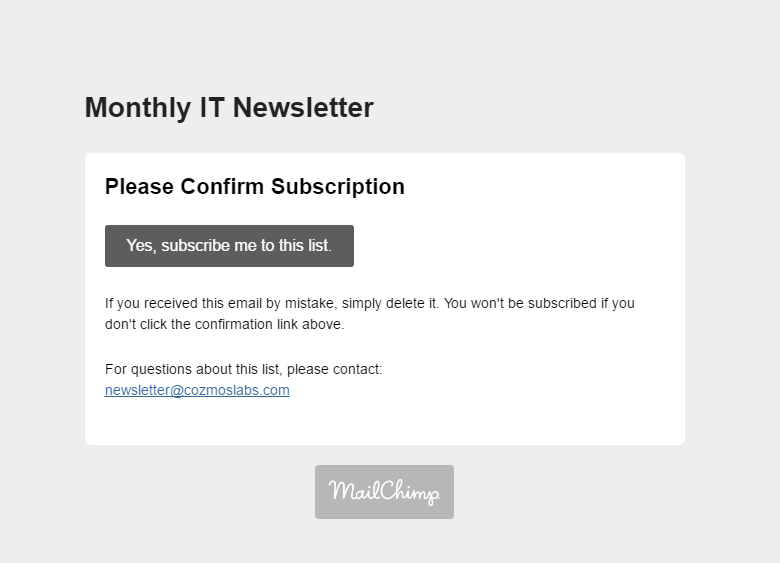
After clicking on the “Yes, subscribe me to this list.” button we will need to validate the reCAPTCHA in order to confirm our subscription.
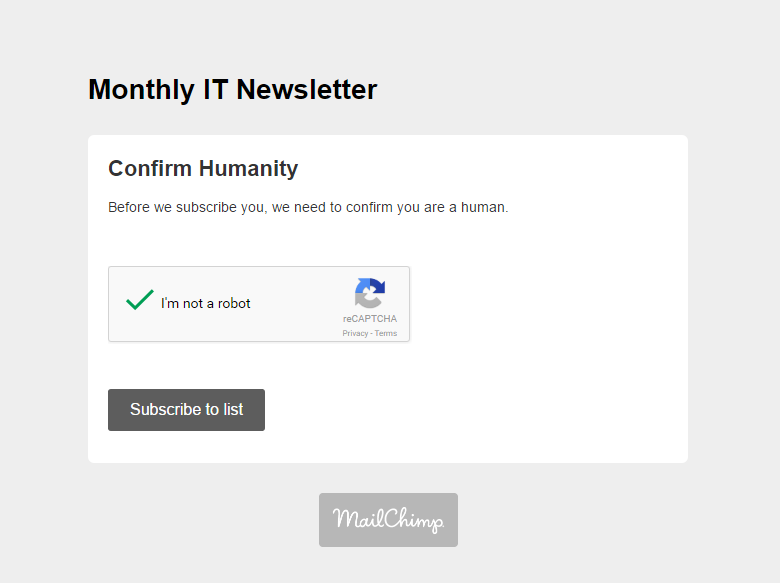
After confirmation users can continue to your website or manage their preferences.
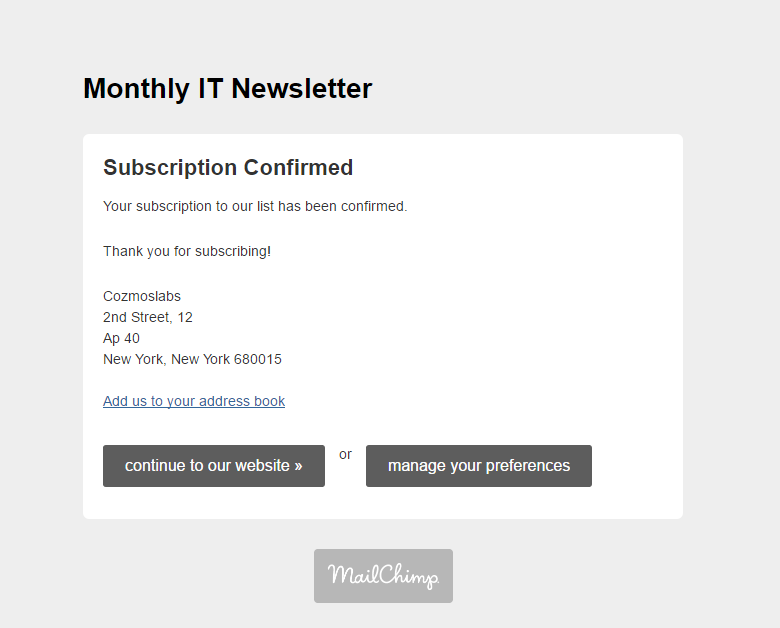
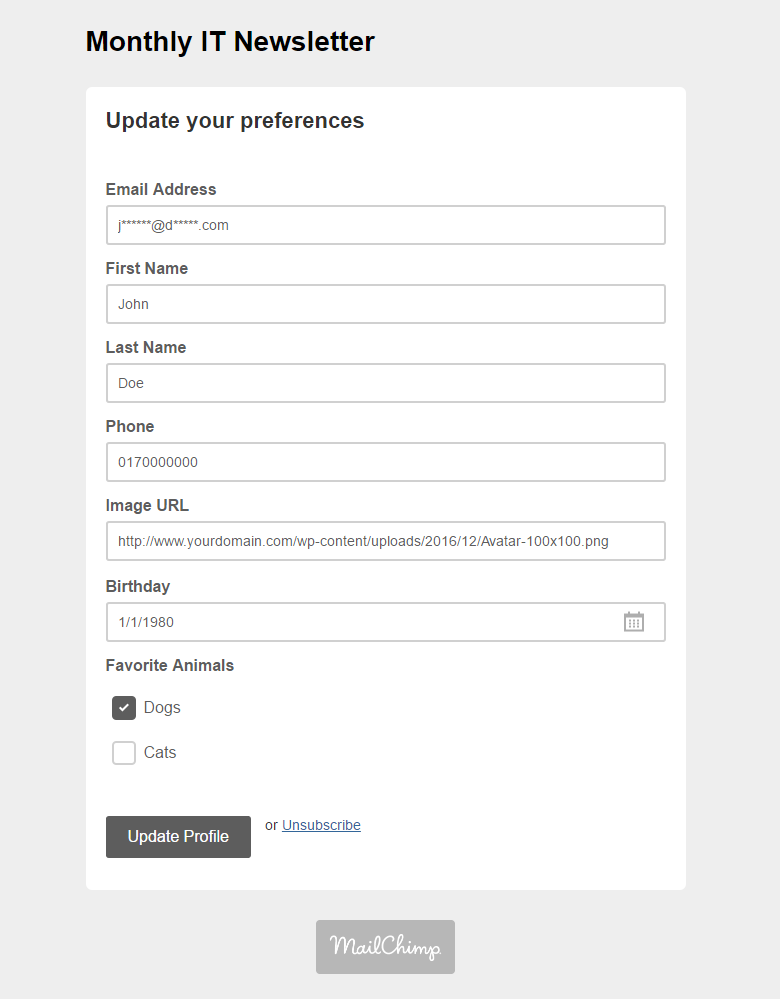
In the Manage Preferences section, users can update their data or Unsubscribe from the list.
Send Welcome Email option
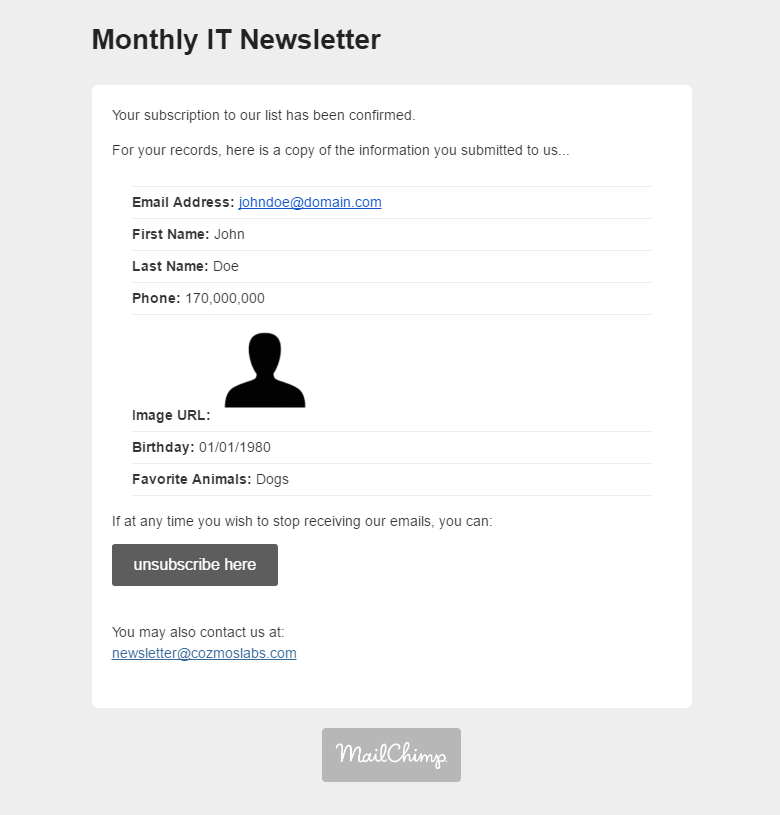
If the “Send Welcome Email” option is checked then after Registration this is the email received by the user.
Admin Side
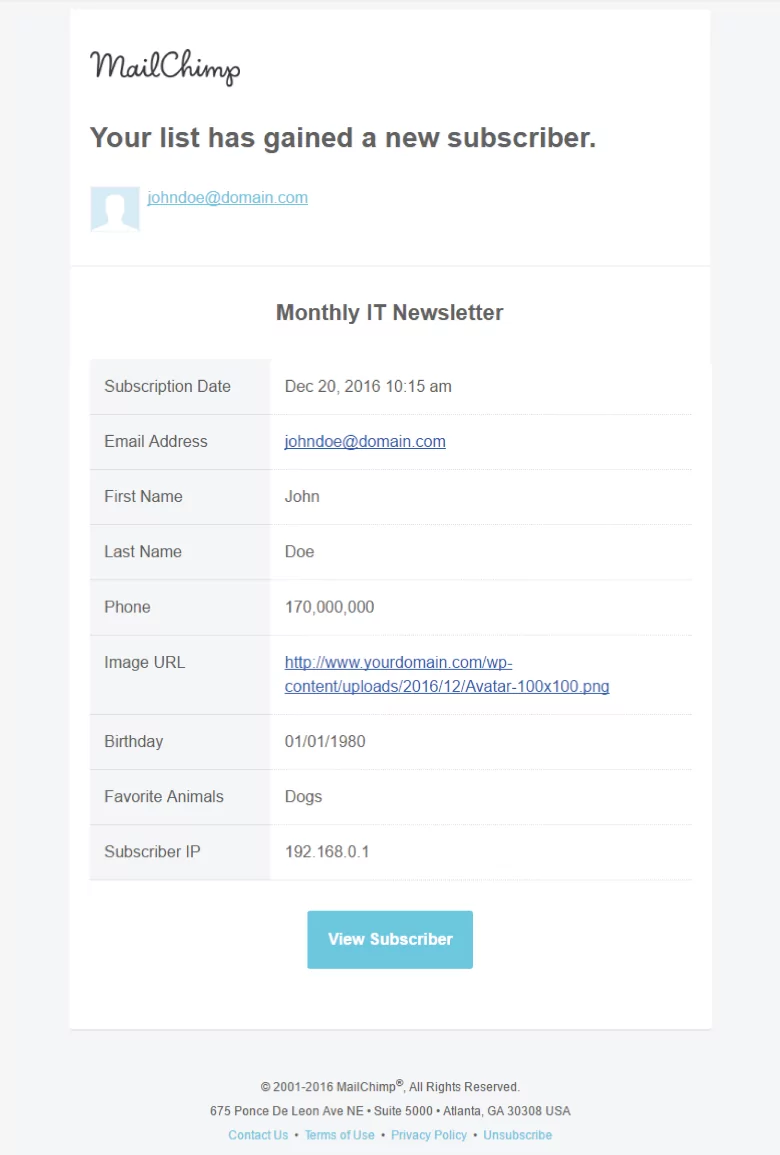
When we created the Monthly IT Newsletter List we checked in the Notification section the “One-by-one” option. This is the email notification that we receive for each of our new subscribers.
Clicking on the View Subscriber button will take you to the user’s profile in MailChimp.
We will be able to view our subscribers if we login into our MailChimp Account and go to Audience -> All contacts.
If we click on the Audience Name we will be able to view each subscriber and their data.
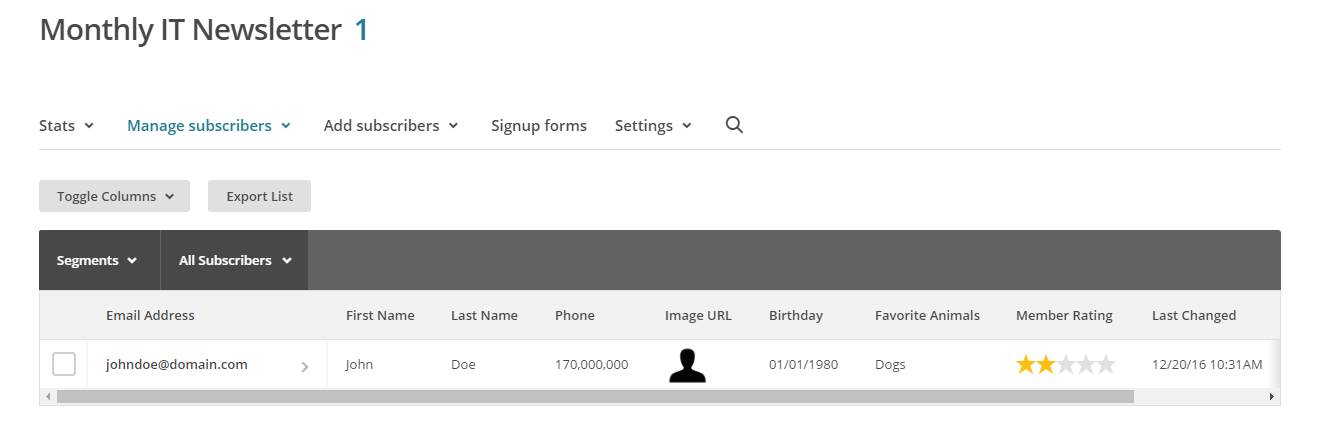
Since the user checked in the Favorite Animals field the “Dogs” value we will see that user in the “Dogs” Group.
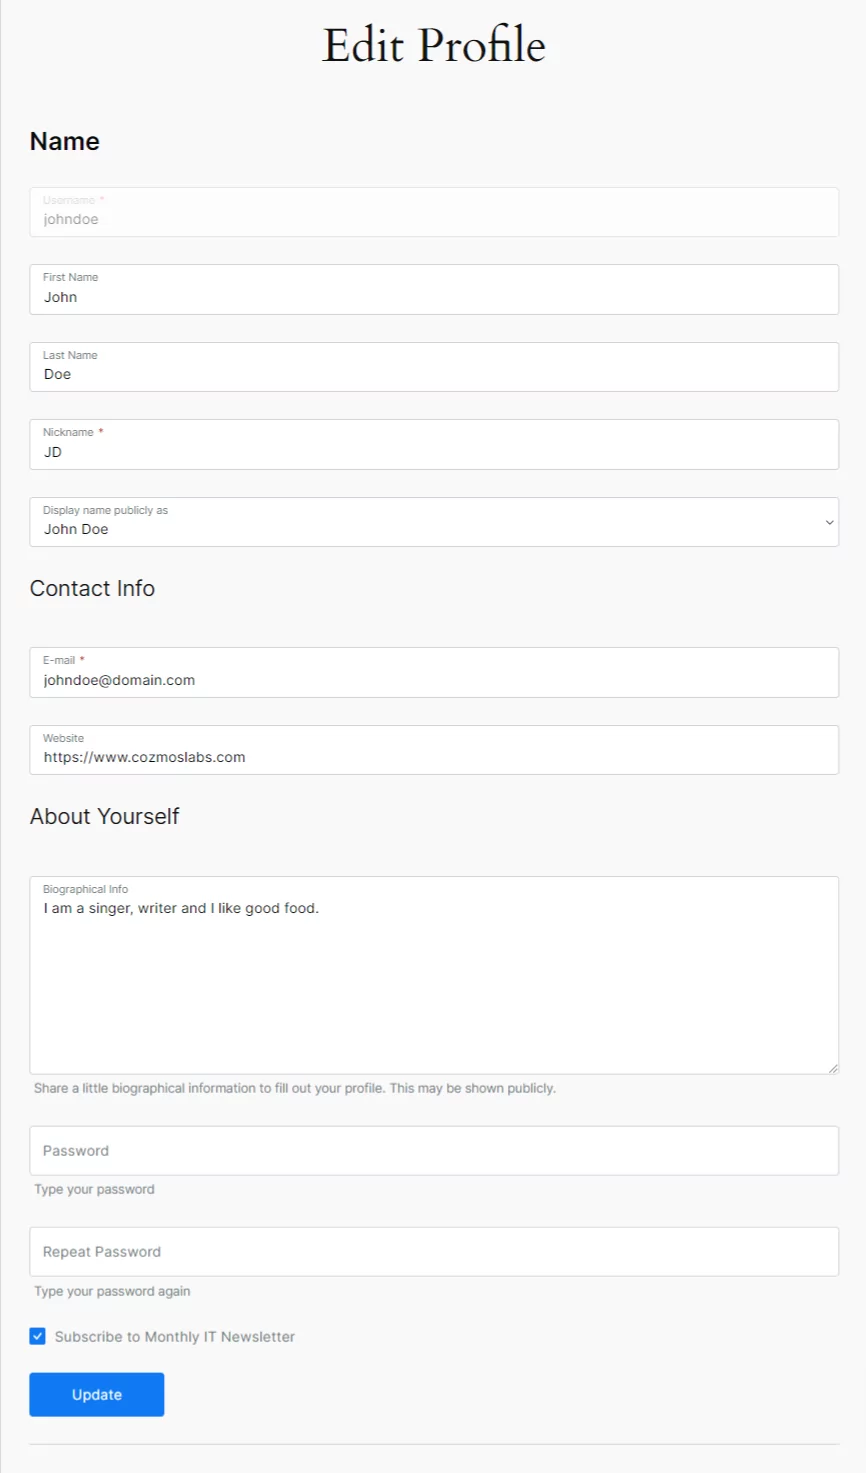
Users can subscribe or unsubscribe from the list if they login and access the Edit Profile Form created by Profile Builder.
If users update their profile using the Edit Profile form, created by Profile Builder, the new data will be synced with MailChimp. Updating the profile in MailChimp will not modify the profile in WordPress.
Unchecking the Subscribe checkbox, in our case “Monthly IT Newsletter”, will unsubscribe the user from the MailChimp List.
The add-on comes with a built-in widget that you can place in any widget area. By default, the widget has only the Email Address, First Name and Last Name fields from each list, and you can select which of these to display.
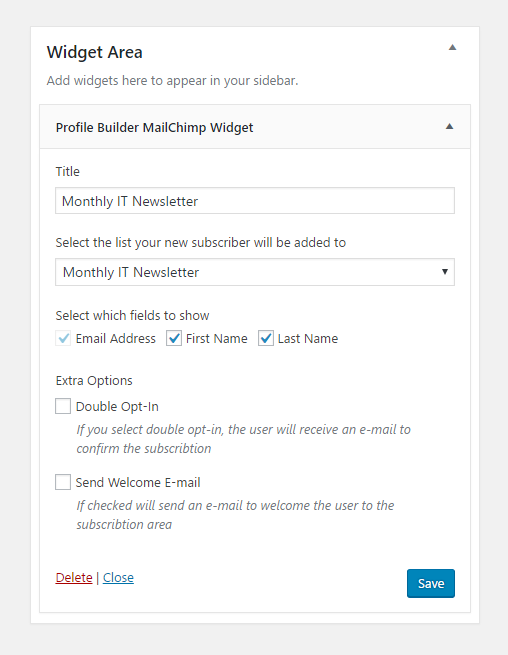
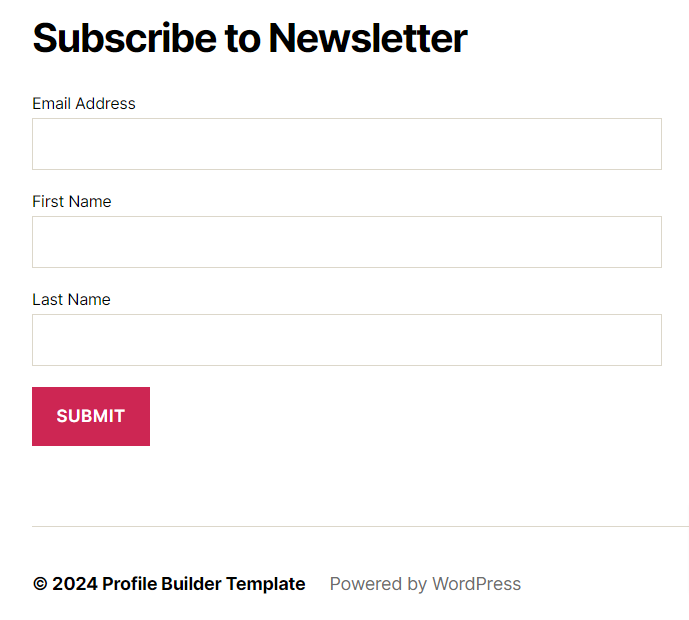
If all three fields are selected, in the front-end part of your website, the widget will look something like the one below.
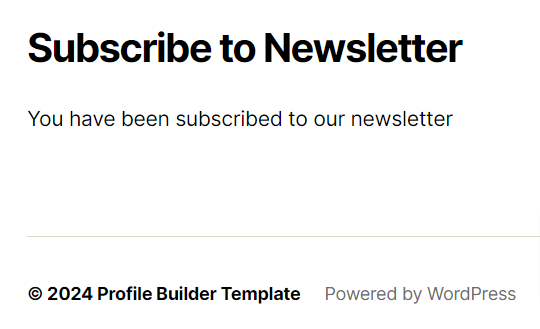
If the details are added correctly then the user will receive a thank you message and will be subscribed to the list you have selected.
There are a lot of names for the email you send with MailChimp: mass email, newsletter but MailChimp calls each email message a “campaign“. MailChimp Campaign Builder walks you through building a campaign, step by step.
MailChimp covers a few basics about Campaigns in this article, including what you need to know before you start building a campaign, and an overview of the MailChimp Campaign Builder tool.
In order to import users into your MailChimp list, you will need to follow this tutorial.
When a subscribed contact clicks the unsubscribe link in your MailChimp campaign, or when you manually unsubscribe a contact, the system assumes it was done on purpose and changes the contact’s email marketing status. But we know accidents happen, so there are a couple of ways to resubscribe a contact.
First, read the MailChimp Resubscribe a Contact article.
To resubscribe a user you will need to add inside your Widget Area the Profile Builder MailChimp Widget that is connected to your MailChimp list. Also, make sure to check the Double Opt-In option.
If inside your MailChimp List, you have Extra Fields that are Required the Widget will not work. You will need to create a new list that uses only the default fields: Email, First Name, and Last Name, or use the existing list and make sure the Extra Fields are not Required.
Basically, that user will need to resubscribe using the Widget.
MailChimp is an Advanced add-on, available only with a Profile Builder Basic or Pro license.
Create beautiful front-end registration and profile forms with custom fields. Setup member directories, custom redirects, cutomize user emails & more using the all in one user management plugin.
Get Profile BuilderCombine the power of Profile Builder with Paid Member Subscriptions to set up user registration, memberships, and recurring revenue.
Get 25% off with the bundle
