The Roles Editor feature is available starting with version 2.6.2 of Profile Builder Free, Basic and Pro
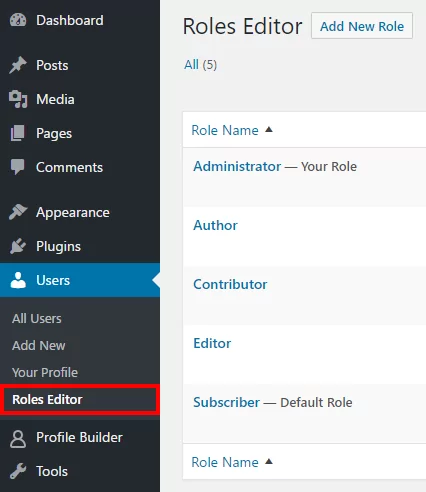
To activate this feature go to Profile Builder →General Settings and enable the “Roles Editor” functionality, then click Save Changes.
After this, you will find the Roles Editor sub-page under the Users page.
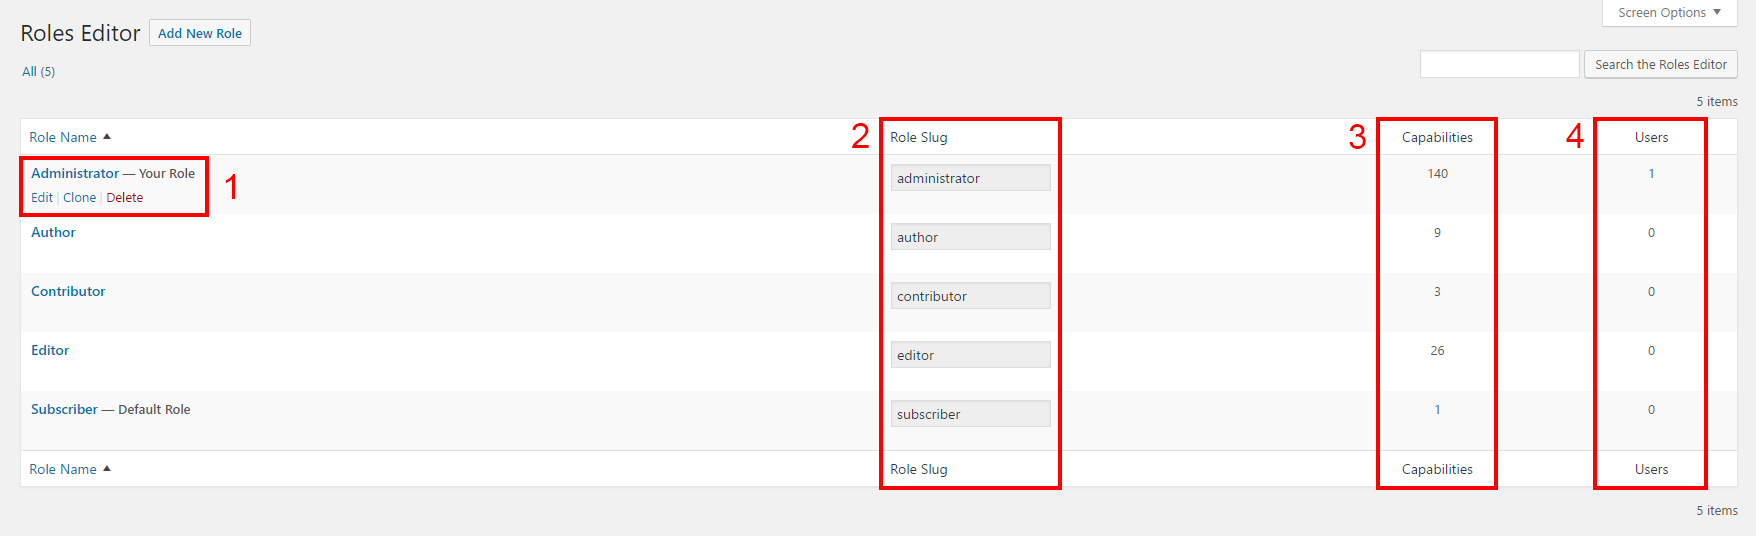
Roles Editor Page
Under every role you have options:
Edit – to edit the role
Clone – duplicate role capabilities to a new role (saves time when you create a new role)
Delete – permanently delete a role – (important) This can’t be undone! (you can’t delete your administrator role or default role – change the default role to another and then delete the old one)
Change Default – this option is displayed only for the default role so you can go and change it
Role Slug – this is the role slug / id (can be different than role name / display name)
Capabilities – number of capabilities assigned to that role
Users – number of users with that role
If you delete a role, it will be removed from all users that currently have it
If this results in the user having no other roles, he will be assigned the Default Role from your website
Capabilities text colors:
blue – that capability is a new one added and it is not saved until Publish / Update button is clicked
black – an existing capability of that role
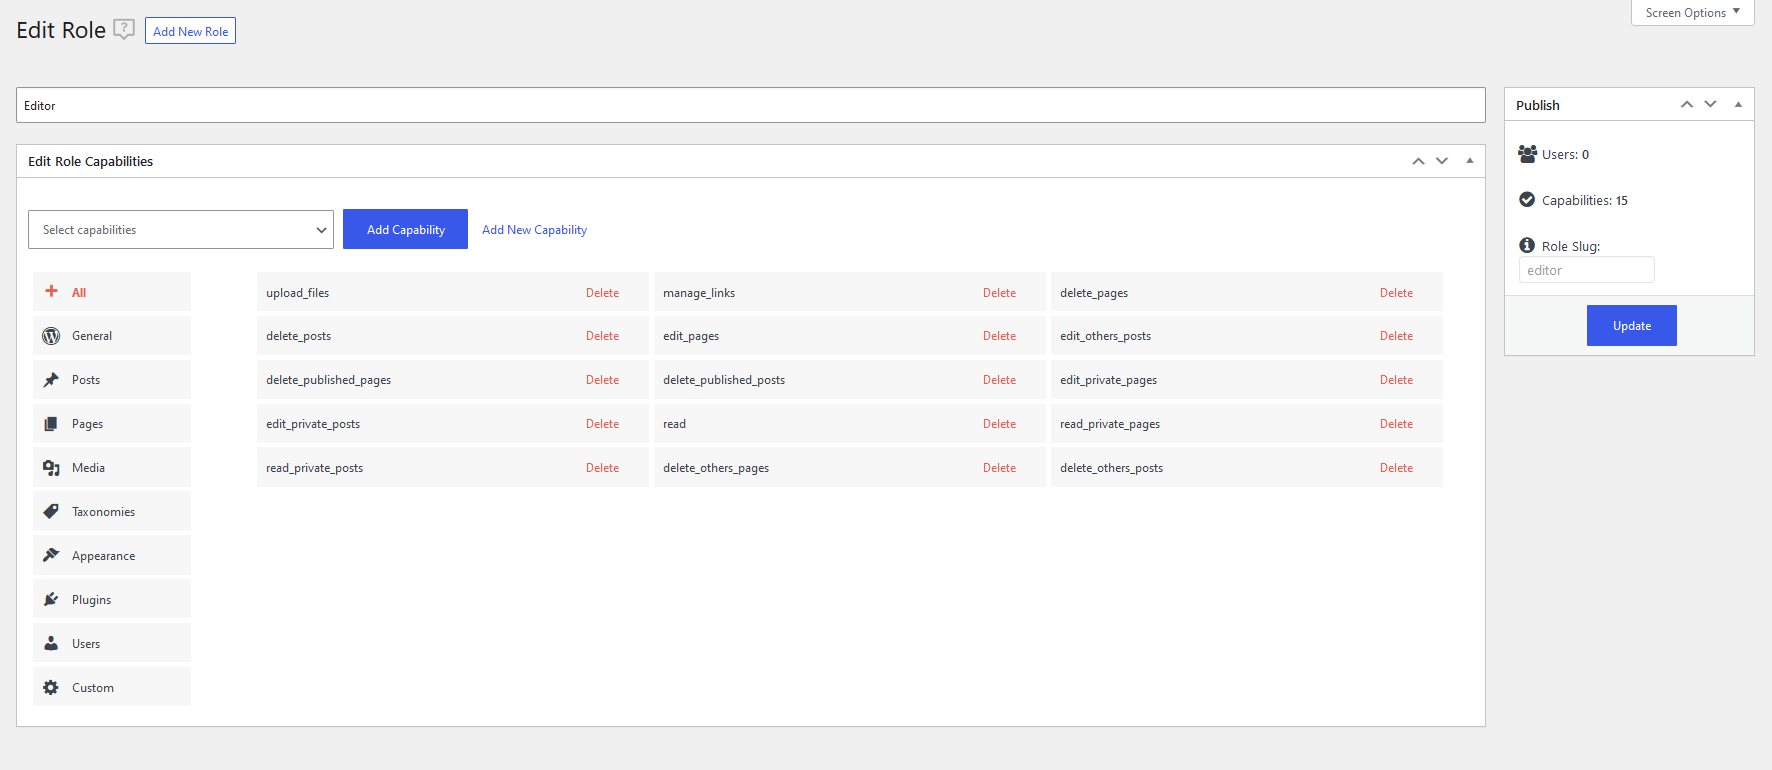
Individual Role Edit
Edit the user role to add or remove capabilities
The Slug and Display Name can’t be edited for existing roles, you can only edit them when a role is created for the first time
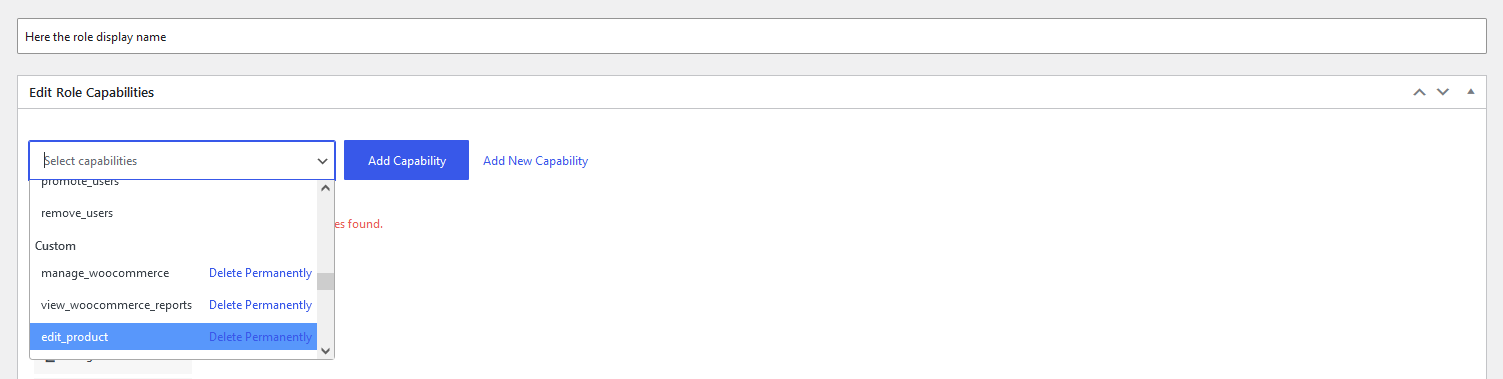
Capabilities
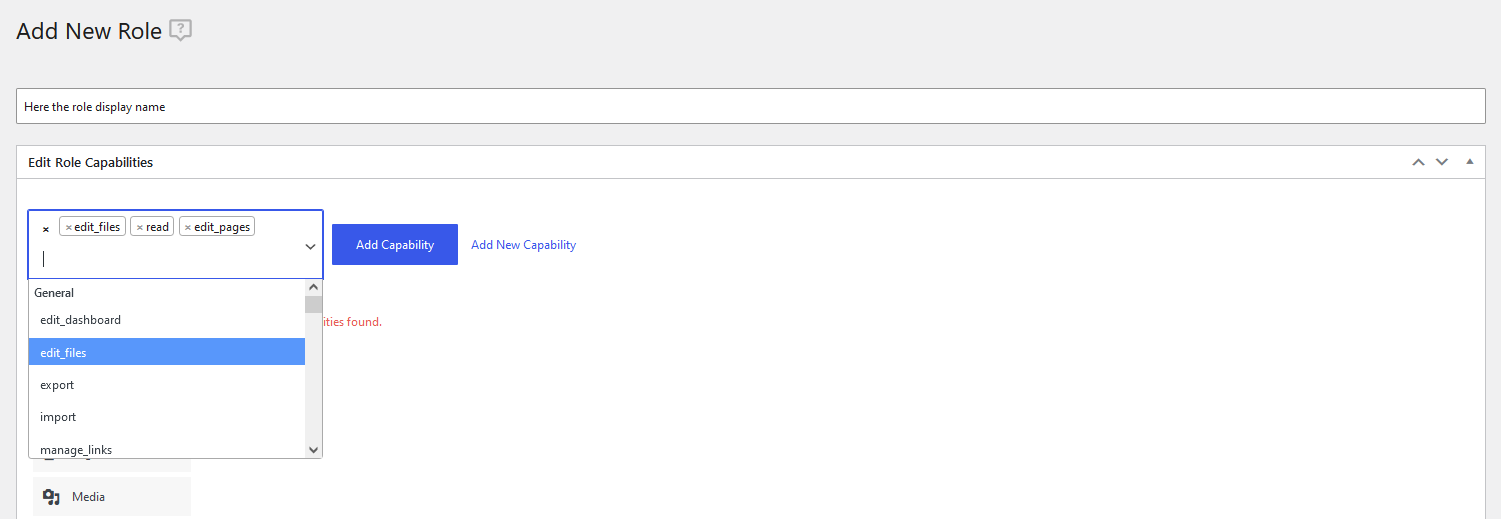
Use multiple select to add one or more existing capabilities to a role
Use Add New Capability link to change the select to input and add a new custom capability
Delete Permanently:
(important) This can’t be undone! To add it back you must add it to a role as a new custom capability
only for custom capabilities – created by you or by plugins
deletes the capability from you site and from every role
Profile Builder Pro
Create beautiful front-end registration and profile forms with custom fields. Setup member directories, custom redirects, cutomize user emails & more using the all in one user management plugin.