
Table of Contents
Creating a custom WordPress dashboard is much easier than you might think. There are a lot of built-in features you can use to customize the WordPress dashboard and several plugins that will enable you to take things even further. If you’re ready to change the way the dashboard looks, you need to know how these features work.
Having a custom WordPress dashboard isn’t just about aesthetics. You can also move elements around so they’re easier to access and hide options you don’t need. When you add up all of these small changes, you end up with a dashboard that’s much more intuitive and that can make your work a lot easier.
In this article, we’ll talk more about why it makes sense to create a custom WordPress dashboard. Then we’ll show you several ways to do it. Let’s get to work!
Why Customize the WordPress Dashboard
There are a lot of reasons why you might want to create a custom WordPress dashboard. If you’re only making visual changes, such as changing colors or using a dashboard “theme”, you might enjoy using the admin area more. This is important because you’re going to spend a lot of time in the dashboard running your website.
If you’re interested in changing how the dashboard functions, your main goal should be to make it easier to use. Any change, no matter how small, that can save you time over the long run is worth implementing.
It’s also important to think about how other people will use the dashboard. It’s not uncommon for developers to hide options in the dashboard for client websites or to assign them user roles with fewer permissions. Creating a WordPress custom dashboard for users makes it easier to avoid running into scenarios where clients who don’t know how to use WordPress break their sites.
Ultimately, you can create a WordPress custom admin panel for any reason you want. What matters is that you do it safely and without breaking any functionality on the website.
How to Create a Custom WordPress Dashboard (3 Methods)
Before we go any further, it’s important to understand what elements make up the WordPress dashboard. For our purposes, the dashboard refers to any part of the WordPress administrative area from the moment you try to log in to any option and settings page you use to make changes to the website.
The dashboard contains hundreds of options and elements. In this tutorial, we’re going to focus on helping you make changes to existing elements and not add new ones (as that’s something you usually do with plugins). With that in mind, let’s get to it.
1. Use the Screen Options Settings
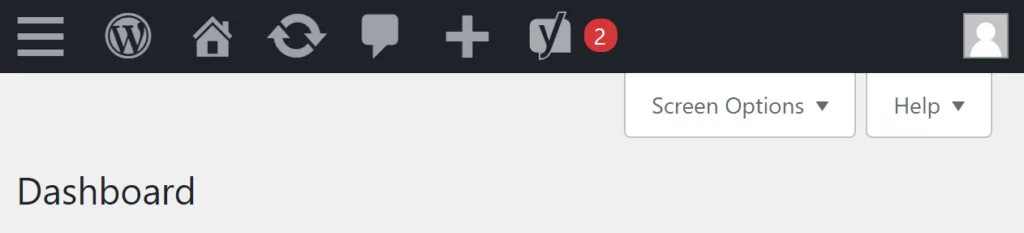
Almost every page in the dashboard has a Screen Options dropdown menu right below the admin menu at the top of the screen. This menu includes options unique to every page that give you control over what settings you see and which are hidden:
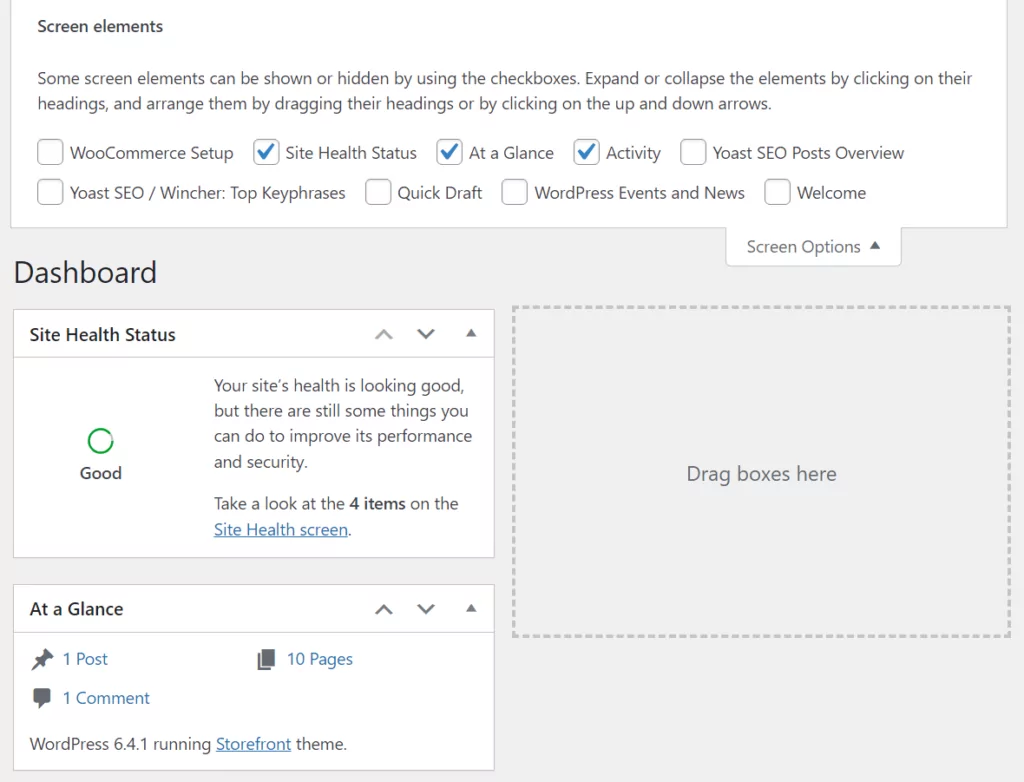
To give you an example of how the menu works, let’s take a look at the Dashboard → Home screen. This is the screen you see when you log into WordPress and it contains information about your website, recent updates, a Quick Draft widget, and other assorted options:
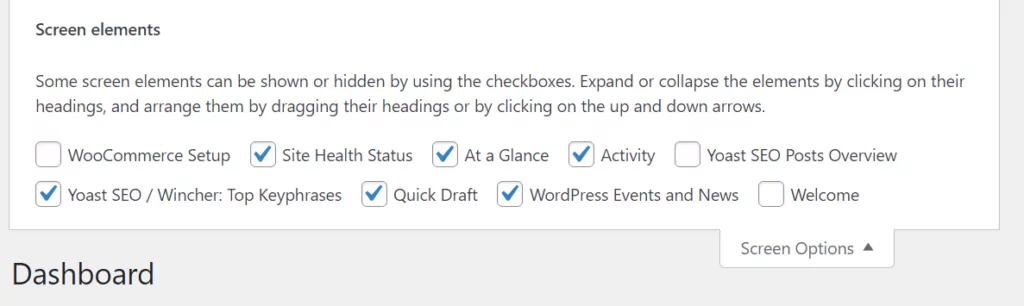
The Screen Options menu gives you to chance to decide what elements appear on the Home page. If you only want to see news concerning the site, you can disable every option except At a Glance, Site Health Status, and Activity:
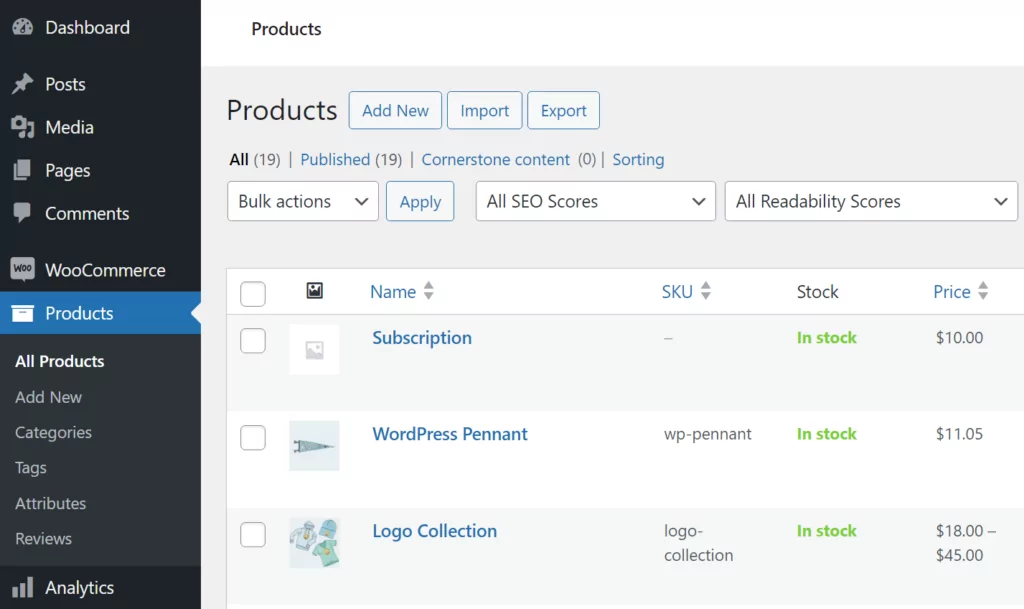
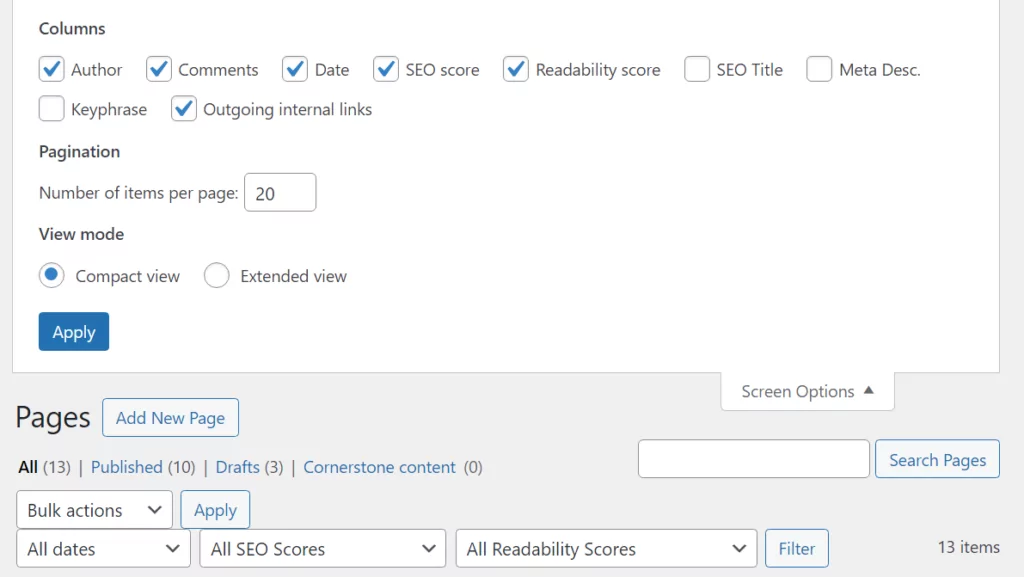
As we mentioned before, the Screen Options menu is available on nearly every page and it contains different options depending on the elements you see. If you navigate to the Posts or Pages pages, you can use the Screen Options menu to customize the WordPress dashboard by removing elements you don’t care about. This includes options such as tags, categories, comment count, Yoast SEO scores, and more:
Once you’re acquainted with how the dashboard works, you can begin making changes to it. After a while, you’ll know what elements you need to see and which ones aren’t as important for running your website. That means you can use the Screen Options menu to design a custom WordPress dashboard that contains the exact options and elements you need and nothing else.
2. Hide Dashboard Menu Items
There are two ways to hide menu items in the dashboard. The first is to assign user roles with lower levels of permissions depending on what the user needs to do.
As the administrator, you should have the only account with full access to the dashboard. Other user roles, such as Author or Subscriber won’t see as many options. They won’t be able to install plugins or themes, change the site’s configuration, or pretty much do anything outside the scope of their role.
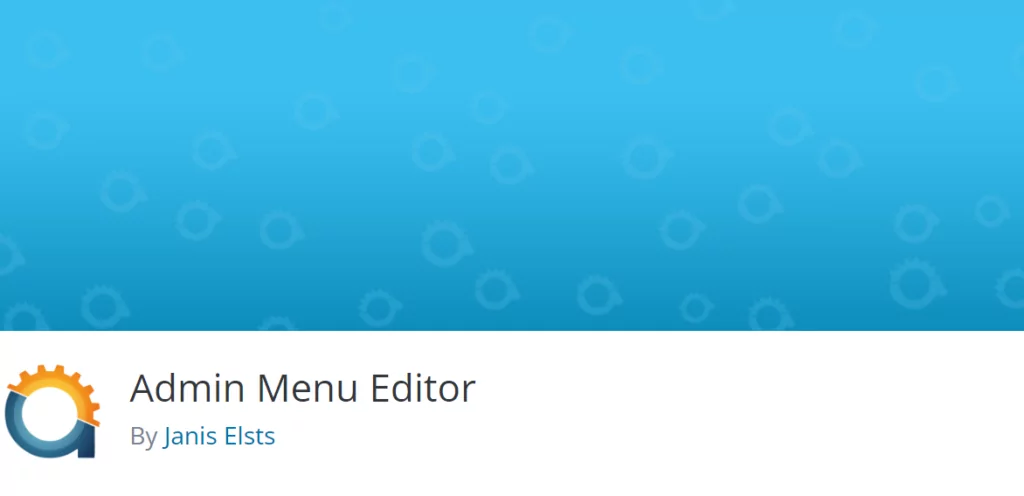
If you want more control over the menu items you can see, you’ll need to use a WordPress custom dashboard plugin. Admin Menu Editor is such a plugin and it enables you to decide which menu items appear for which users:
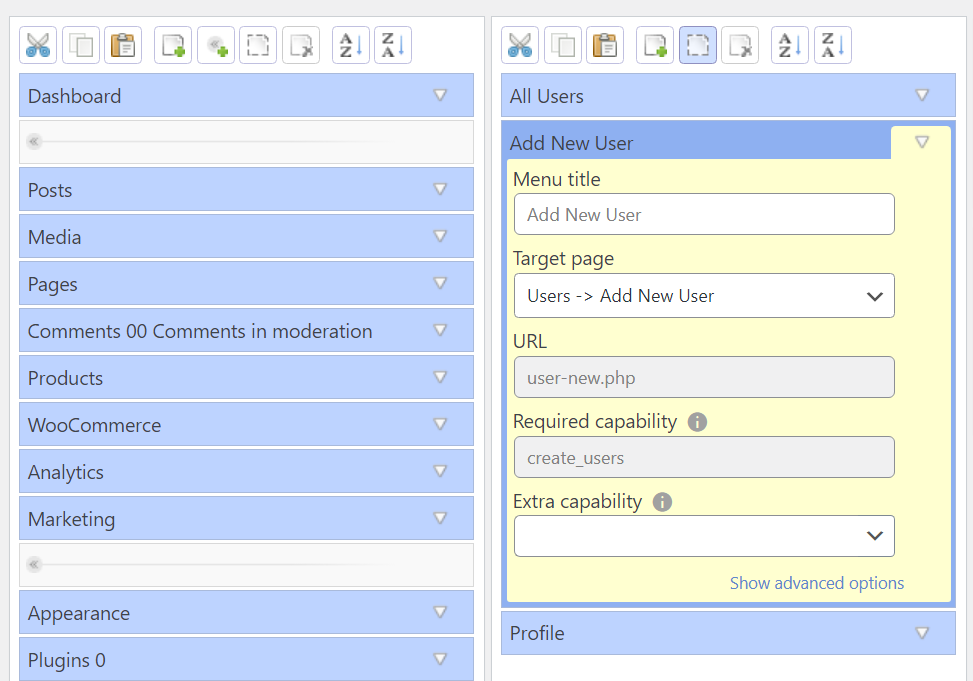
After installing the plugin, go to Settings → Menu Editor. On the next page, you’ll see a replica of the dashboard menu where you can drag and drop items to re-order, add, or remove them:
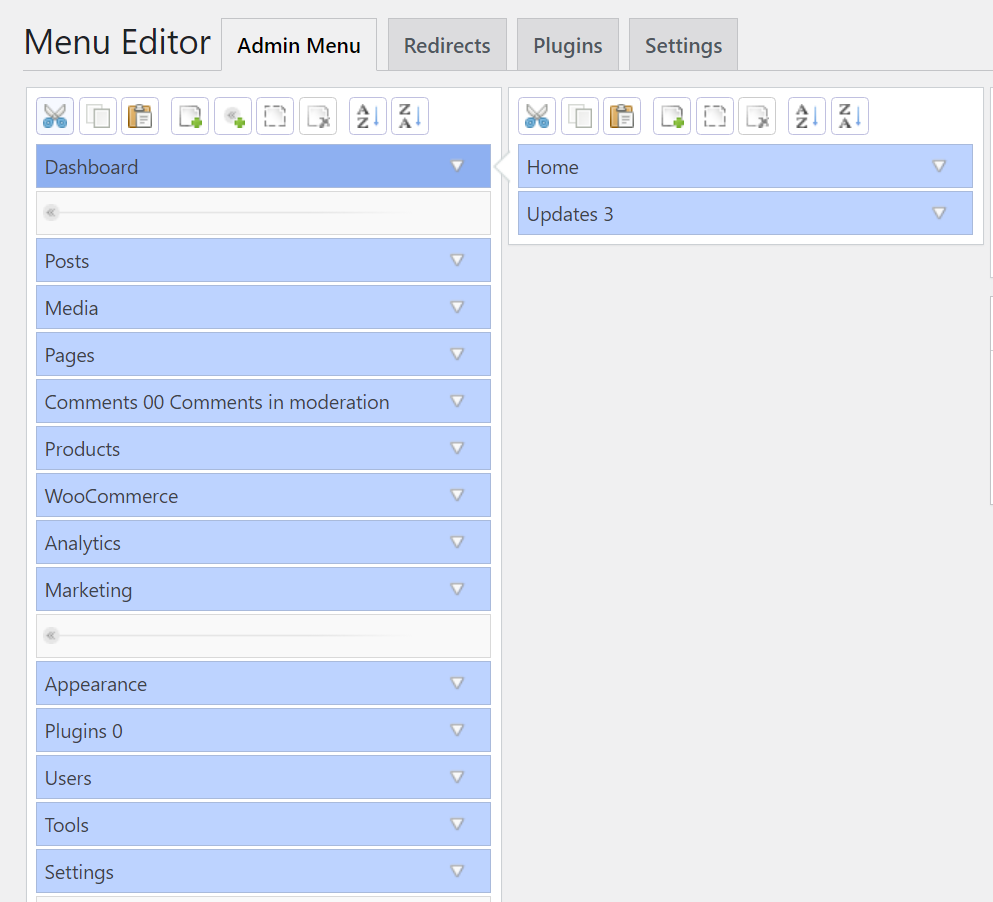
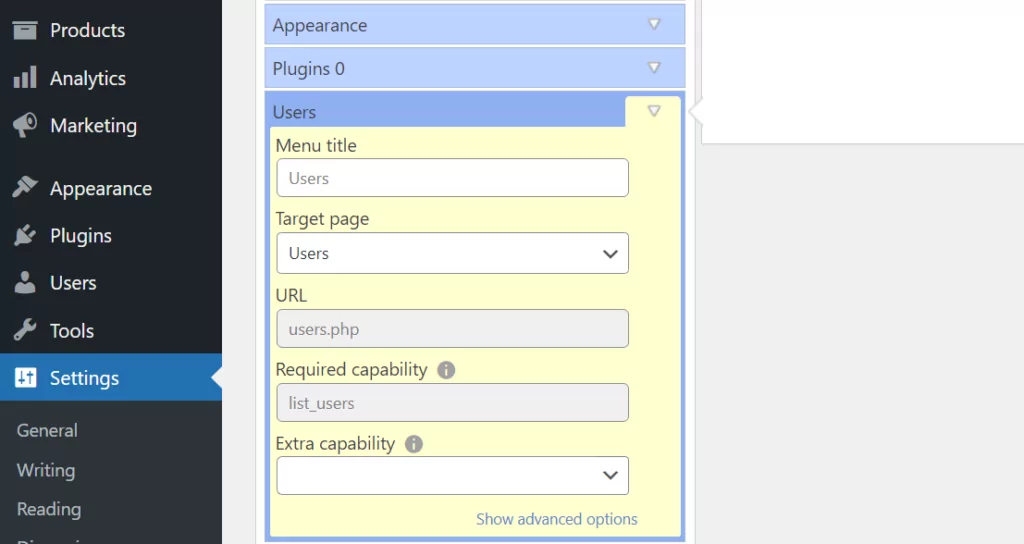
If you select a top-level item from the menu, you’ll get the option to modify its sub-elements. In this example, we’re tweaking the Users tab from the dashboard. From here, you can change the name of the tab and select what page it leads to:
To hide a menu item, you’ll need to hide all of its sub-elements due to how the plugin works. This process is simple. You need to select a sub-element, such as Add New User, and click on the Hide without preventing access button at the top of the editor:
We recommend using this option because it doesn’t impact the menu’s functionality or prevent you from visiting that page if you know the URL. This is more than enough to protect specific parts of the dashboard from other users without crippling your options to manage the website.
When you’re happy with the changes to the custom WordPress dashboard, click on Save Changes and reload the page. The changes will go into effect now and you won’t see the menu items you hid.
3. Create a Custom Login Page
The WordPress login page is, by all accounts, part of the dashboard experience. It gatekeeps the part of your site where all the action goes on and where you get to make all the changes and updates.
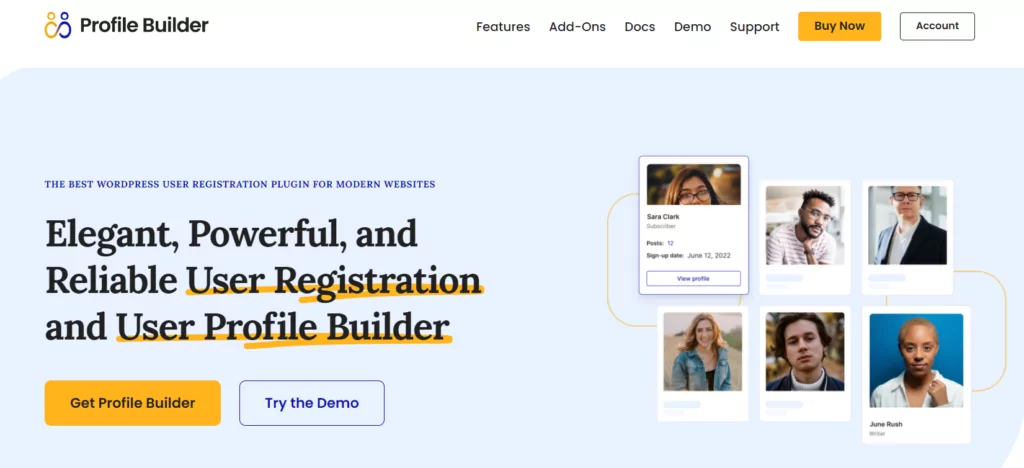
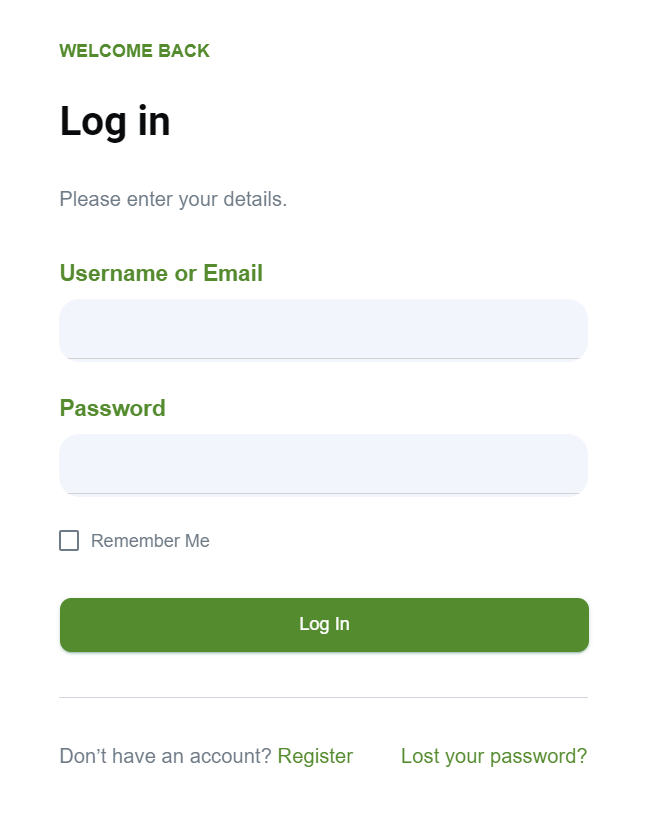
You can modify the WordPress login page manually if you’re comfortable dealing with code. Otherwise, your best bet is to use a plugin that gives you control over the login experience, such as Profile Builder:
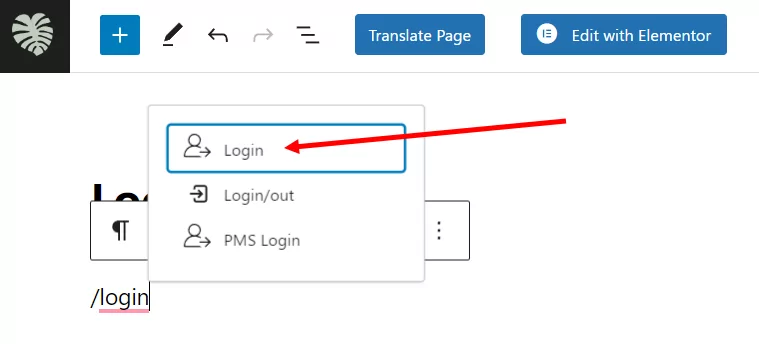
Profile Builder enables you to display a login form anywhere on your website using a block or a shortcode. You can take advantage of this functionality by creating a new page in the style of the login you want to see and adding the block (or shortcode) to it:
This enables you to create custom professional-looking login forms and replace the default one in WordPress. It will also let you add registration and password reset buttons right below the login form.
It’s also worth noting that Profile Builder offers other options to customize the WordPress dashboard. If you go to the Profile Builder → Settings → General Settings screen, you’ll find the Hide Admin Bar for User Roles setting:
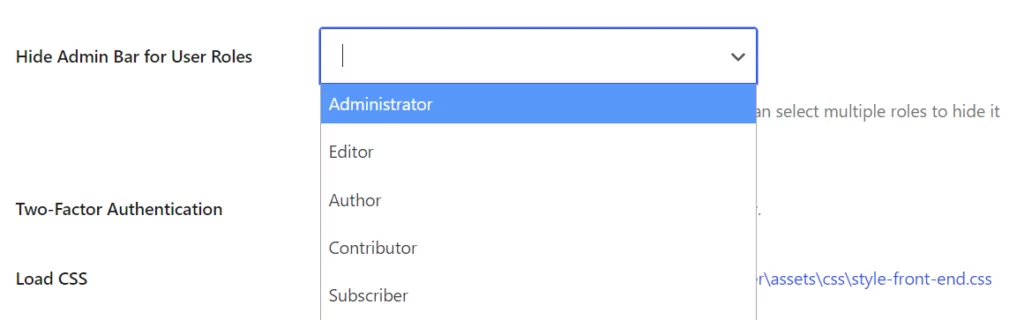
You can use this option to hide the admin bar at the top of the dashboard from specific user roles. This is incredibly useful since it will help prevent most registered users from having access to the dashboard at all, which can become a security issue.
This is only a brief overview of what you can do using the Profile Builder plugin. This tutorial will guide you through the full process of using the plugin to create custom WordPress login forms.
Conclusion
There are a lot of ways to create a custom WordPress dashboard. Changing the dashboard to suit your needs is a fantastic way to increase productivity and make using WordPress more enjoyable. If you’re going to be spending hundreds of hours over the years working using the dashboard, it only makes sense to customize it to your needs.
If you’re not sure where to start when it comes to creating a WordPress custom admin panel, here’s what we recommend:
- Use the Screen Options settings.
- Hide dashboard menu items.
- Create a custom login page and hide the admin bar for certain user roles.
Profile Builder Pro
Create custom login pages and customize your users' experience on your site with ease.
Get Profile BuilderDo you have any questions about how to customize the WordPress dashboard? Ask away in the comments section below!
Related Articles

8 Best WordPress User Registration Plugins
Not sure what WordPress user registration plugin to use for your project? Going through all the WordPress user registration plugins can be disorienting. You may have spent hours and hours searching for plugins and tutorials to help you with your project, and you’re still as confused as you were when you started. Imagine finding the […]
Continue Reading
How to Customize WordPress Email Login Behavior (+ Registration)
Searching for a WordPress email login feature so that you can customize your site's login process, such as requiring users to use their email address instead of a username? By default, WordPress lets users log in with either their username and password or their email and password via the default login page. But if you […]
Continue Reading
How to Password Protect Content, Posts, and Categories in WordPress
There are many use cases for password-protected content in WordPress. For example, you might be a content creator who wants to monetize premium content in the form of subscriptions or memberships. As with everything related to WordPress, password-protecting posts doesn’t have to be difficult. If you’re wondering how to password-protect WordPress content, posts, and even […]
Continue Reading