

Table of Contents
Let’s say you’ve set up two new roles for your e-commerce site: “seller” and “buyer”. Since each of these users has different needs, you’ll want to create registration pages with form fields that reflect that. For example, sellers might need to submit information about their products when they register, while buyers will only need to enter their personal details.
Fortunately, you can use Profile Builder to set up multiple user registration forms in WordPress. Plus, there’s no coding involved in the process – you can simply build your forms with the default fields, and create custom ones, too!
In this post, we’ll discuss when to create multiple user registration forms. Then, we’ll show you how to do this with Profile Builder. Let’s dive right in!
When to Use Multiple User Registration Forms
If you own a WordPress membership site that caters to different types of users, there’s a good chance you’ll need to set up multiple user registration forms. This way, you can collect relevant information about each user role.
For example, if you have an educational site, you’ll probably need a registration form for students and another one for tutors. Similarly, if you have an online marketplace, you’ll need a registration page for sellers and a separate one for buyers.
Having multiple registration forms can also be useful if you run platforms that connect people with professionals or businesses. For instance, a wellness site will likely have different forms for therapists and patients, and a job search site will offer a registration option for recruiters and one for jobseekers.
How to Set Up Multiple User Registration Forms in WordPress (In 3 Steps)
Now, let’s look at how to create multiple user registration forms on your WordPress website. For this tutorial, you’ll need to install Profile Builder Pro.
Profile Builder Pro
Create beautiful front-end registration and profile forms with custom fields. Setup member directories, custom redirects, cutomize user emails & more using the all in one user management plugin.
Get Profile BuilderThis plugin lets you create custom login pages and registration forms. With the premium version, you’ll have access to the Multiple Registration Forms module.
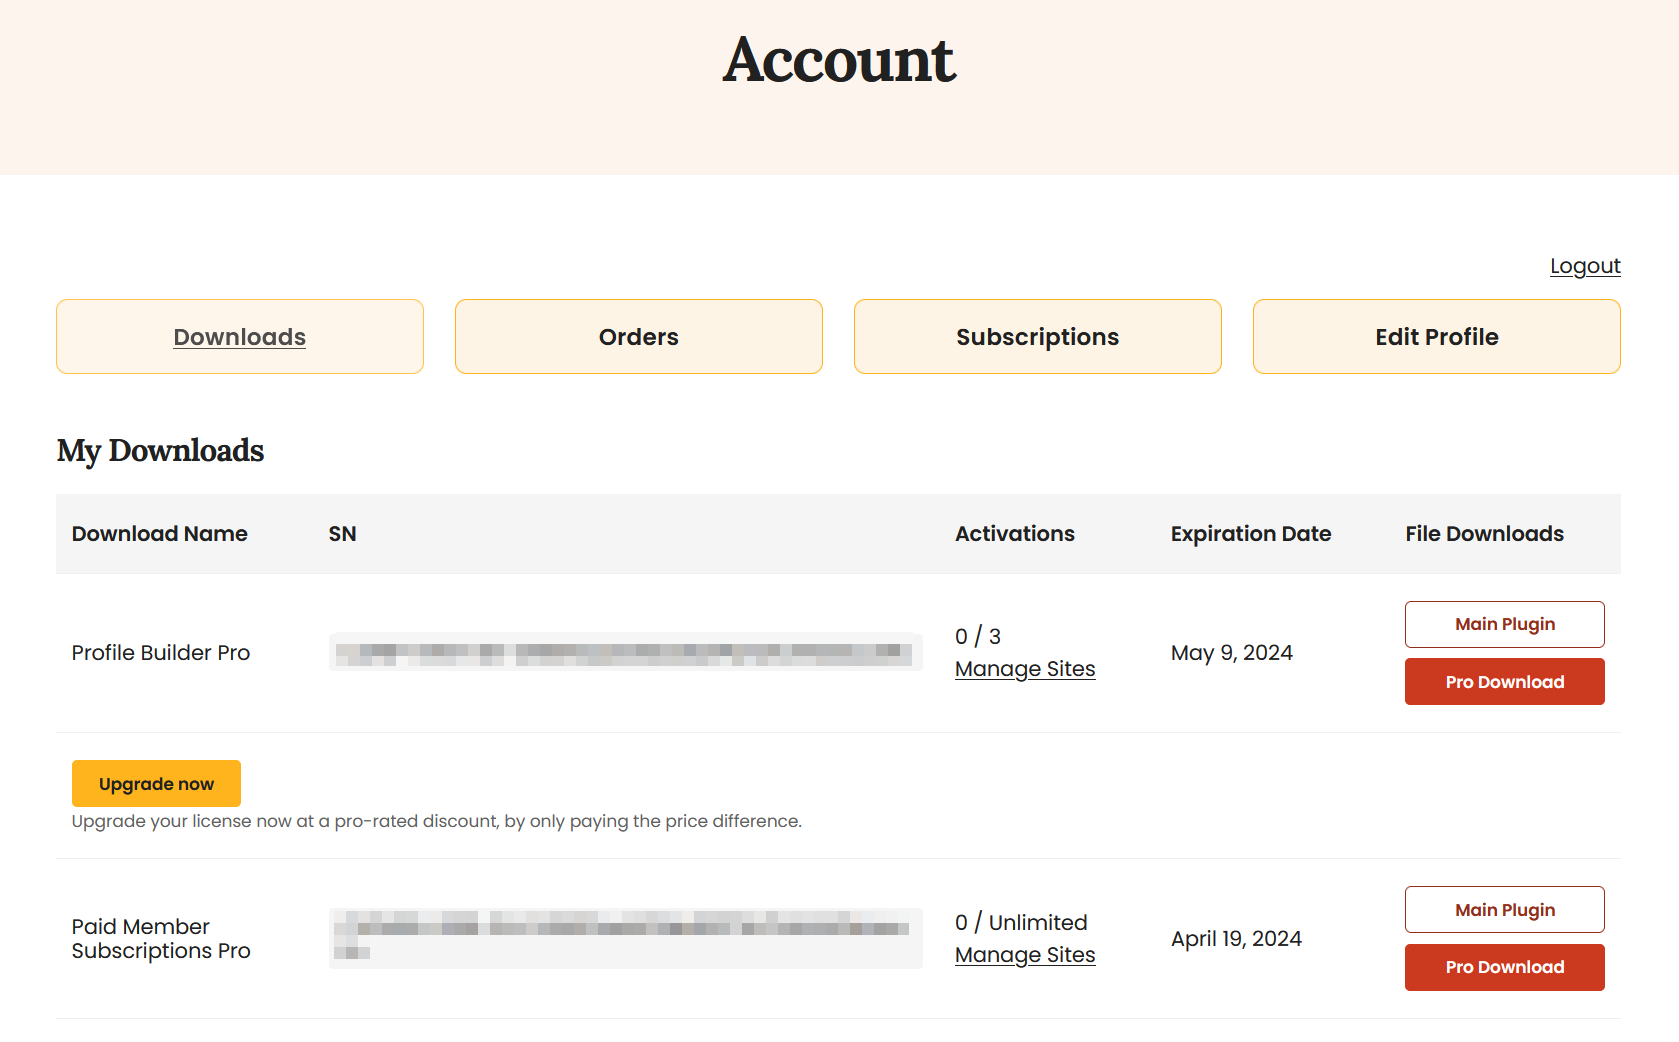
After you’ve purchased a Profile Builder plan, you can log into your account to download the plugin files. Make sure to click on both the Main Plugin and the Pro Download buttons:
Then, you can go to your WordPress dashboard and navigate to Plugins → Add New Plugin → Upload Plugin to upload the plugin files you’ve just downloaded. Remember to also hit Activate.
Step 1: Enable the Multiple User Registration Forms Module
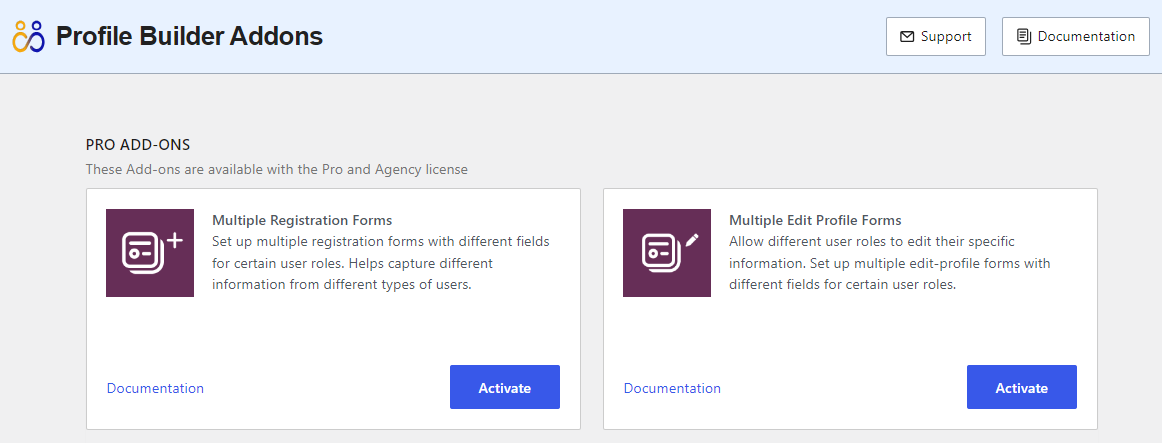
Once you’ve installed and activated the plugin, go to Profile Builder → Add-Ons in your dashboard. Then, locate the Multiple Registration Forms add-on and click on Activate:
That’s it – you’re now ready to create your forms!
Step 2: Create Your Registration Forms
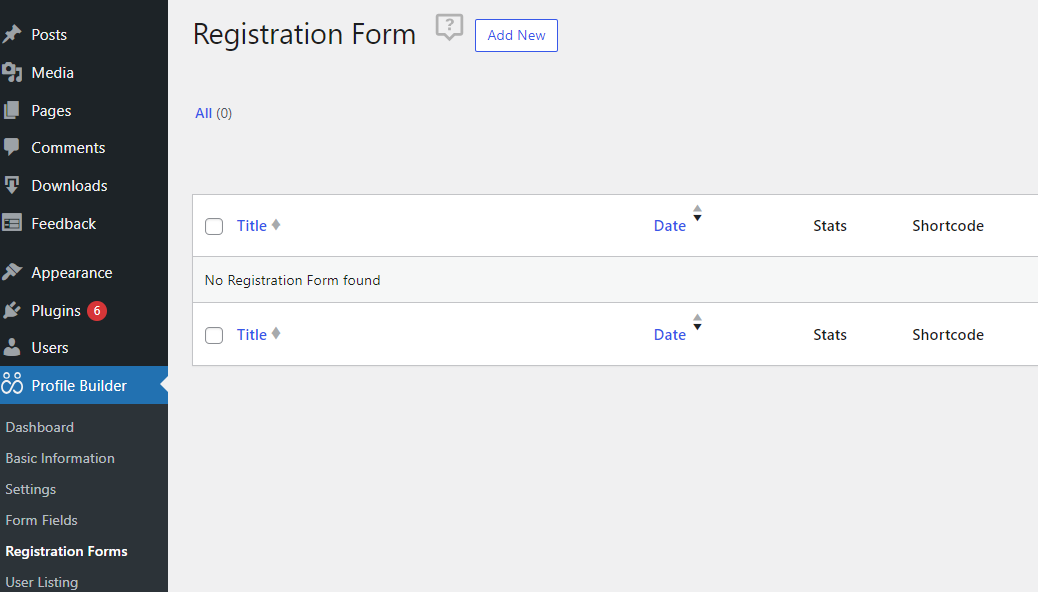
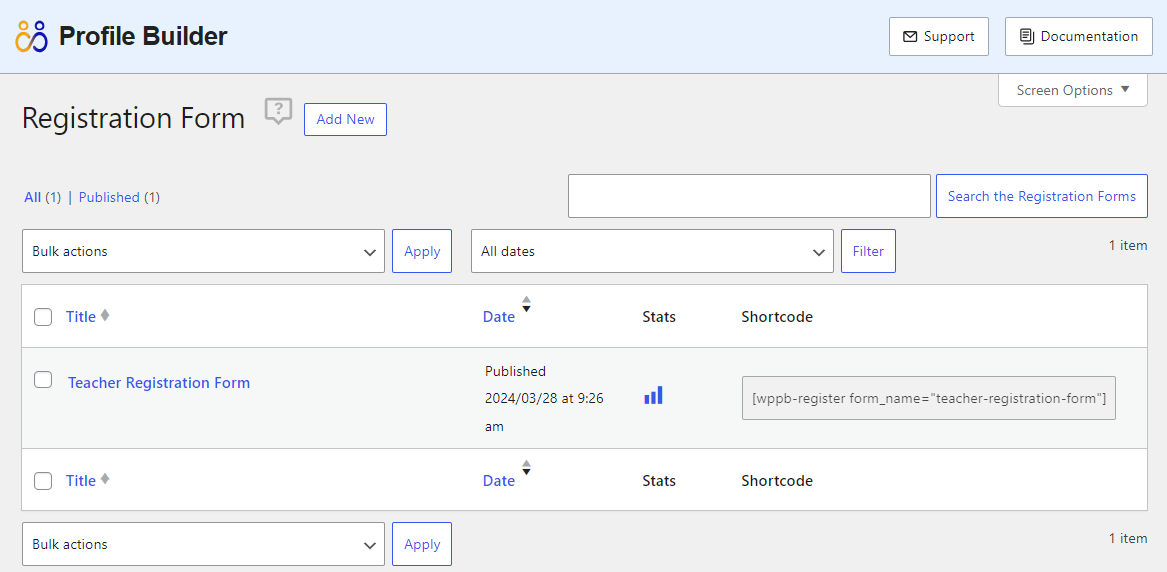
After you’ve enabled the add-on, you’ll see a new Registration Forms tab in the Profile Builder menu. Click on it, then select the Add New button:
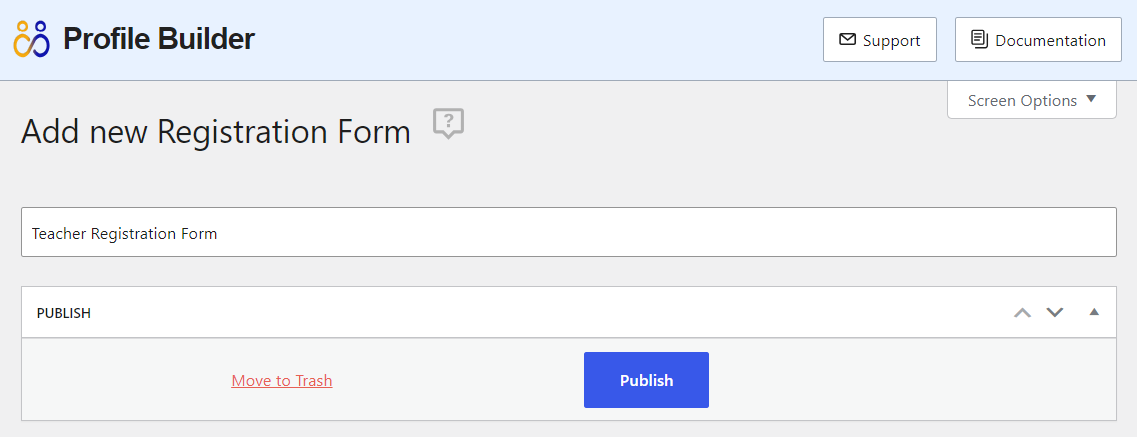
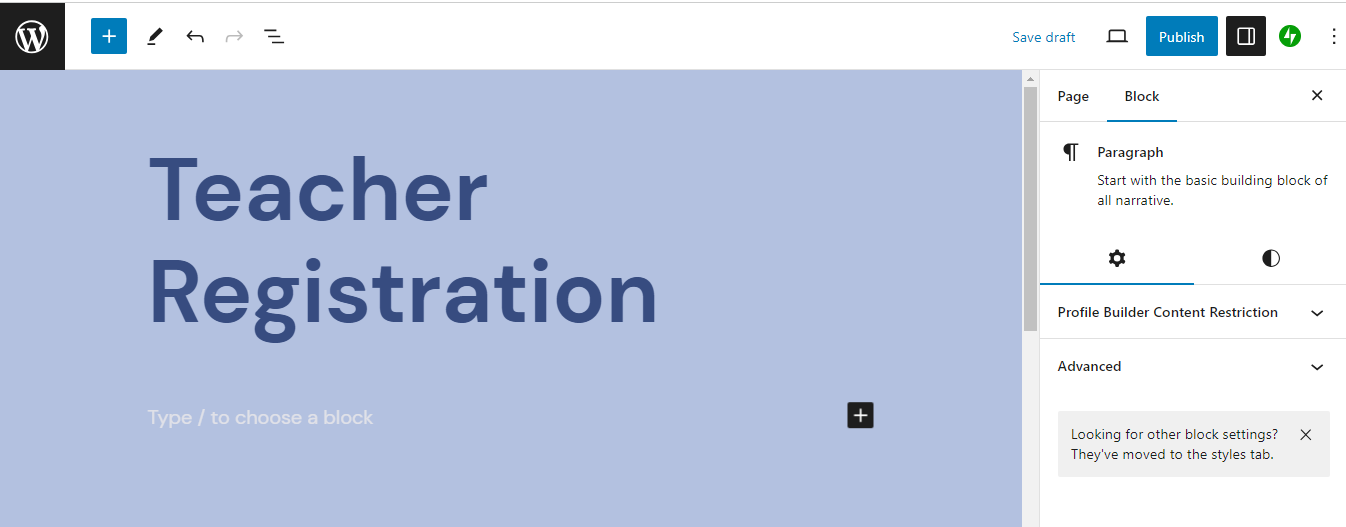
Start by giving the form a title. For example, this might be your teacher registration form:
Then, scroll down to the After Registration… section. Here, you can select the role that will be applied to users who register through this form:
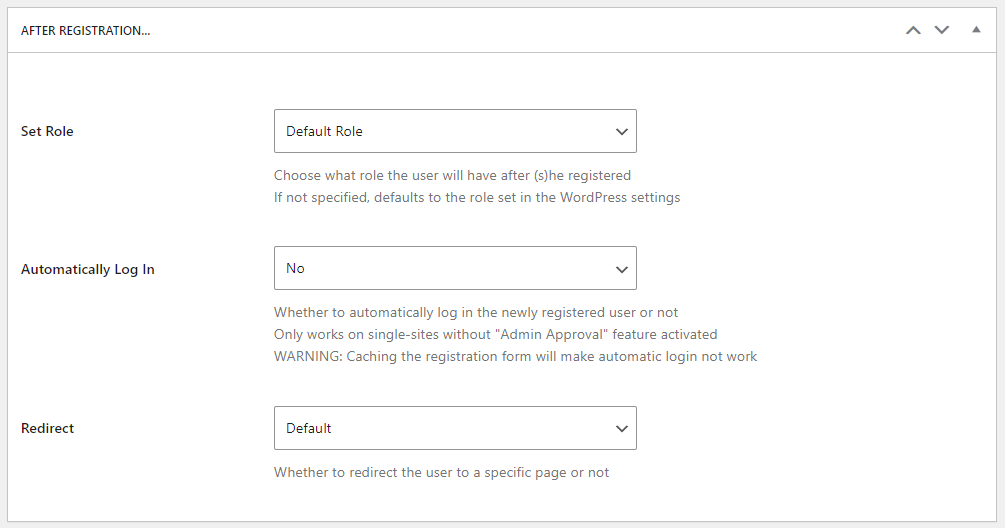
In our example, it would be “teacher”. You also have the option to automatically log in newly registered users. But, if you prefer to manually approve registrations, you’ll want to set this to No.
You can also redirect users to a specific page after they register. For example, if it’s a registration form for students, you might redirect them to the FAQ page for your courses.
Next, you can build your registration form. You might start by removing any of the default fields that you don’t need:
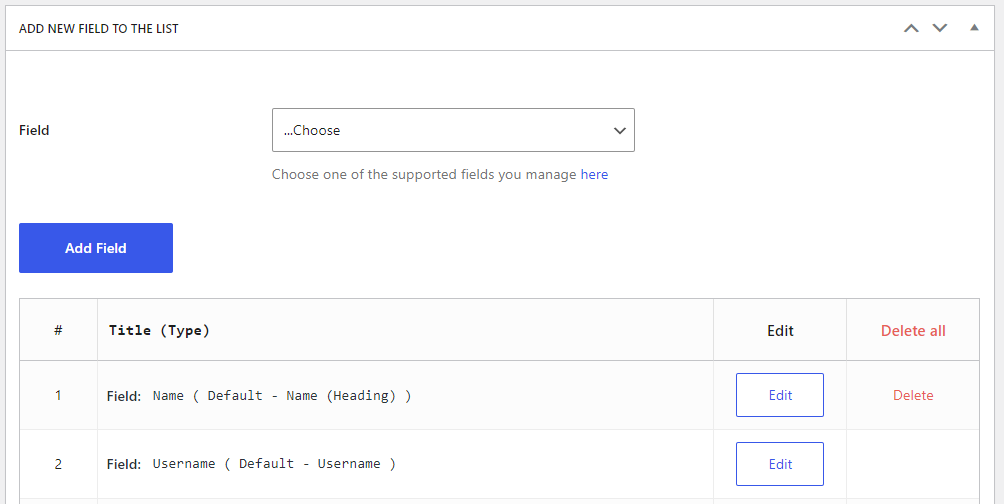
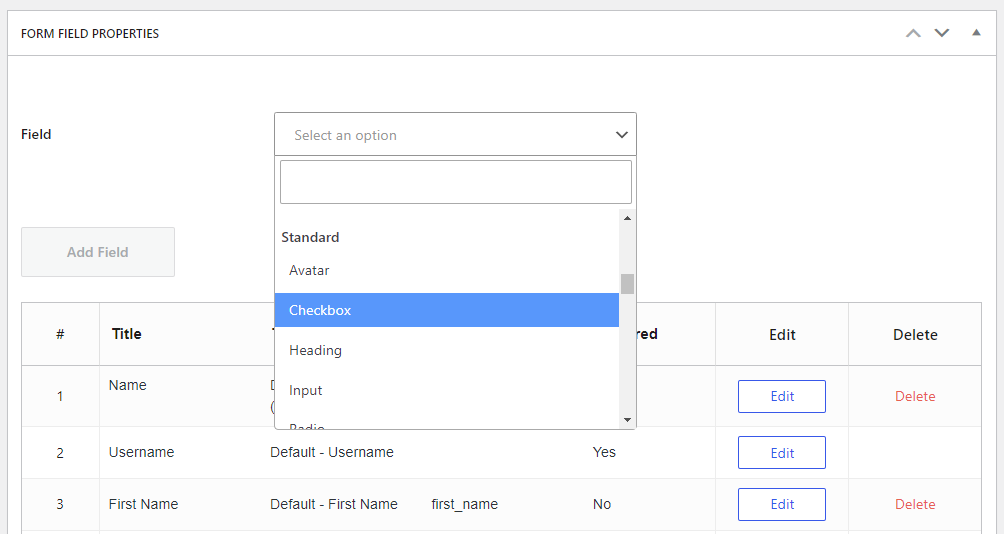
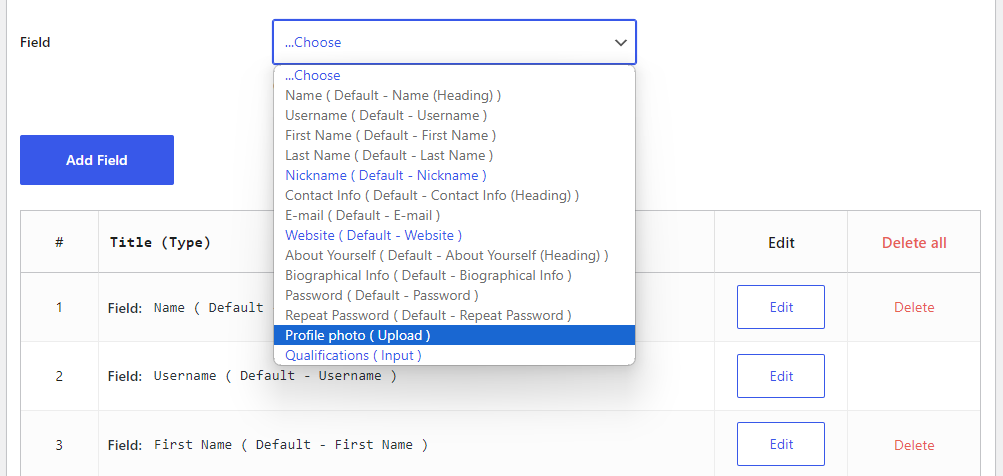
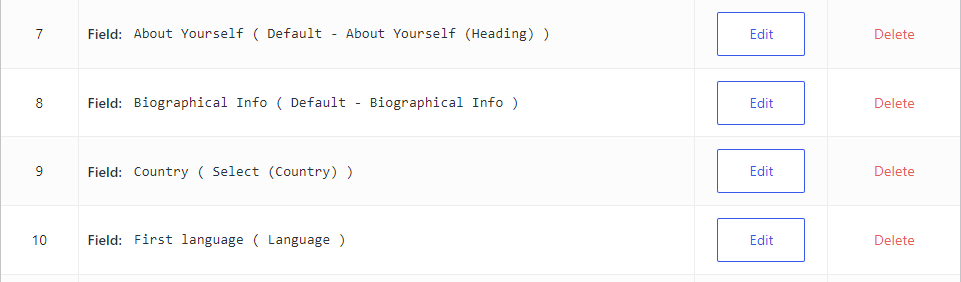
You can also use the dropdown menu to add more fields. If you want to create new ones, you’ll need to navigate to Profile Builder → Form Fields and use the Field dropdown menu to select an option:
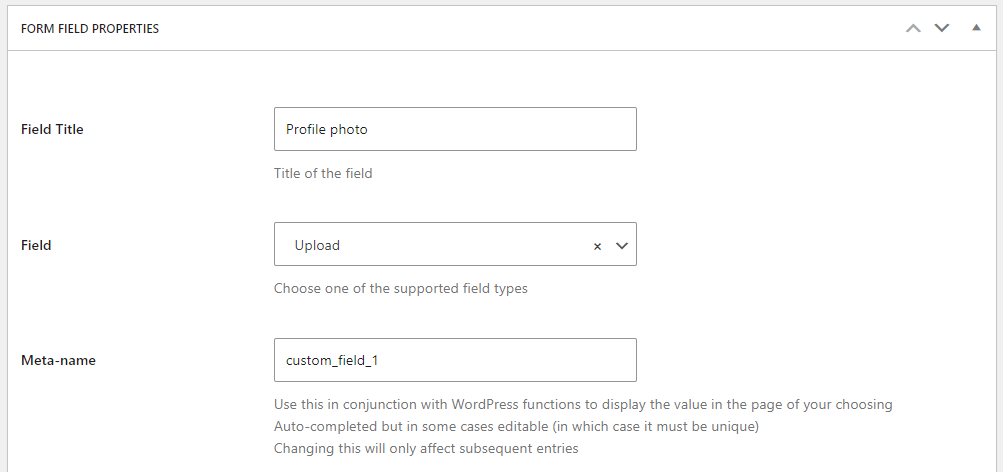
For example, you might require teachers to upload a profile picture. To do this, select Upload and configure the settings for this field:
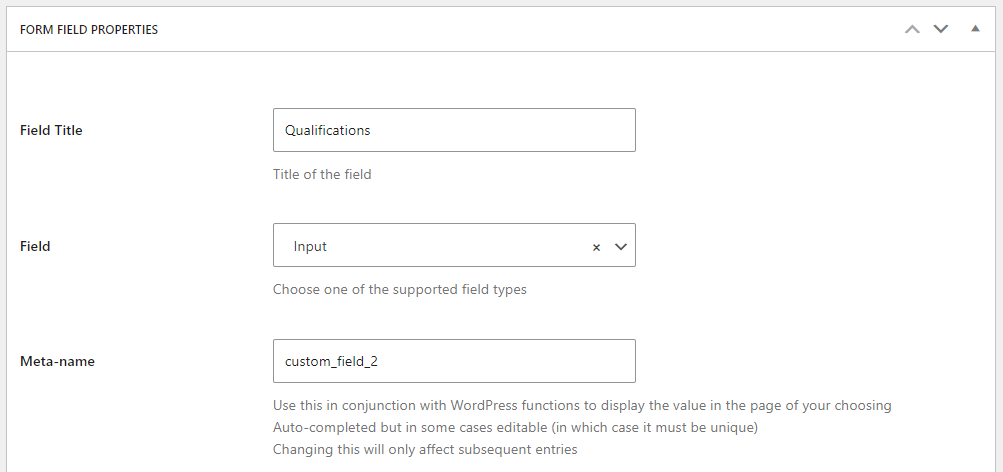
If you want teachers to list their qualifications, select the Input field and give it an appropriate title:
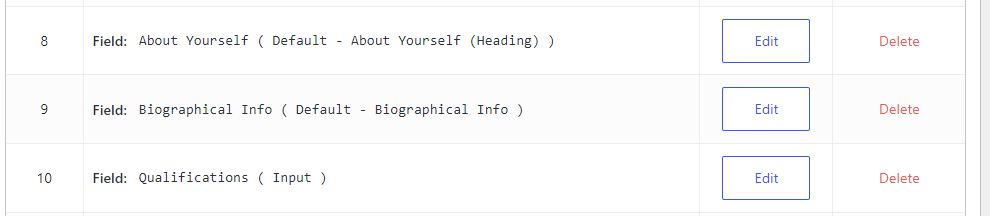
Feel free to check out the other fields available with Profile Builder. When you’re ready, go back to your registration form. Now, you should be able to see the fields you’ve just created:
Select them from the dropdown menu. Then, you can just drag your fields into your preferred order. For example, we’ve put the new Qualifications field under the About Yourself heading:
When you’re done, hit Publish. Now your first registration form is ready!
To create another form, go back to the Registration Form page and click on Add New:
In this scenario, you might now create a registration form for students. You can follow the process above to remove unnecessary fields and add custom ones.
As an example, we added the Country and Language fields to our student registration form:
Remember to publish the form when you’re ready.
Step 3: Add Forms to Your Pages
Now, you can add your registration forms to their corresponding page. Profile Builder makes this super easy.
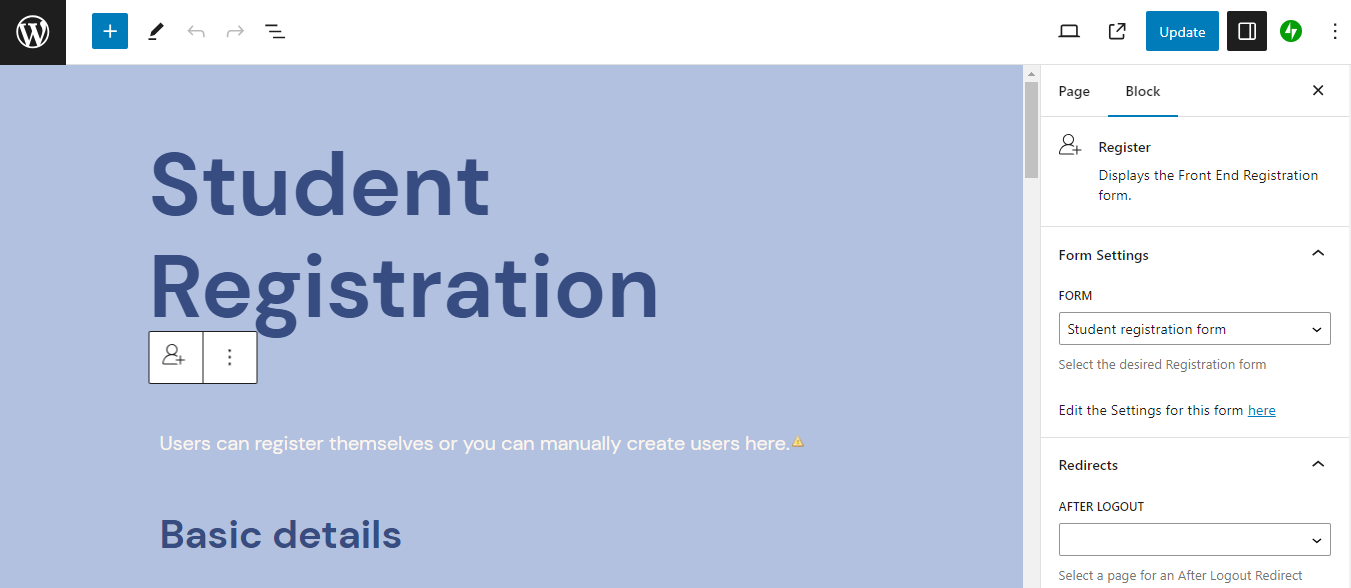
Create or open the page where you want to display your first registration form:
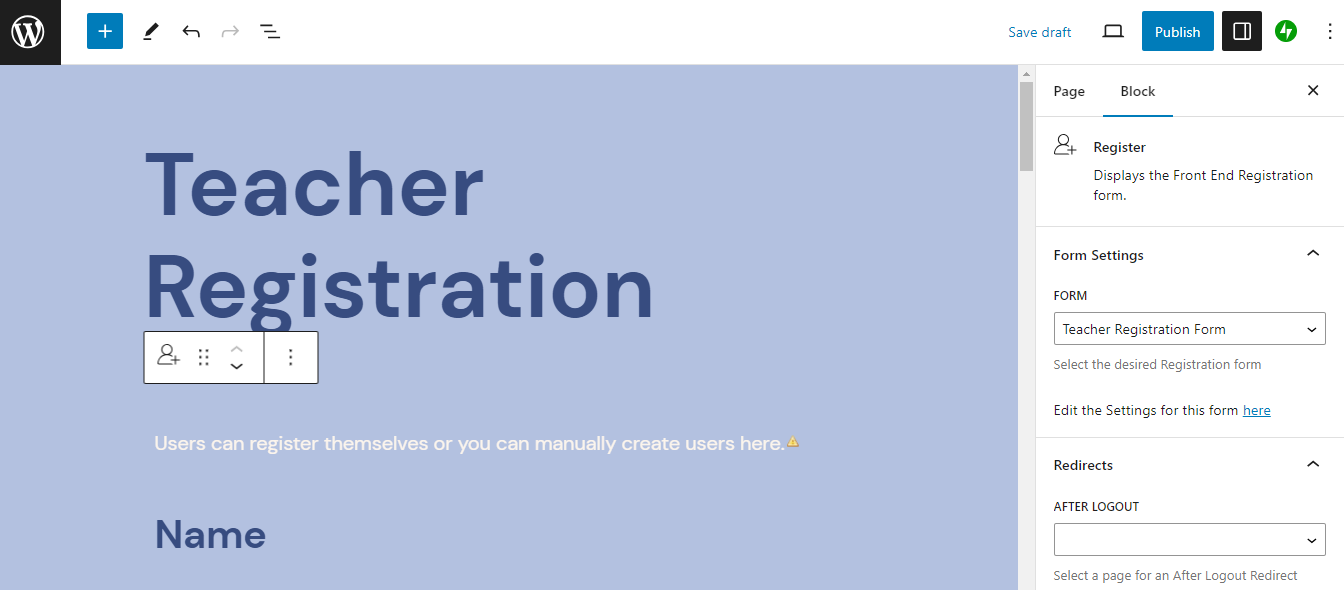
Then, click on the plus icon to add a new block, and select the Register block. From the Form Settings on the right, choose the registration form you want to display:
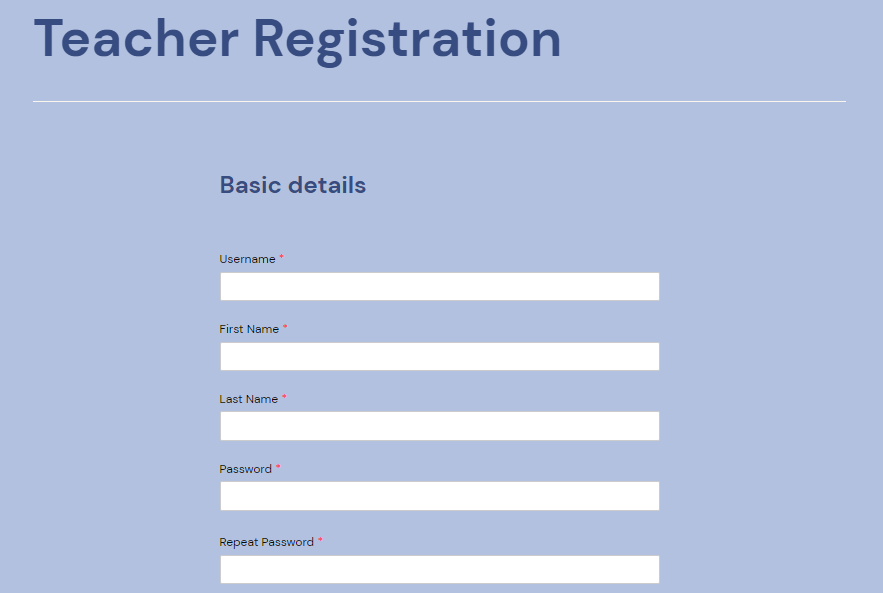
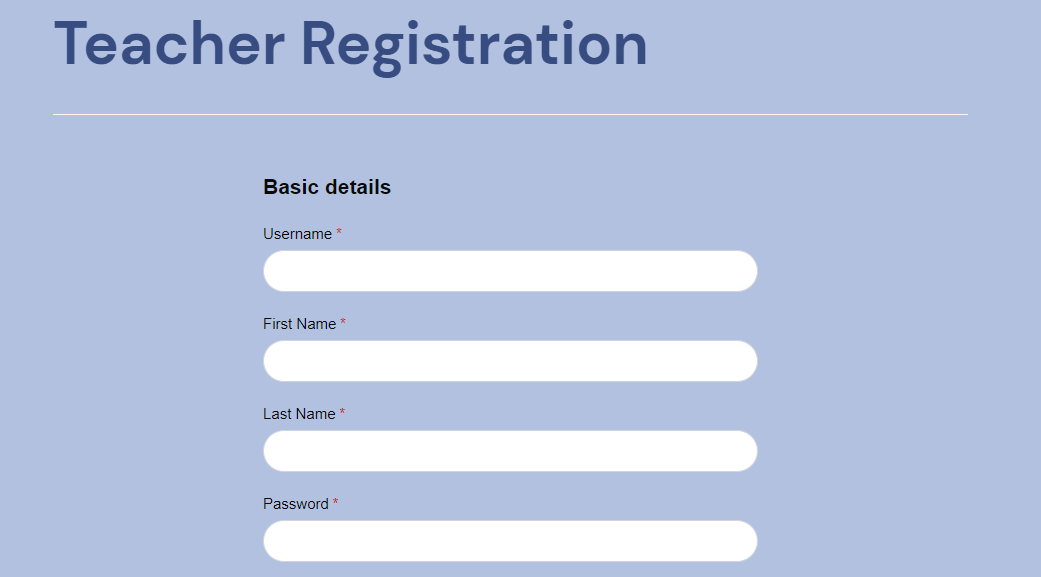
Finally, hit Publish to make your registration form available to site visitors. Here’s what ours looks like on the front end:
You can also see the custom fields that we created:

You can then open the second page where you want to display the second registration form, and follow the same process. Just remember to select the correct form in your settings menu:
Note that, if you’re not happy with the style of your forms, you can choose a different one. To do this, go to Profile Builder → Settings and scroll down to the Design & User Experience section. Then, select a style you like:
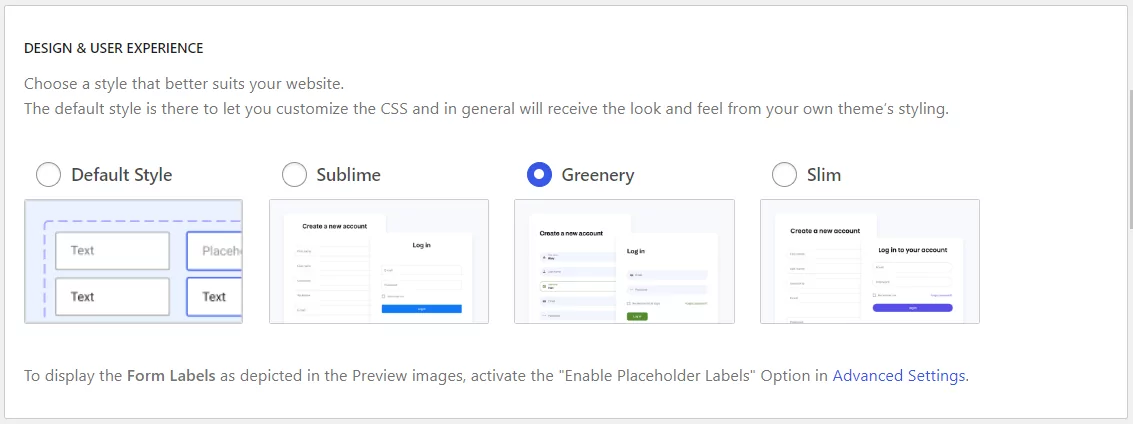
For instance, we tried the Slim style for a clean and minimalist look:
That’s it! If you want to update any of these forms, you can go to the Registration Form page and click to edit your form. You won’t need to re-add the Register block after you do this – the form will update automatically on the front end.
Conclusion
If you accept registration from different types of users, you’ll likely need to create multiple forms. For example, if you have an online learning site, teachers will need to fill out a different registration form than students.
To recap, here’s how to create multiple registration forms with Profile Builder Pro:
- Enable the Multiple User Registration Forms add-on.
- Create your registration forms and add custom fields for different users.
- Add the registration forms to their corresponding pages.
Profile Builder Pro
Create beautiful front-end registration and profile forms with custom fields. Setup member directories, custom redirects, cutomize user emails & more using the all in one user management plugin.
Get Profile BuilderDo you have any questions about how to create several user registration forms in WordPress? Let us know in the comments section below!
Featured image: Mohamed Hassan from Pixabay
Related Articles

WordPress Profile Builder: a Front-end User Registration, Login and Edit-Profile Plugin
Easily Login, Register and Edit your Profile Directly from the Front-end Profile Builder lets you add front-end forms that give your users a more flexible way to register, log in, and modify their profile information. If you allow public registration on your site, you don't want to force your users to use the backend WordPress […]
Continue Reading
Profile Builder Update: No More Profile Builder Hobbyist?
If you’re already a Profile Builder user, you might have noticed some changes around here in the past few weeks. And that’s especially if you’ve purchased the Hobbyist version of Profile Builder. And you’d be right! Some changes did take place within the plugin, and thus, that’s what we’ll talk about in this blog post, […]
Continue Reading
Top 10 Gravity Forms Alternatives You Need to Consider in 2026 (Free & Paid)
In the market for Gravity Forms alternatives? I think you will agree that finding the best online form builder is a bit tricky, especially with the many options out there. One such option is Gravity Forms, a well-known form builder in the game. But even with all the rave reviews, is it the best software […]
Continue Reading
Hi,
Can you tell me if this plugin would integrate with buddypress’ xprofiles?
What I am after is exactly as you are describing above, however, I need the ‘industry’ member application to populate the profile fields in the buddypress ‘extended’ profile fields.
Hope that makes sense!?
Thanks
Hi
I have the same issue.. did you find something?
I’m looking as well for the same as what you two are asking for.
I don’t understand why it’s proving so difficult to make buddypress allow different types of member to register and have different profile fields upon registration.
Somebody must come up with something!!!
The reason we didn’t add support for xProfiles is because they are stored in their own tables and it’s more complicated to make it work. So basically xProfiles doesn’t use the default wp_usermeta table to store all the extra fields.
Hey i would like to create 3 different pages with 3 different redirects
like
voicewhoop.com/accenture
voicewhoop.com/tcs and
voicewhoop.com/hcl. Is that possible with this plugin if i buy.
If its fine i’ll buy now only
Hi Yuvaraj,
Using the Multiple Registration Forms module from Pro, you can create 3 different forms, place them on 3 different pages, and set different redirects from each one of them directly from the UI.
Just have a look at the screenshots from the linked documentation page above.
It’s great then, may i know can i buy its separately or group only? If separate means how much it costs and group means how much it costs?
Multiple Registration Forms module can be found only in the PRO version of Profile Builder.