

Table of Contents
Looking to password protect your WordPress site?
Making all or part of your WordPress website password protected can help you create a site that better serves your users and helps you make money.
Password protecting your entire WordPress site can help you create privacy and exclusivity for your users. Creating protected content lets you set up a members-only area in an otherwise public site or allows you to set up restricted events or conduct exclusive sales. You could also use it as the basis for a membership site.
You can also use secure areas of your site internally within your organisation, for internal communications or sensitive content.
You might think that to do this you need to install a full-blown membership plugin, but you don’t. The Profile Builder Pro plugin is designed to give unlimited flexibility when it comes to user management and restricting different parts of your WordPress site.
With Profile Builder you can setup custom front-end registration, login and edit profile forms. You can integrate it with your WooCommerce store, setup custom redirects, customize WordPress emails or restrict content (more on this below).
In this tutorial, we’ll show you how to use Profile Builder Pro to restrict part of your site or even your entire site from non logged-in users or users with certain roles, so you can control who has access to what.
How to Set Up a Password Protected WordPress Site using Profile Builder Pro
There are four options when it comes to using Profile Builder Pro to restrict content in your site:
- Making the entire website private
- Restricting access to categories
- Restricting access to individual posts, pages or part of the post content
- Restricting access to WooCommerce products (and how to setup discounted prices for members)
Let’s work through each of them in detail.
Install and Activate the Plugin
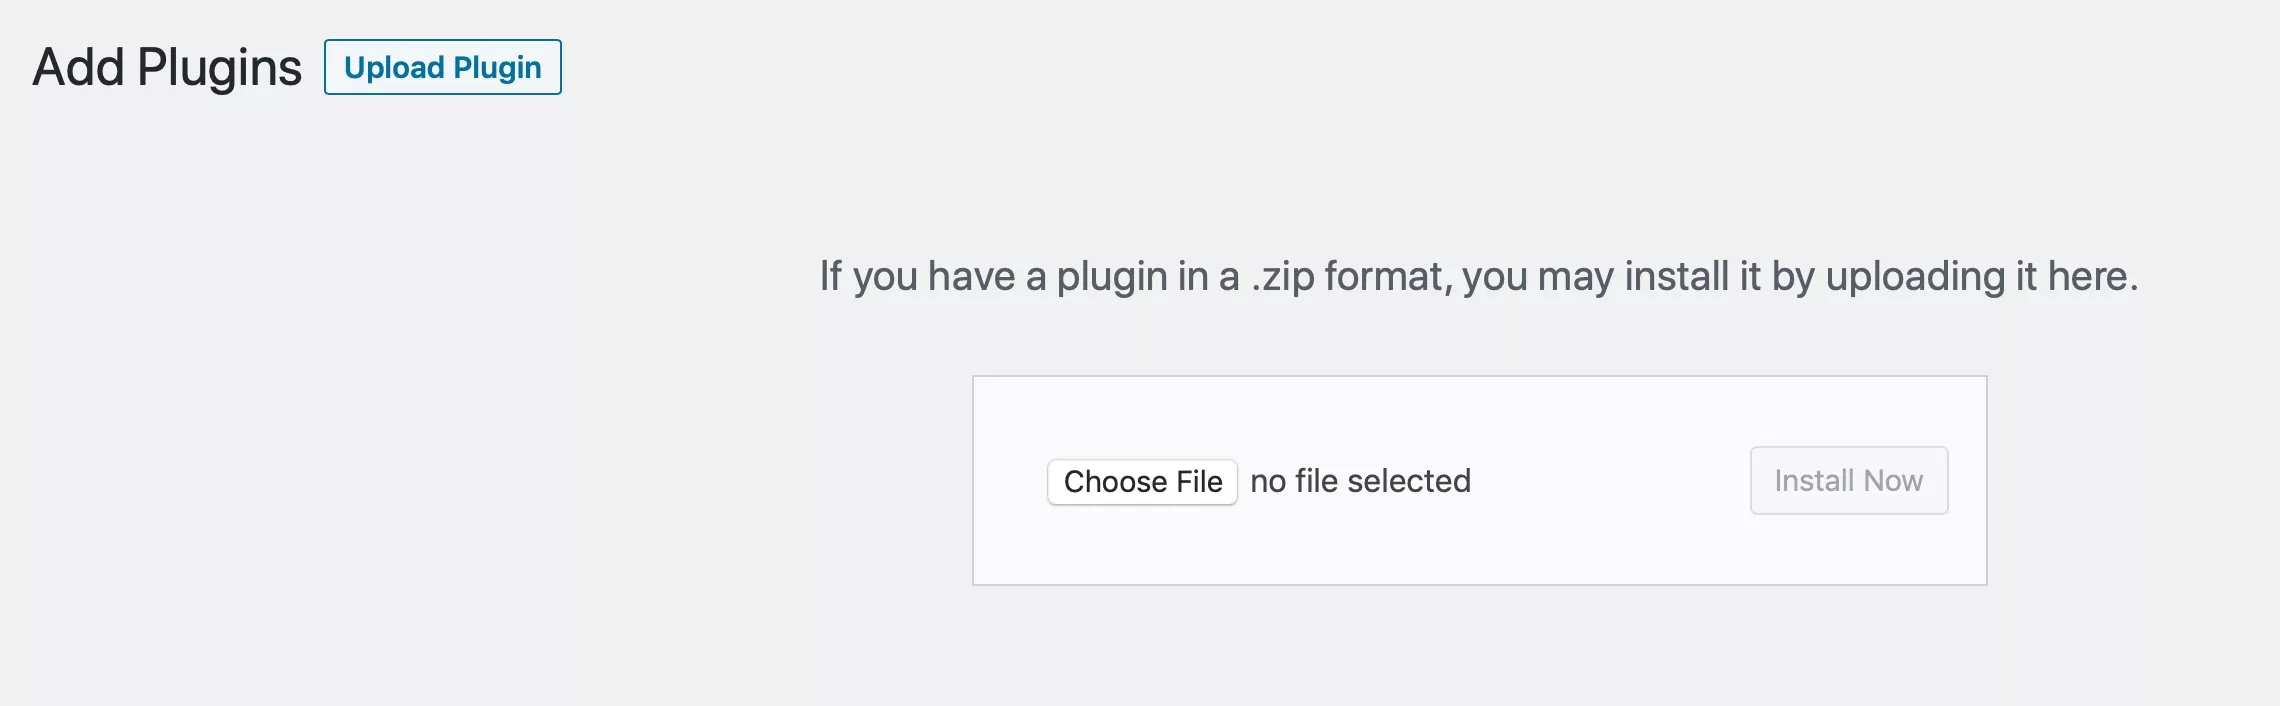
Start by installing the Profile Builder Pro plugin in your WordPress site. Go to Plugins > Add New and click on Upload Plugin.
Once you have the plugin installed you then have the option of deciding which parts of your site to password protect. Let’s start with the whole site.
Password Protect Entire WordPress Site
The Profile Builder Pro private website feature lets you create an entire password-protected WordPress site. You can also do this with the free plugin version, but you won’t be able to protect specific content areas.
Here’s how to do it.
In the WordPress admin, go to Profile Builder > Settings. Click on the Private Website tab.
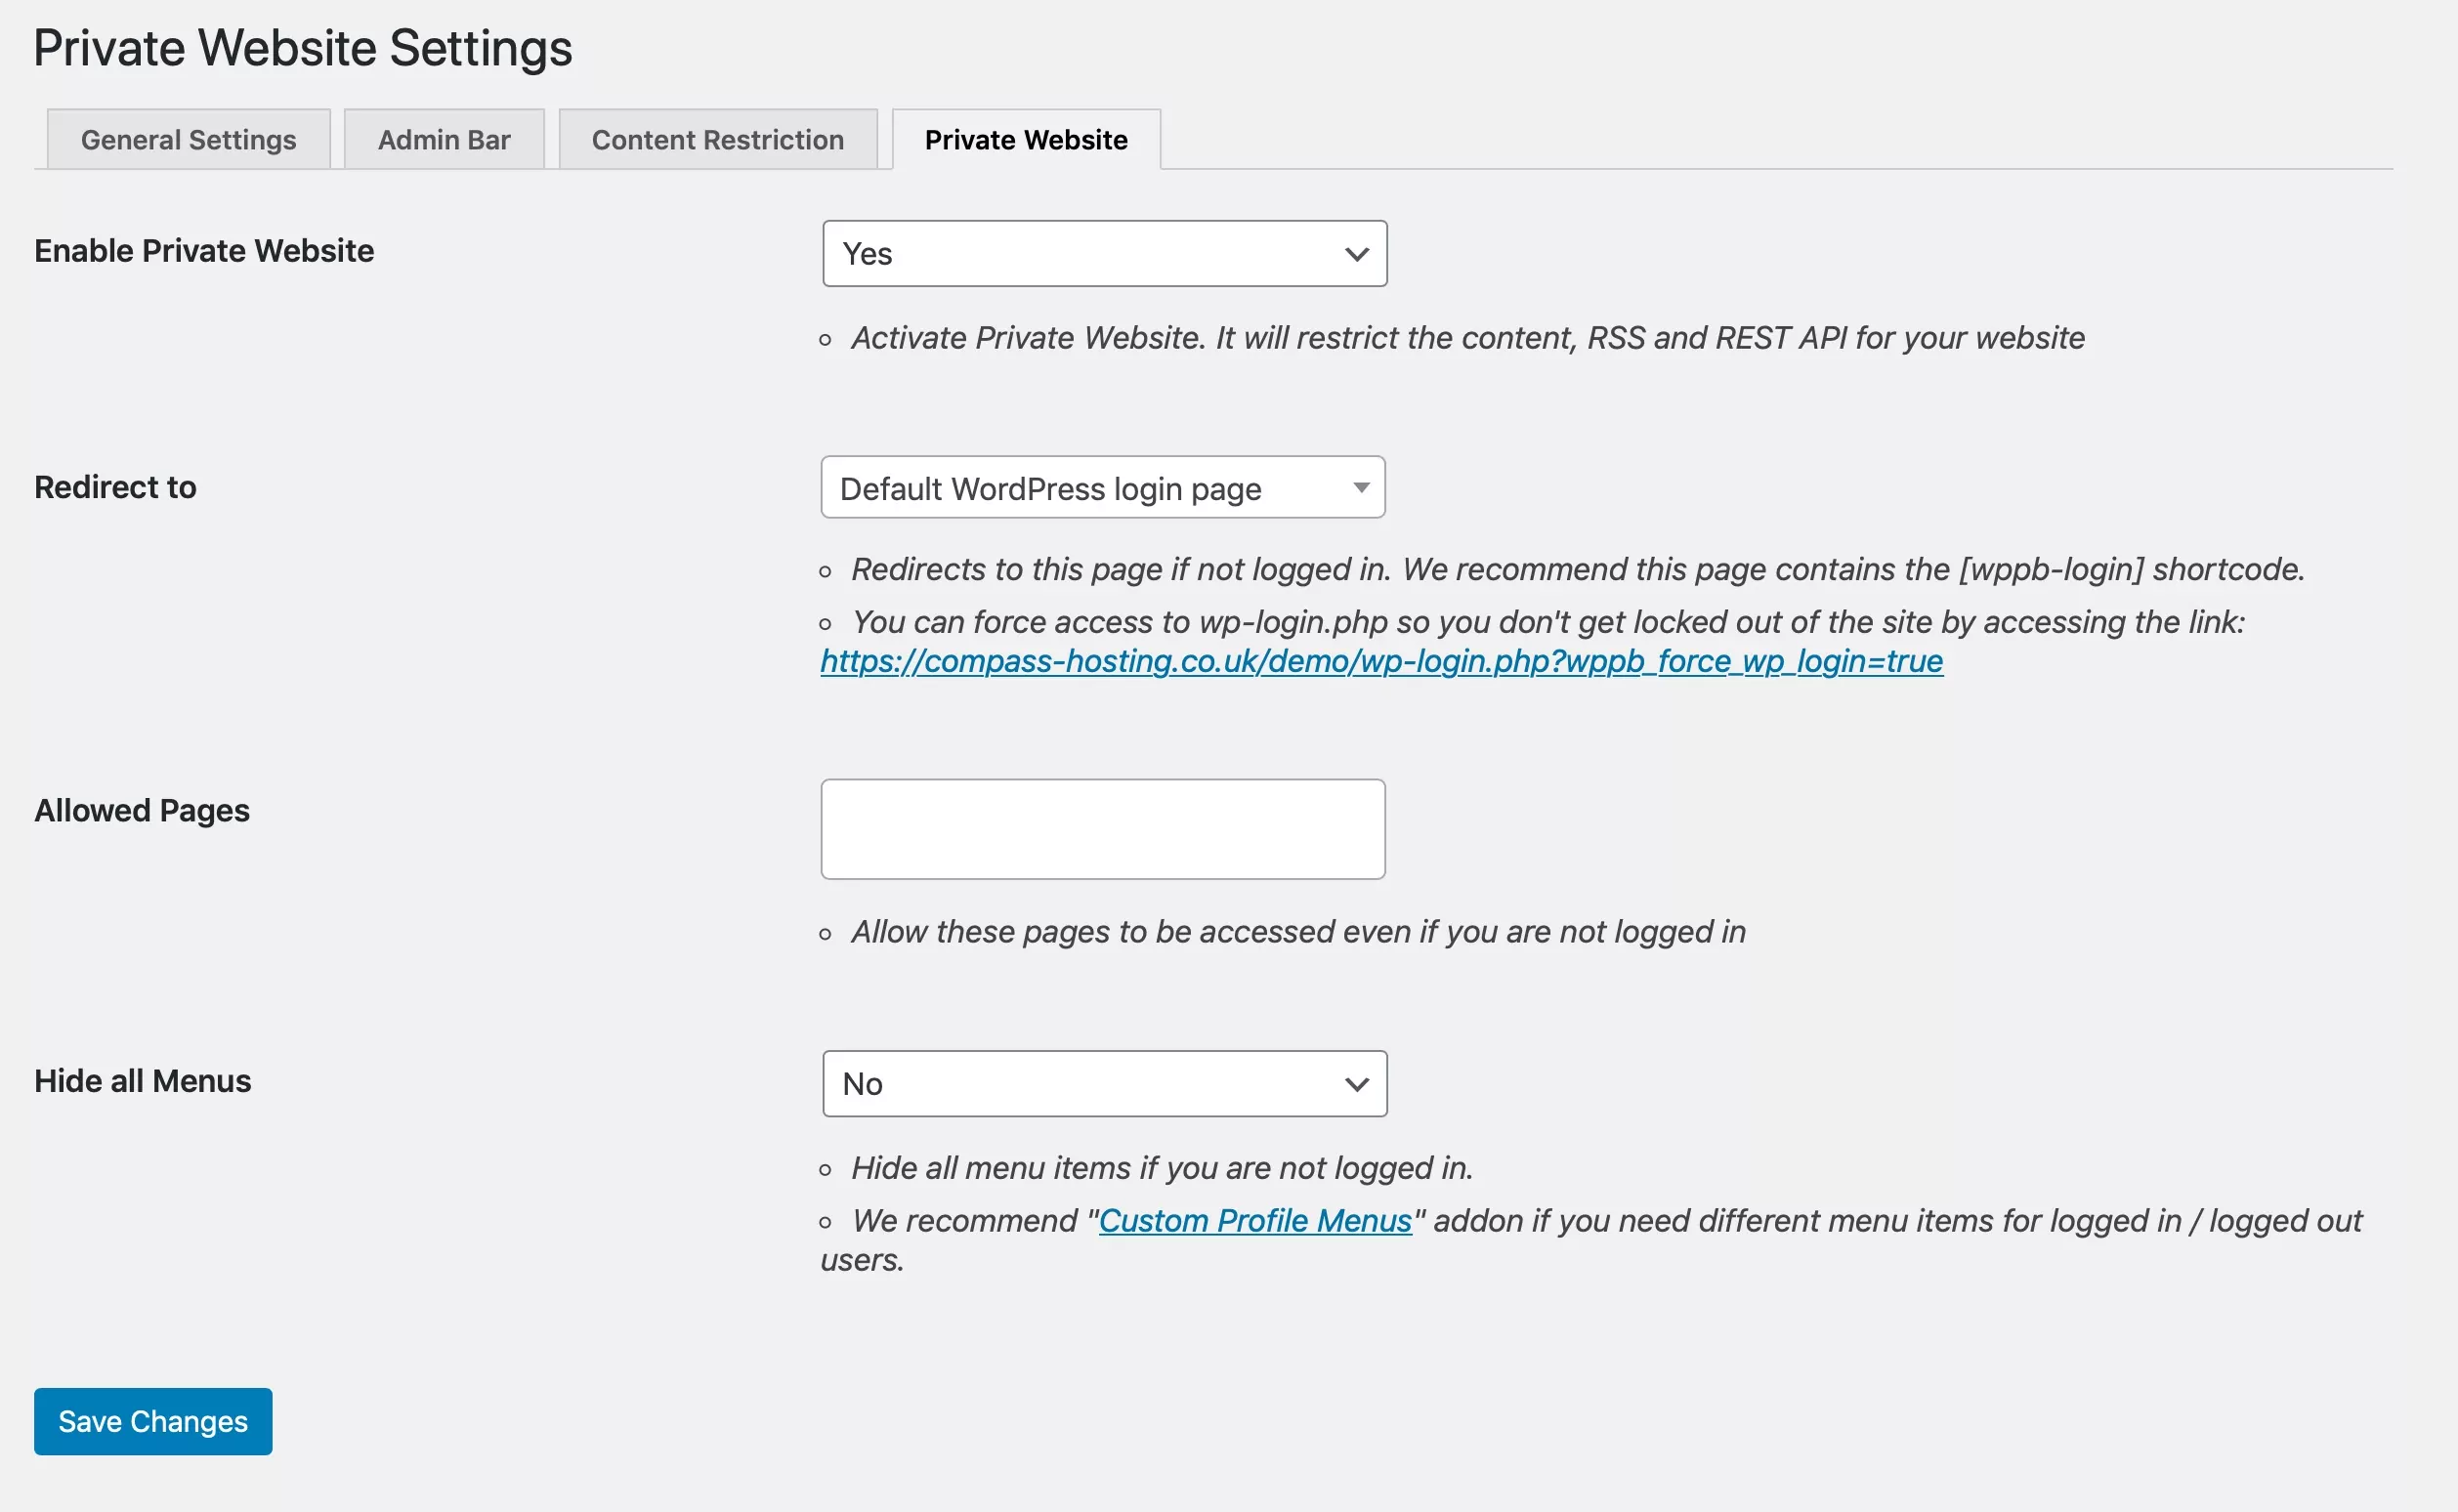
In the Enable Private Website dropdown, select Yes to turn this feature on.
You then have the option to use the default WordPress login screen or to create your own. We’ll look at how you create your own in a moment, but for now, just leave it at the default.
In the Allowed Pages field, type in the slugs of any pages you don’t want to make private. You might want to include your homepage or a landing page. If you do this, make sure those pages don’t include any private content.
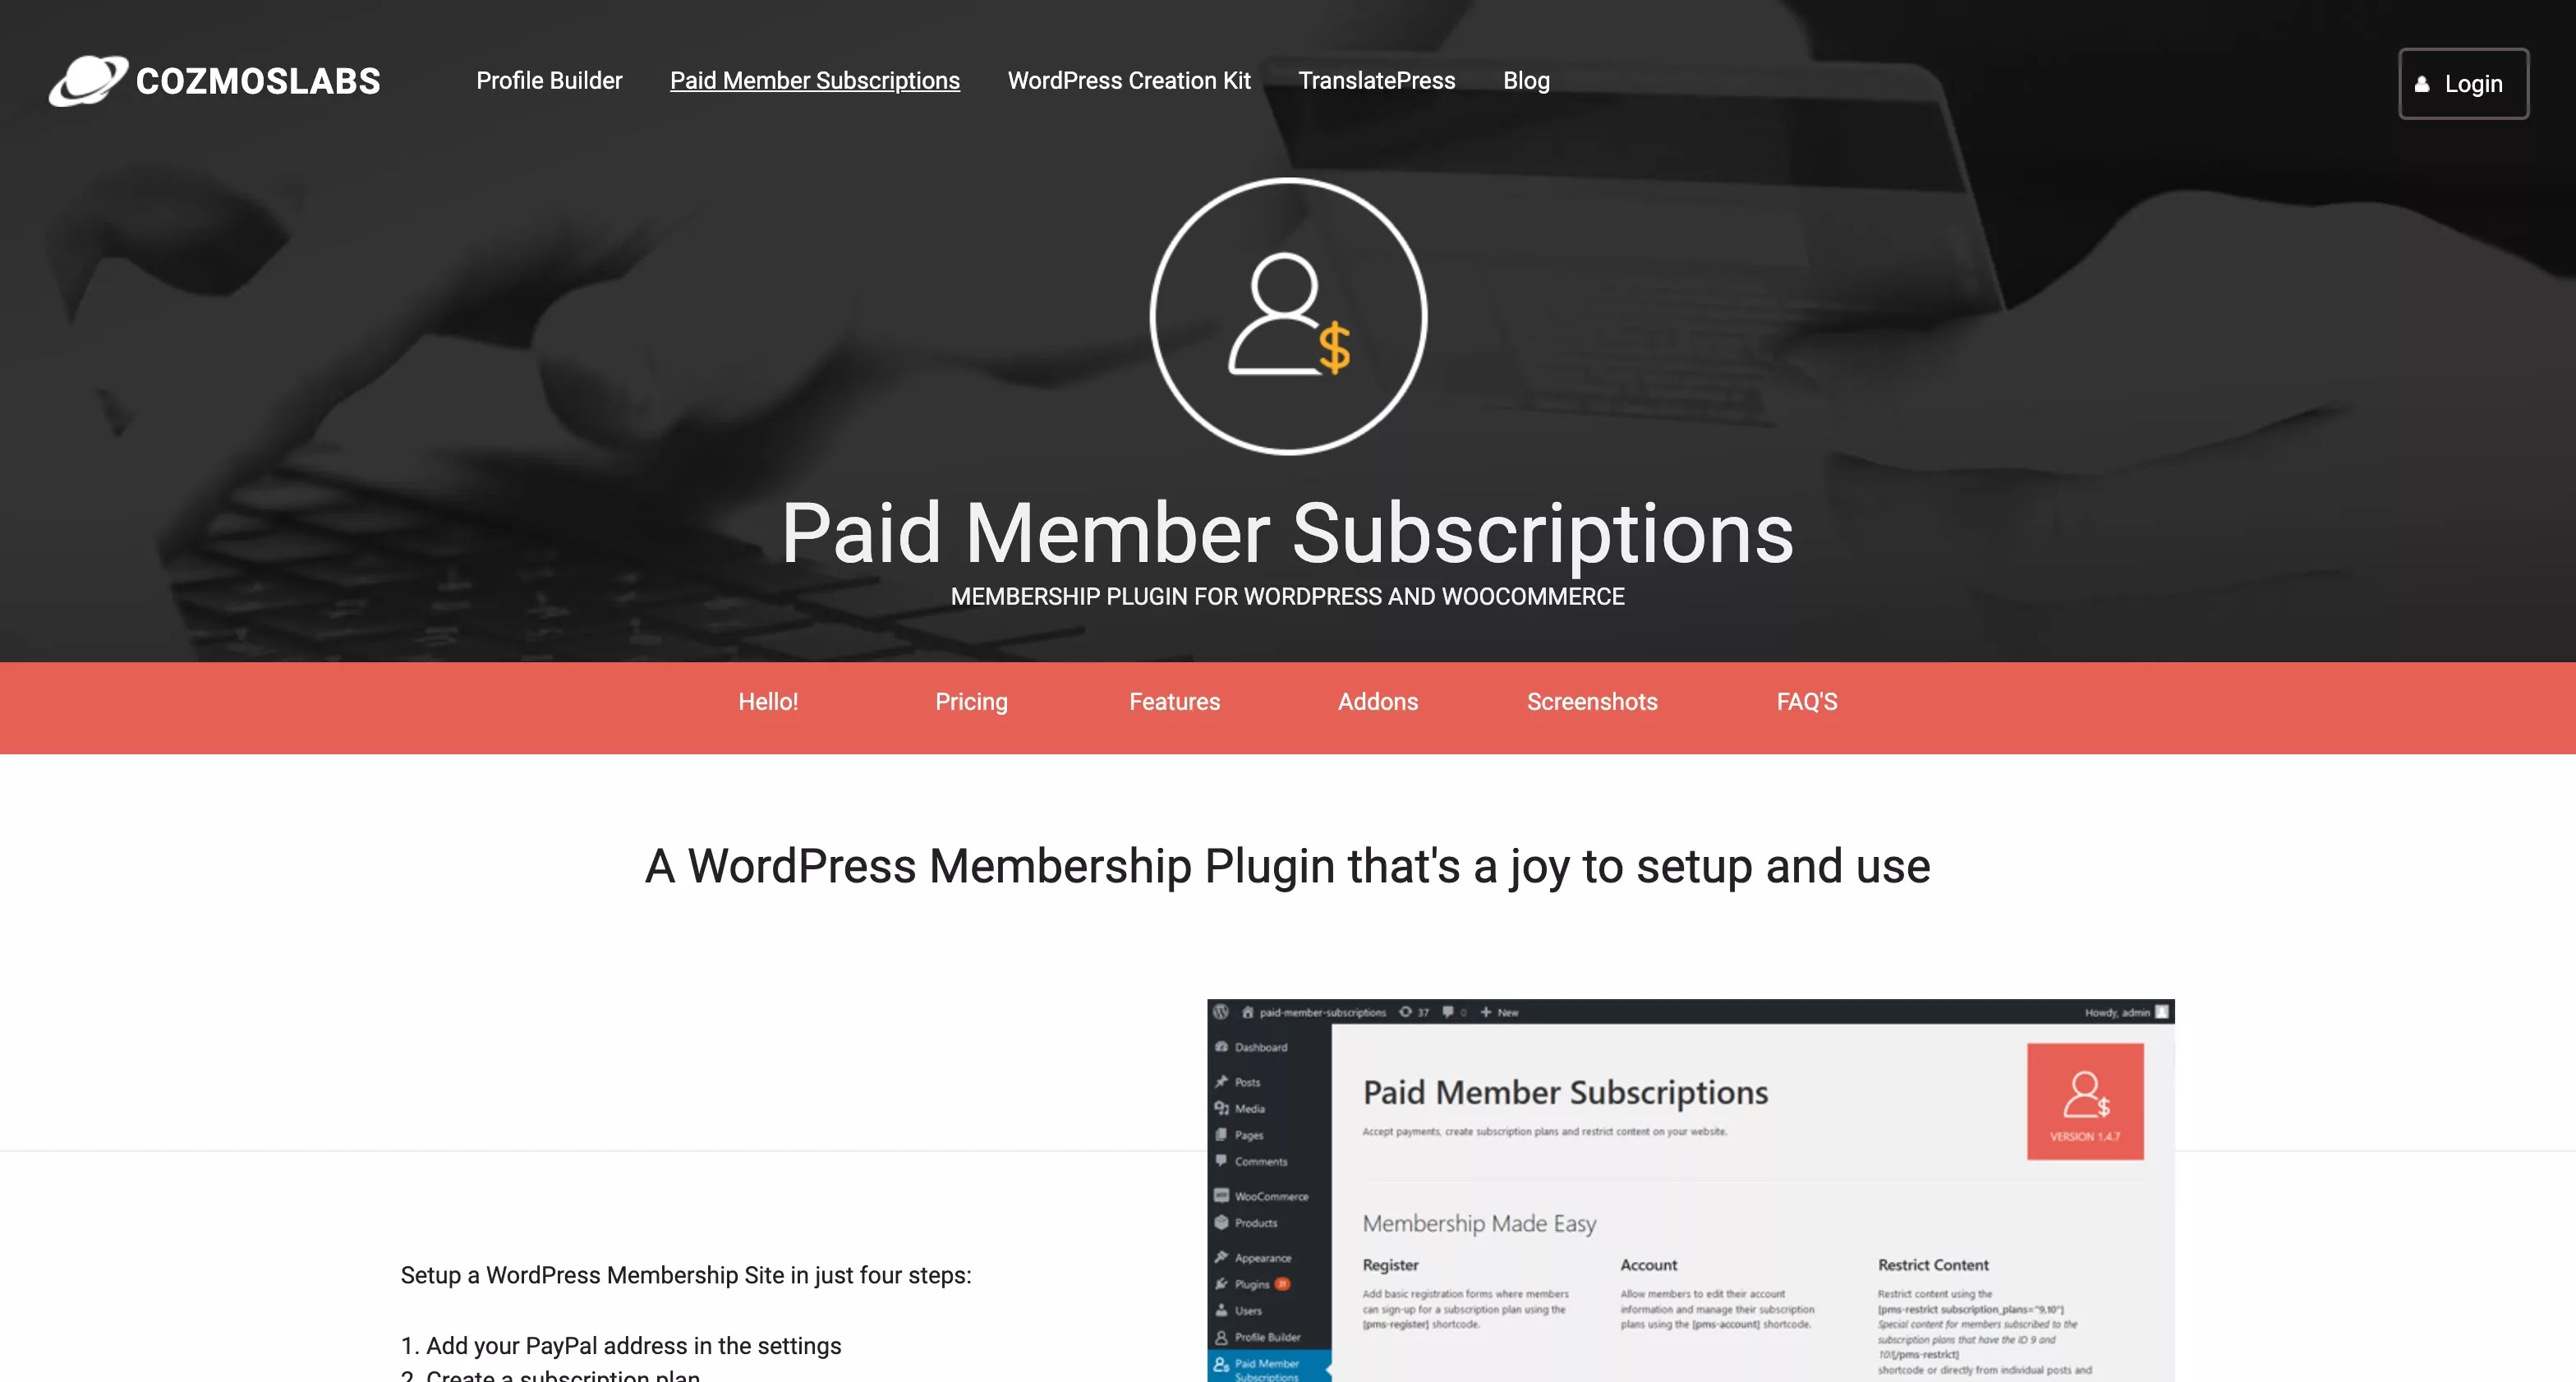
You might want to use these pages to encourage people to sign up to your site: maybe you could take paid subscriptions using the Paid Member Subscriptions plugin. It integrates beautifully with Profile Builder allowing you to accept payments at registration and let users sign-up for a certain subscription plan.
Another option you have when setting up a completely private website is to hide the navigation menus. For this you can use the Hide All Menus option, setting it to No or Yes. “No” means that anyone visiting the site will be able to see your navigation menu, which will tell them what content is there but they won’t be able to access it. You could use this as a teaser. If you select “Yes”, visitors who aren’t logged in won’t be able to see any of the navigation menus.
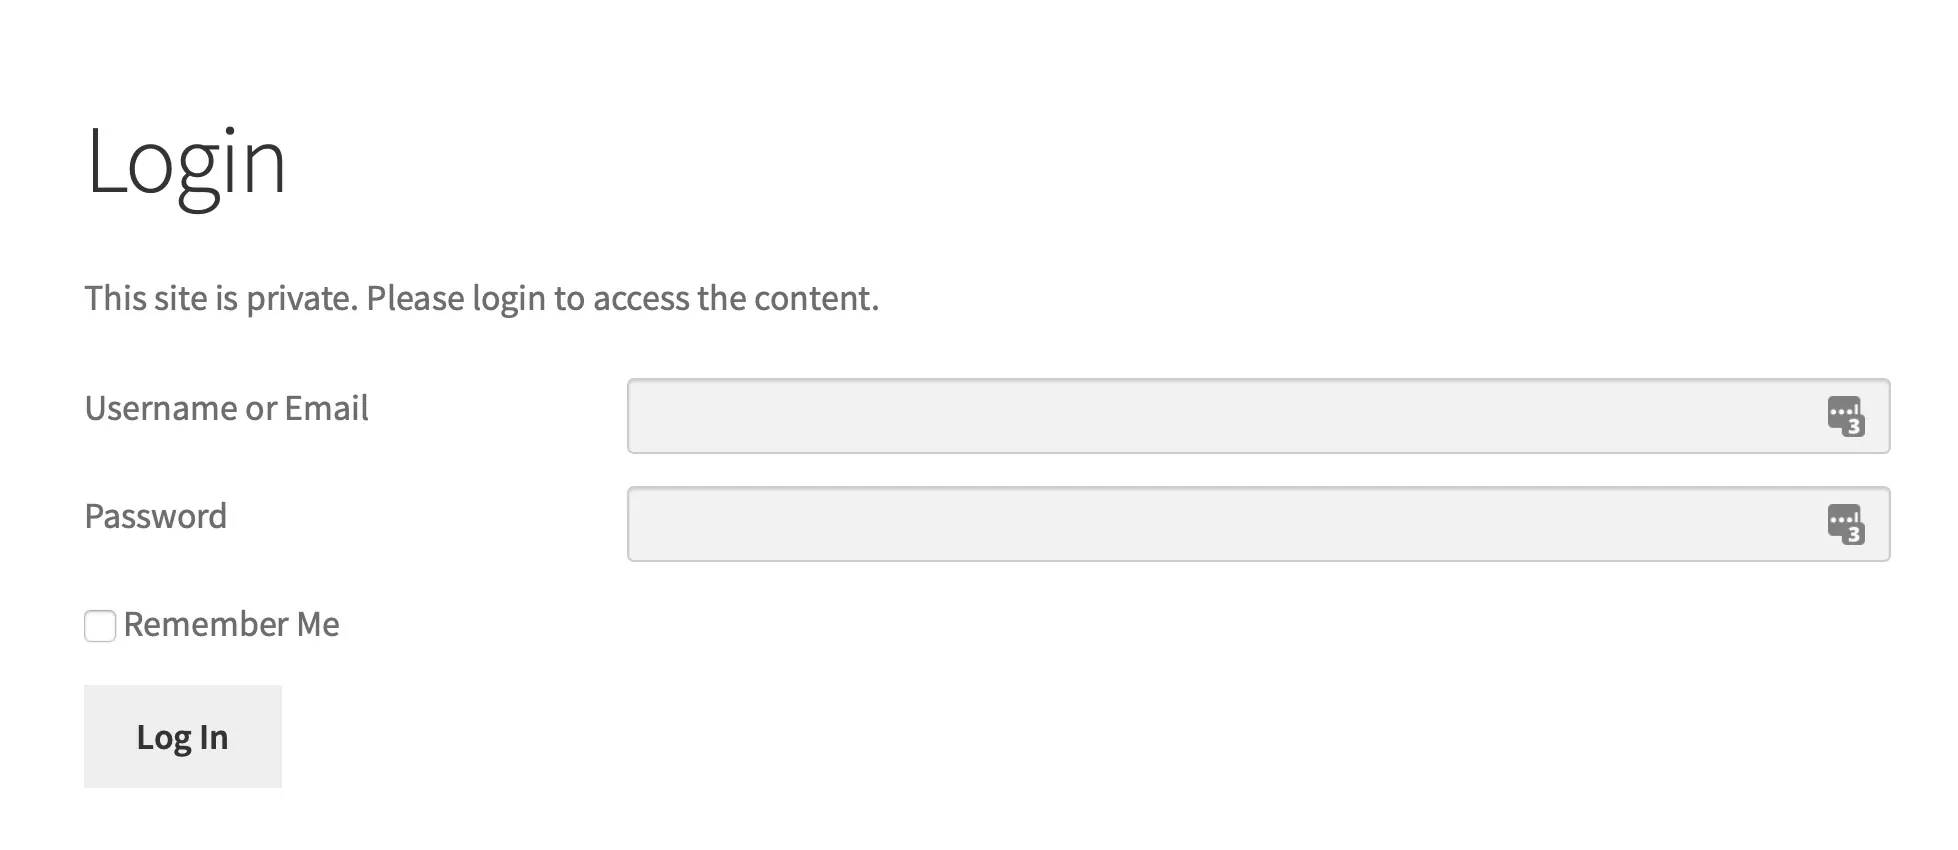
Now click the Save Changes button and try visiting your site when you aren’t logged in. You’ll be presented with the WordPress login screen.
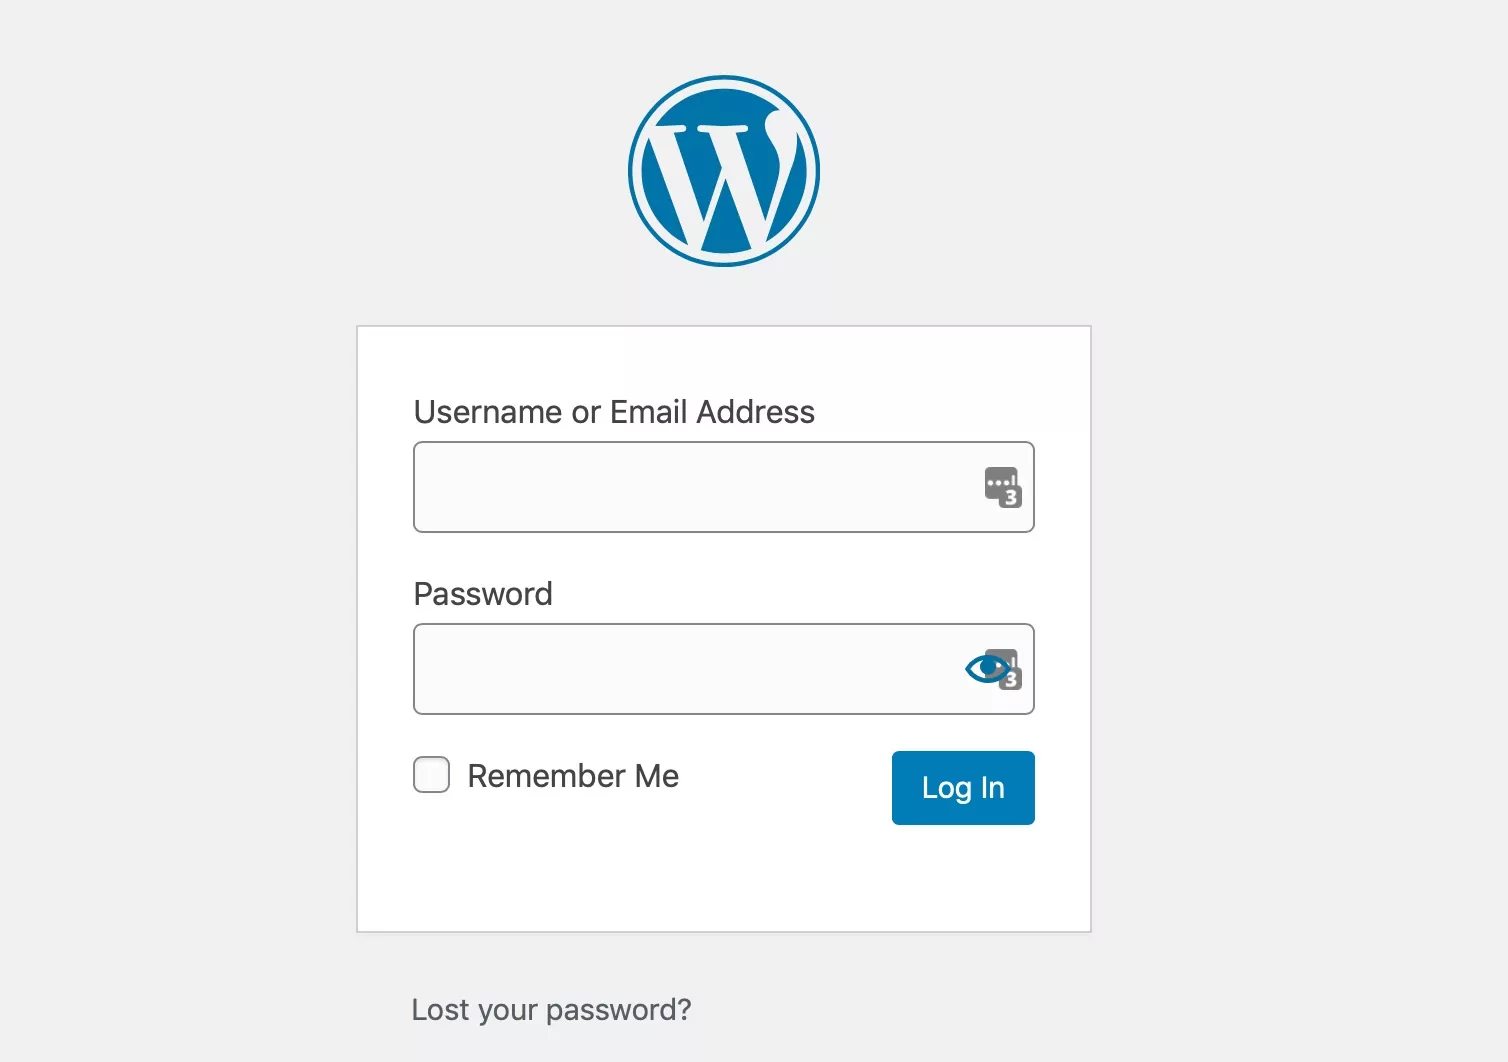
It’s ok to have the default login screen like that, but it doesn’t tell people why they can’t access the site. You’ll create a better user experience and reduce confusion if you create a front-end login page on your site.
Let’s see how to do this. In the WP dashboard, navigate to Pages > Add New. Create the page in the normal way and add some content explaining that it is a password-protected WordPress site and that users must sign in.
Then use the [wppb-login] shortcode to add the login form from Profile Builder to the page:
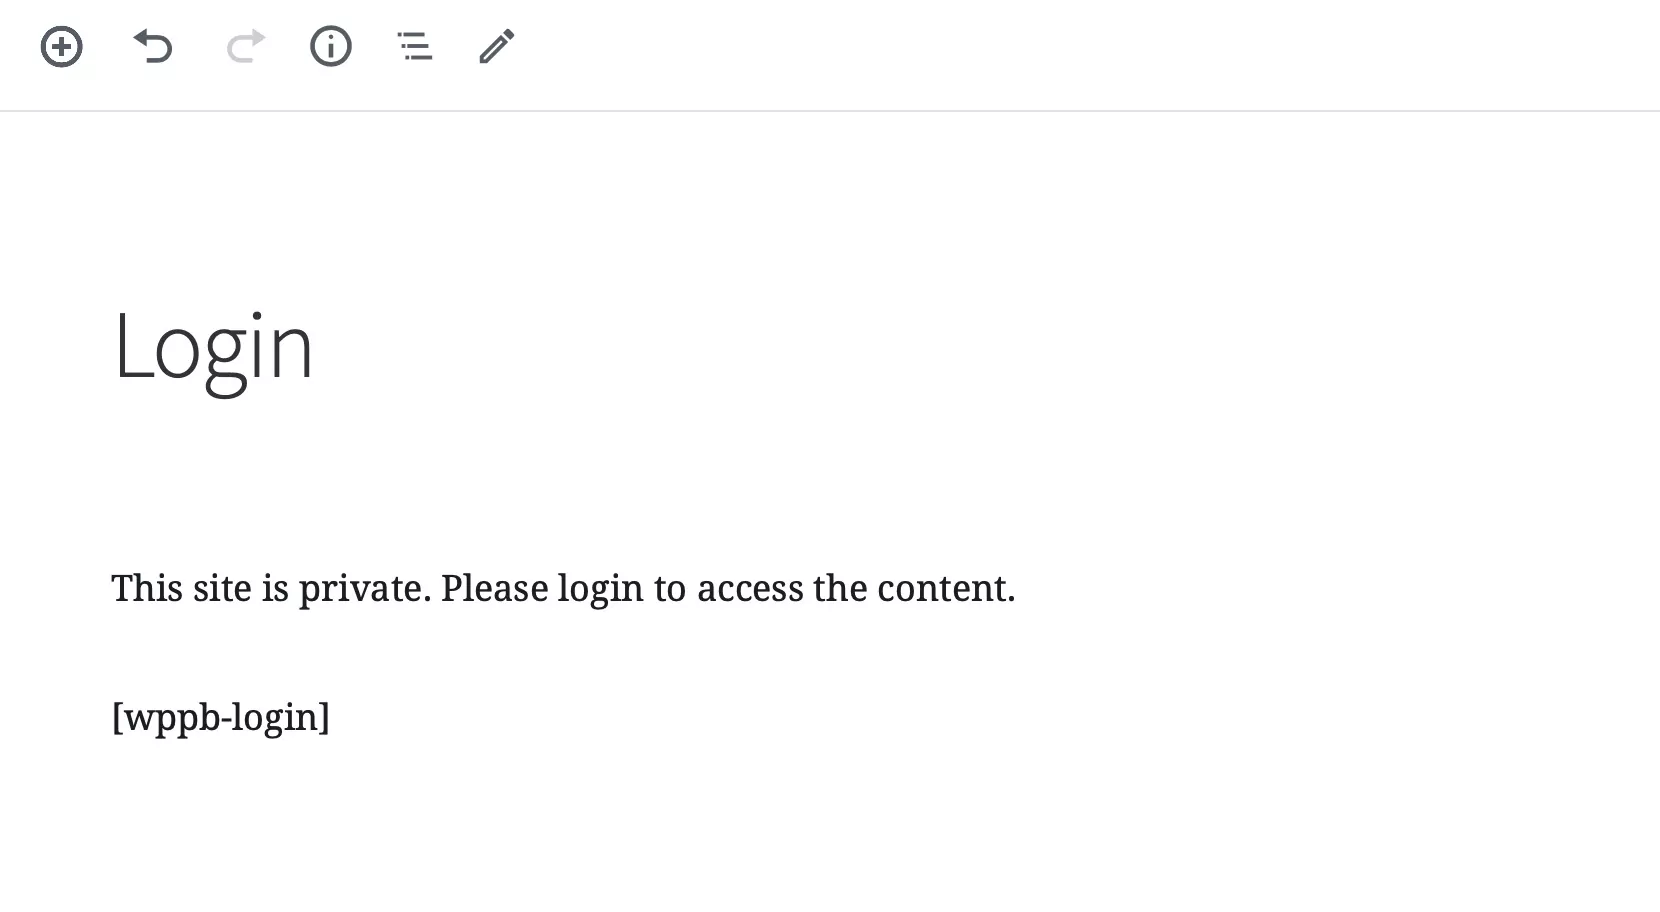
Publish that page and go back to Profile Builder > Settings > Private Site. In the Redirect to dropdown, make sure to select the front-end login page you just created. Click Save Changes and you’re all set.
Now when someone who isn’t logged in tries to access the site, they’ll be taken to the front-end login page. They’ll need to login to access your website or or register if they aren’t already a subscriber.
You can add more content to this page if you want – maybe information about the site and a link to the front-end registration form if you’re allowing signups. You can use Profile Builder to create the front-end registration form as well and include the custom fields you’d like users to fill in at registration.
Password Protect WordPress Categories
If you want to password protect WordPress categories, you can easily achieve this using the Paid Member Subscriptions plugin and its Global Content Restriction add-on. This lets you restrict content based on category, taxonomy terms, or post type.
To do this, install both plugins and go to Paid Member Subscriptions > Subscription Plans. You’ll need to create a subscription plan so you can restrict content using it.
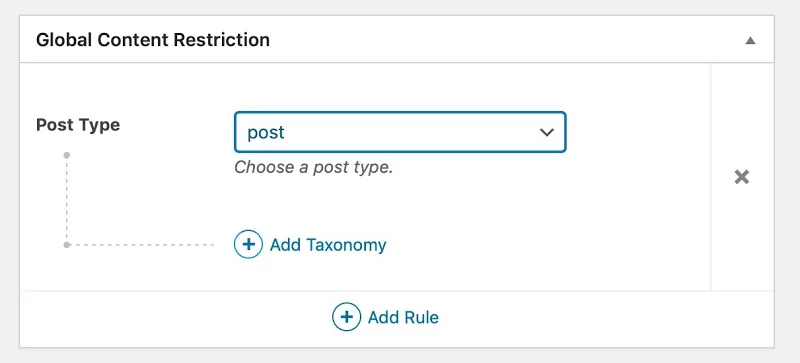
Open up the subscription plan and scroll down to the Global Content Restriction section. Choose Post for the post type and then you’ll see an Add Taxonomy option.
Click on that option and choose Category. Now select the category you want to restrict from the menu.
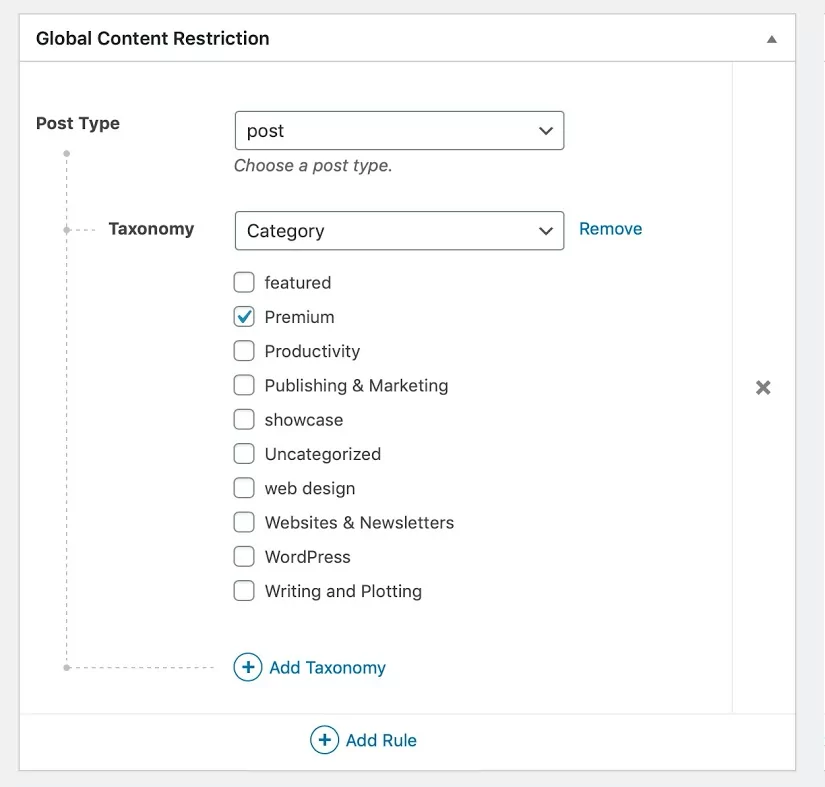
Now scroll back up to the top of the screen and click the Save Subscription button. Only people who are logged in with that subscription will now be able to view the category.
Password Protect WordPress Posts or Pages
If you don’t want to restrict access to your entire site, you can restrict individual WordPress posts and pages instead.
You might have the premium content you want to only make available to site subscribers, or products which are low on stock or have a rarity value, and you want to create a feeling of exclusivity by making them available to a select few.
Enable Restricted Content
Do do this, start by enabling content restriction. Go to Profile Builder > Settings and select the Content Restriction tab.
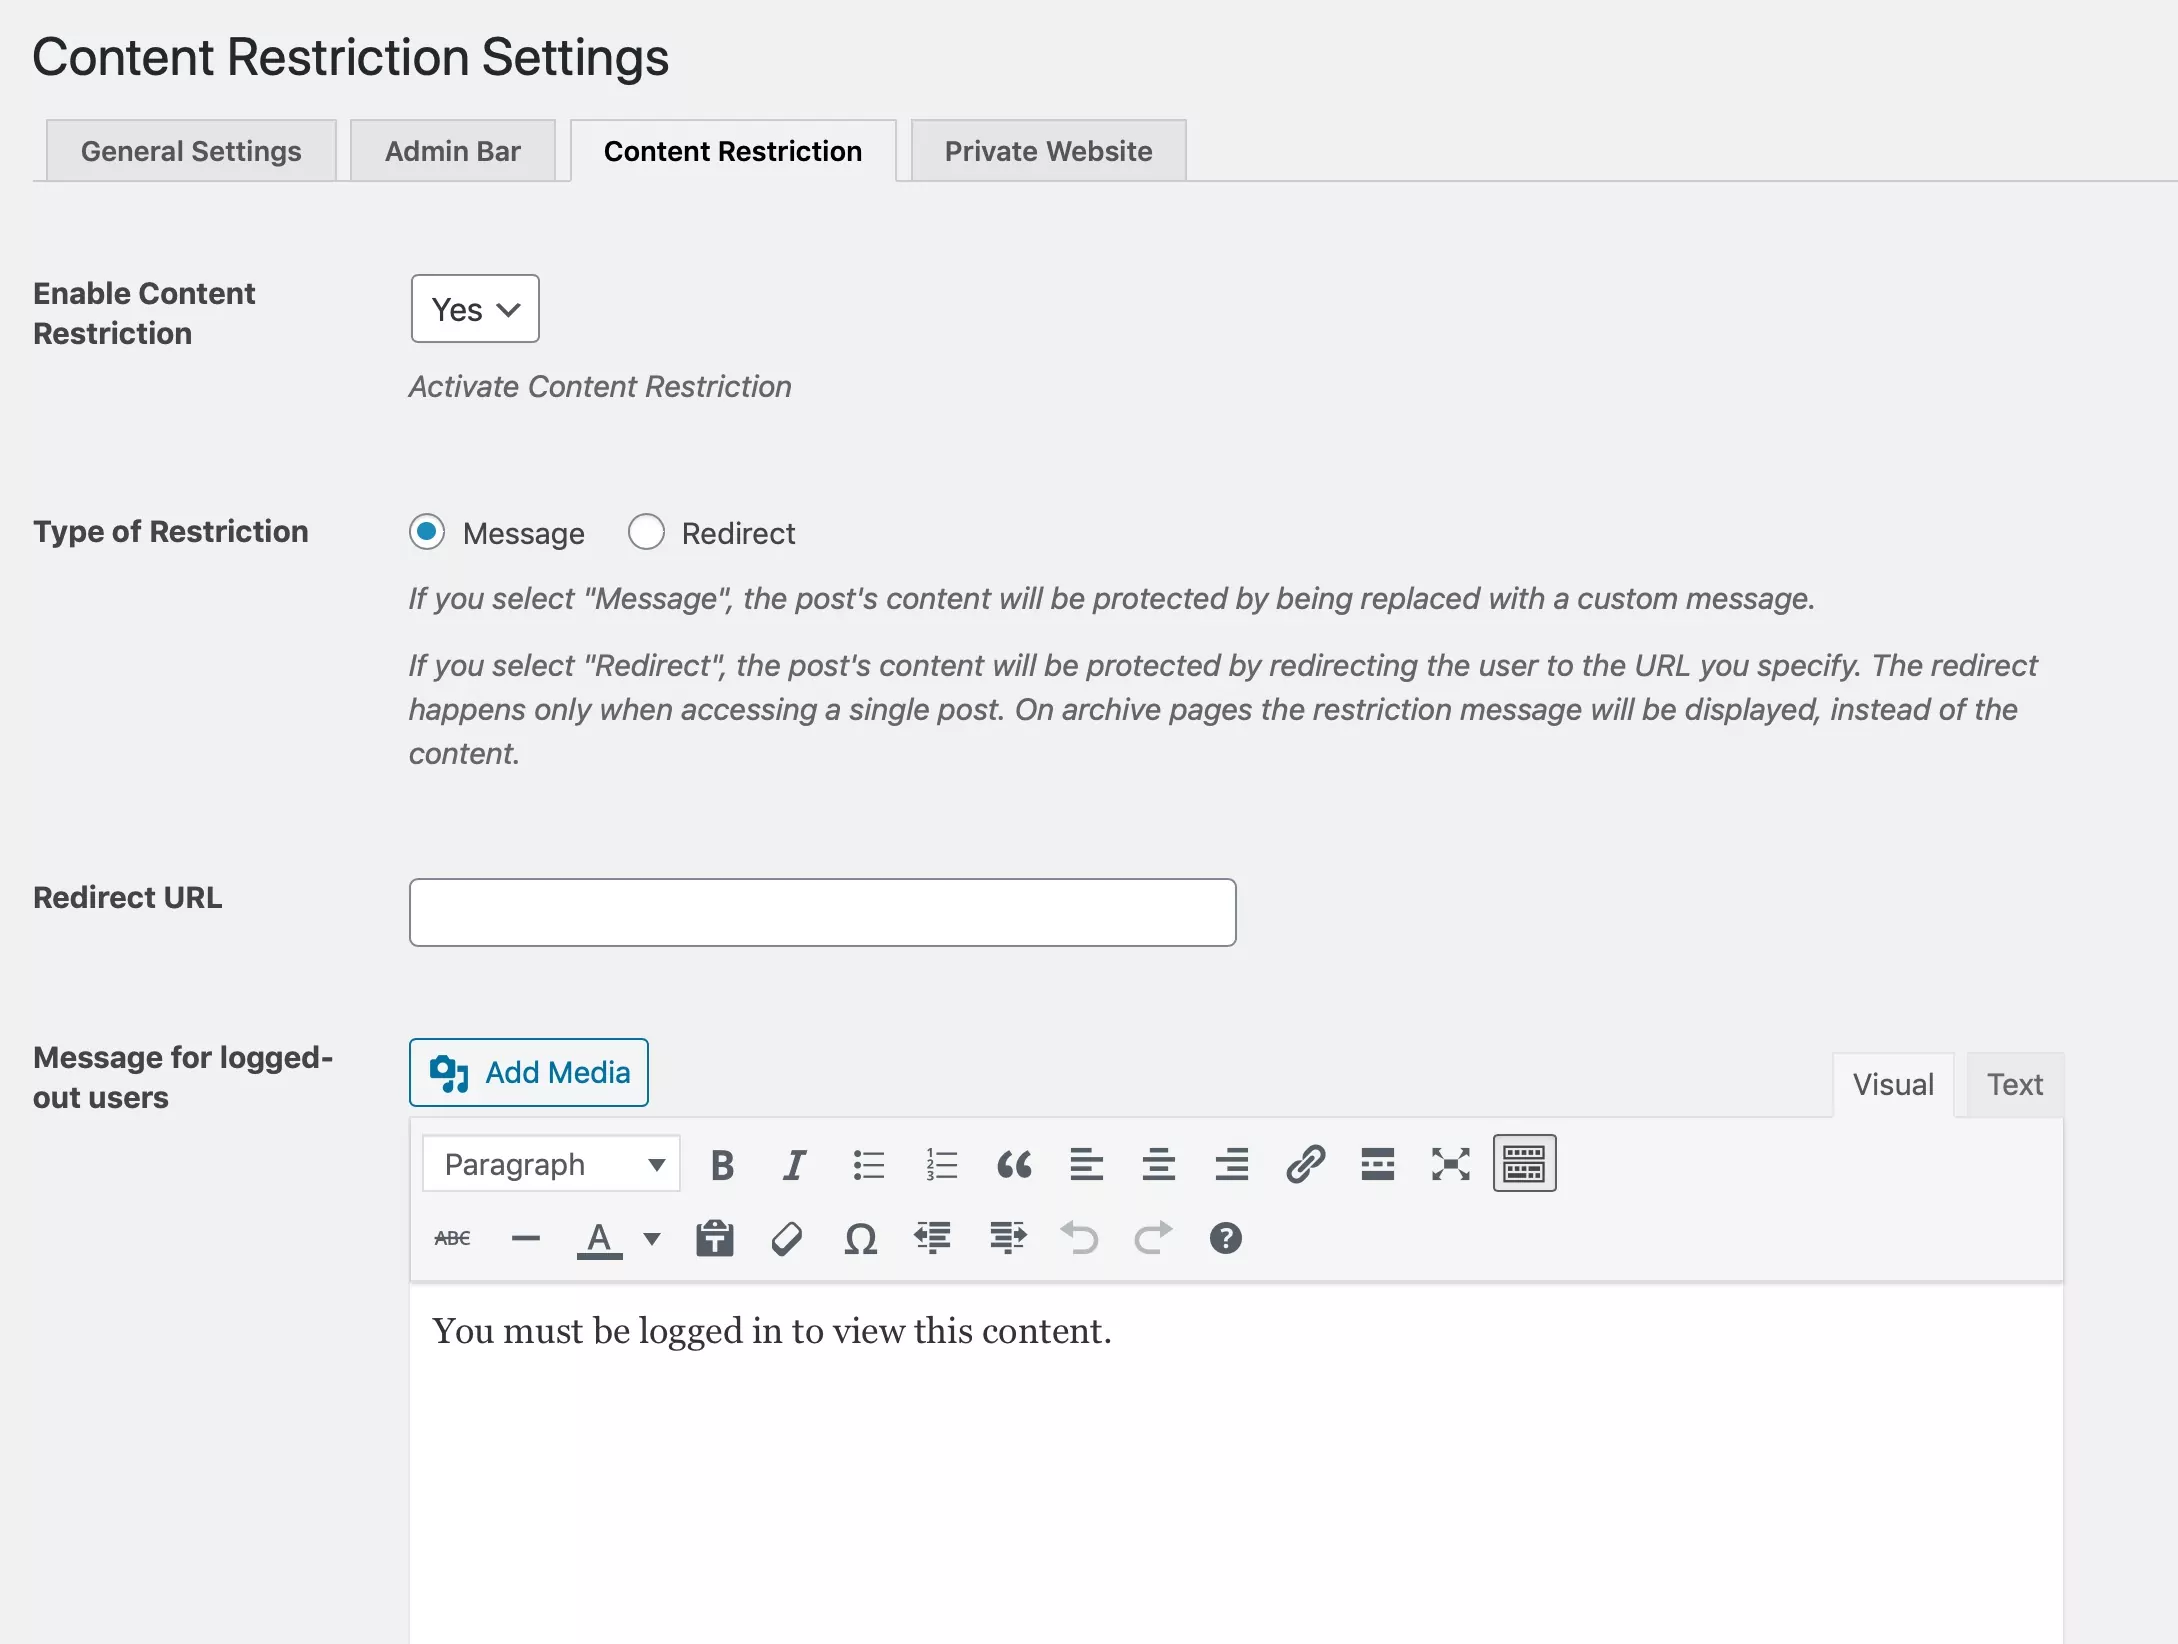
In the Enable Content Restriction dropdown, select Yes.
Next, select the visibility option. You can either display a message or you can redirect users to another page. This page might be a login page or another page that isn’t restricted. To create a login page follow the instructions in the section on creating a private site, above.
You can then edit the message which is displayed when someone tries to view restricted content. You might use this to give more information about why it’s restricted or to encourage people to sign up to your site if you’re allowing registration.
Scroll down to the bottom of the screen to see the Restricted Posts Preview section.
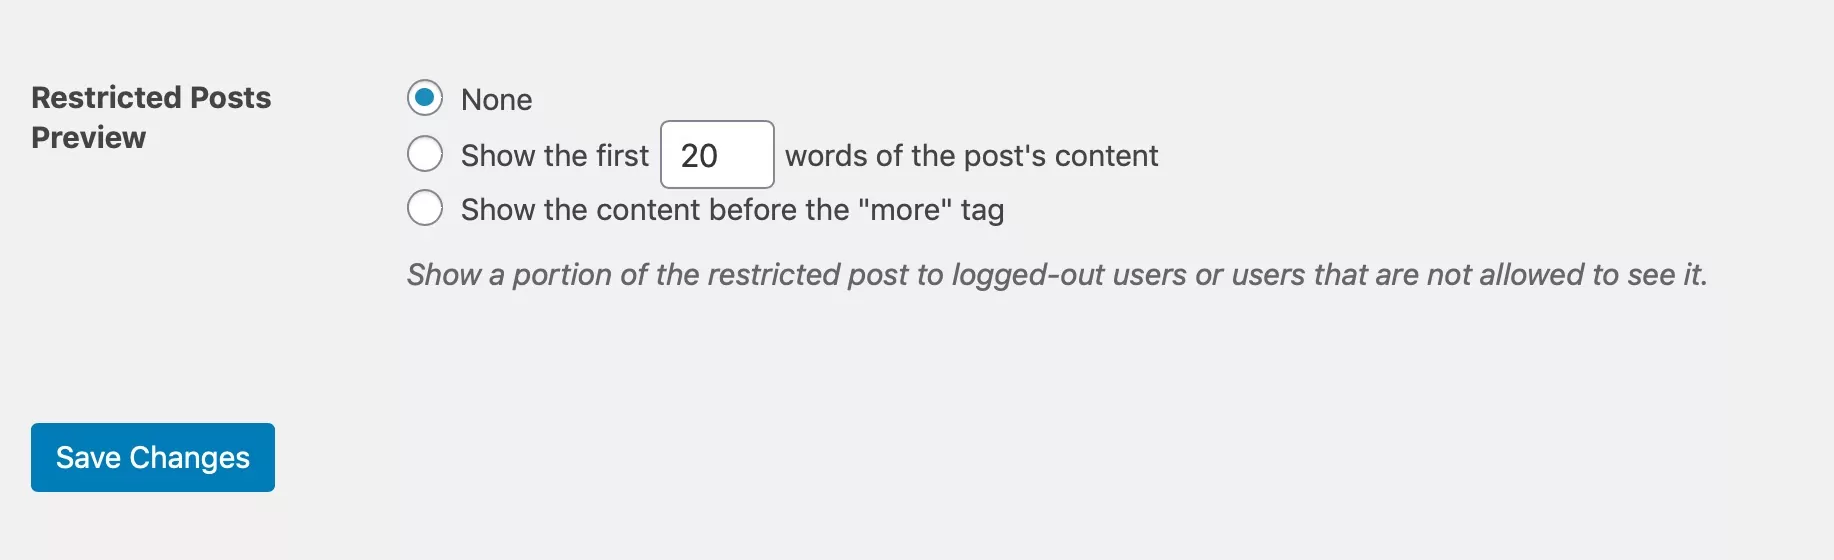
Here you can specify whether visitors will see none of your restricted posts or if they will see a preview. Select the one you want and click the Save Changes button.
Restrict Individual Posts and Pages
Now you need to configure your individual posts and pages to restrict them. Create a new post, or page, or go to the WordPress editor screen for the one you already have.
Scroll down to the Profile Builder Content Restriction section.
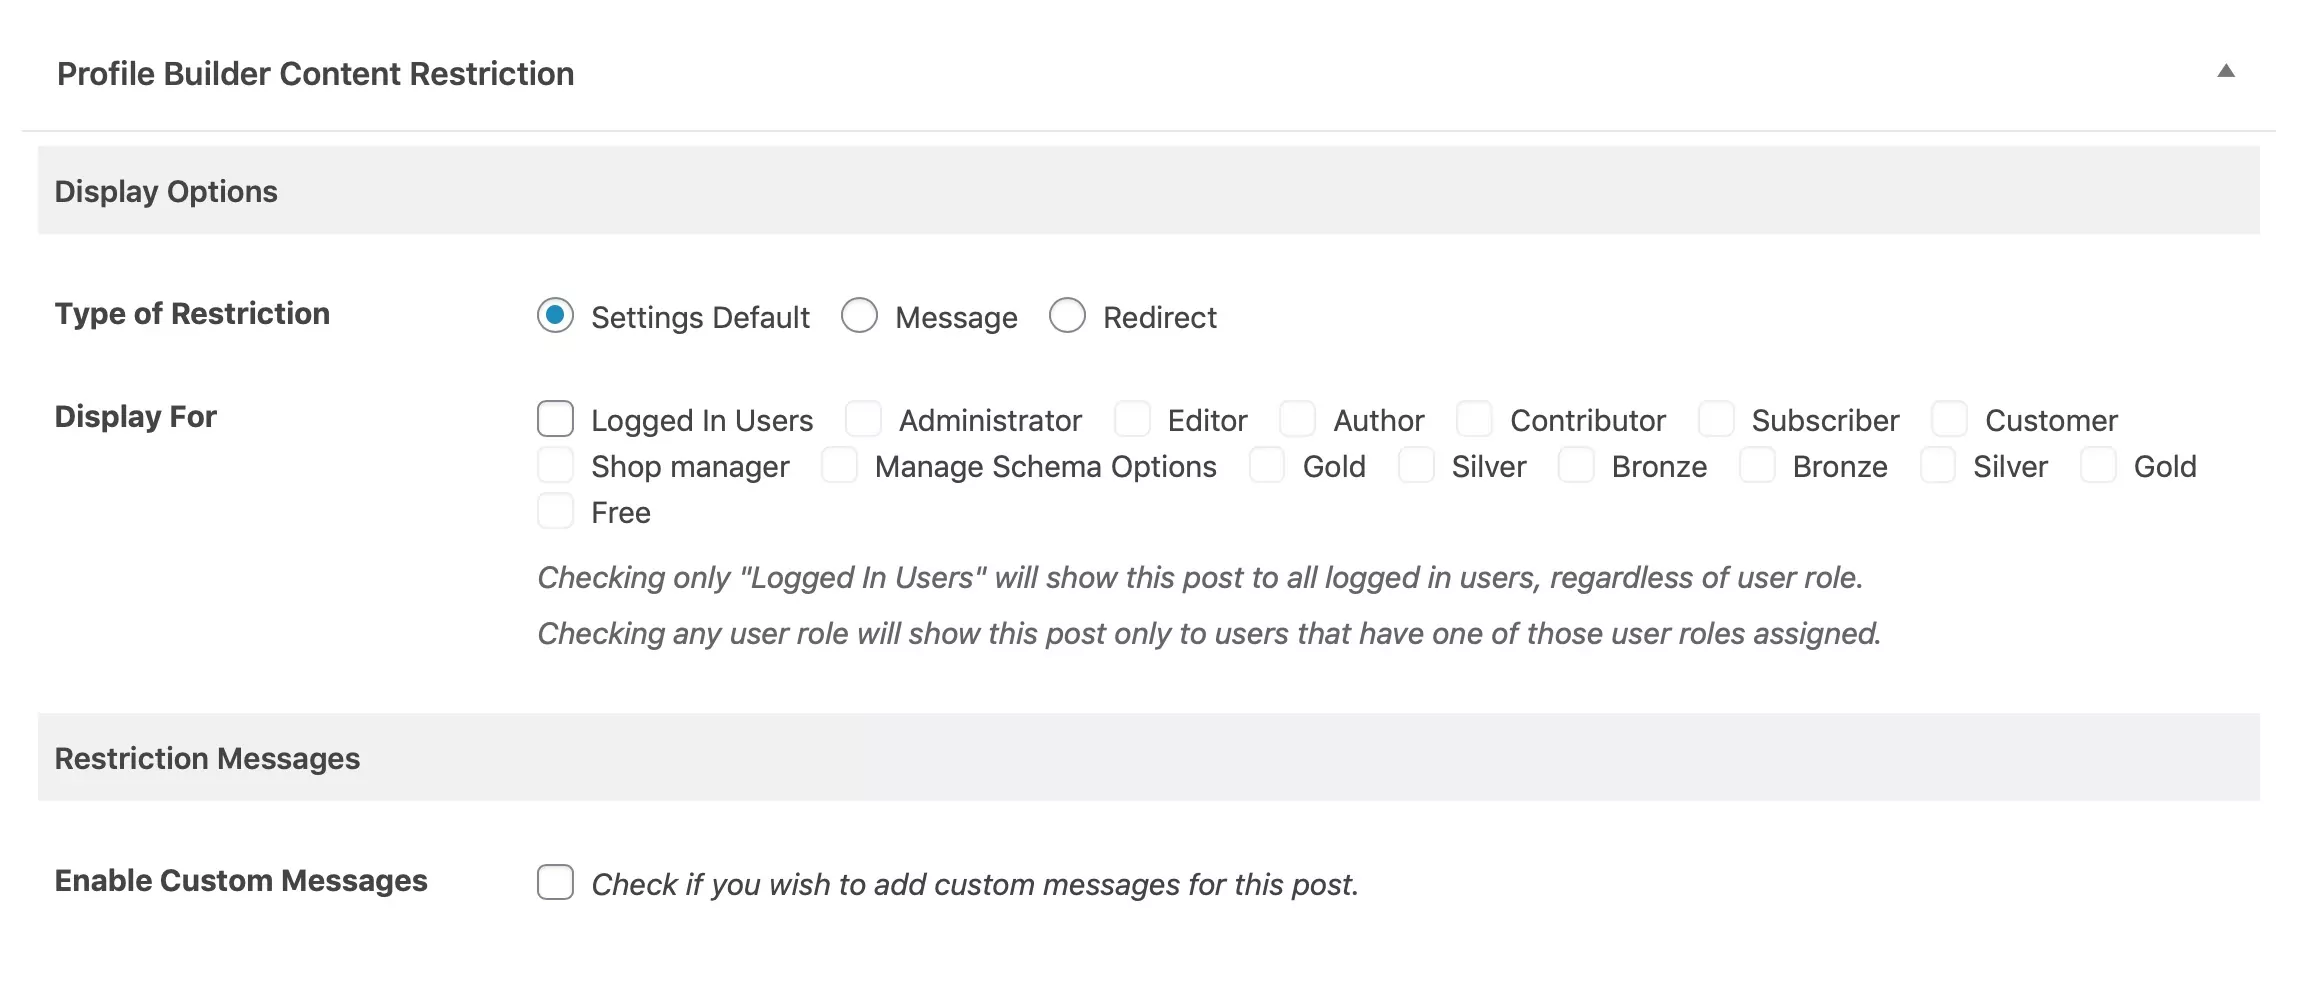
First, select Message or Redirect to turn on restriction for this post. If you’re using Redirect, you’ll need to create a page to redirect to – you can find out how to create a login page in the section above on creating a private site.
Then, under Display For select Logged In Users. This will show the content to all logged-in users.
If you’d like to restrict this post to just one or a group of user roles, check those roles too. Any roles you don’t check won’t be able to see the content. Don’t forget to allow administrators access.
Finally, if you want to create a custom message for this restricted content which is different from the default message you created in the Content Restriction settings page, check the Enable Custom Messages checkbox and type in your message.
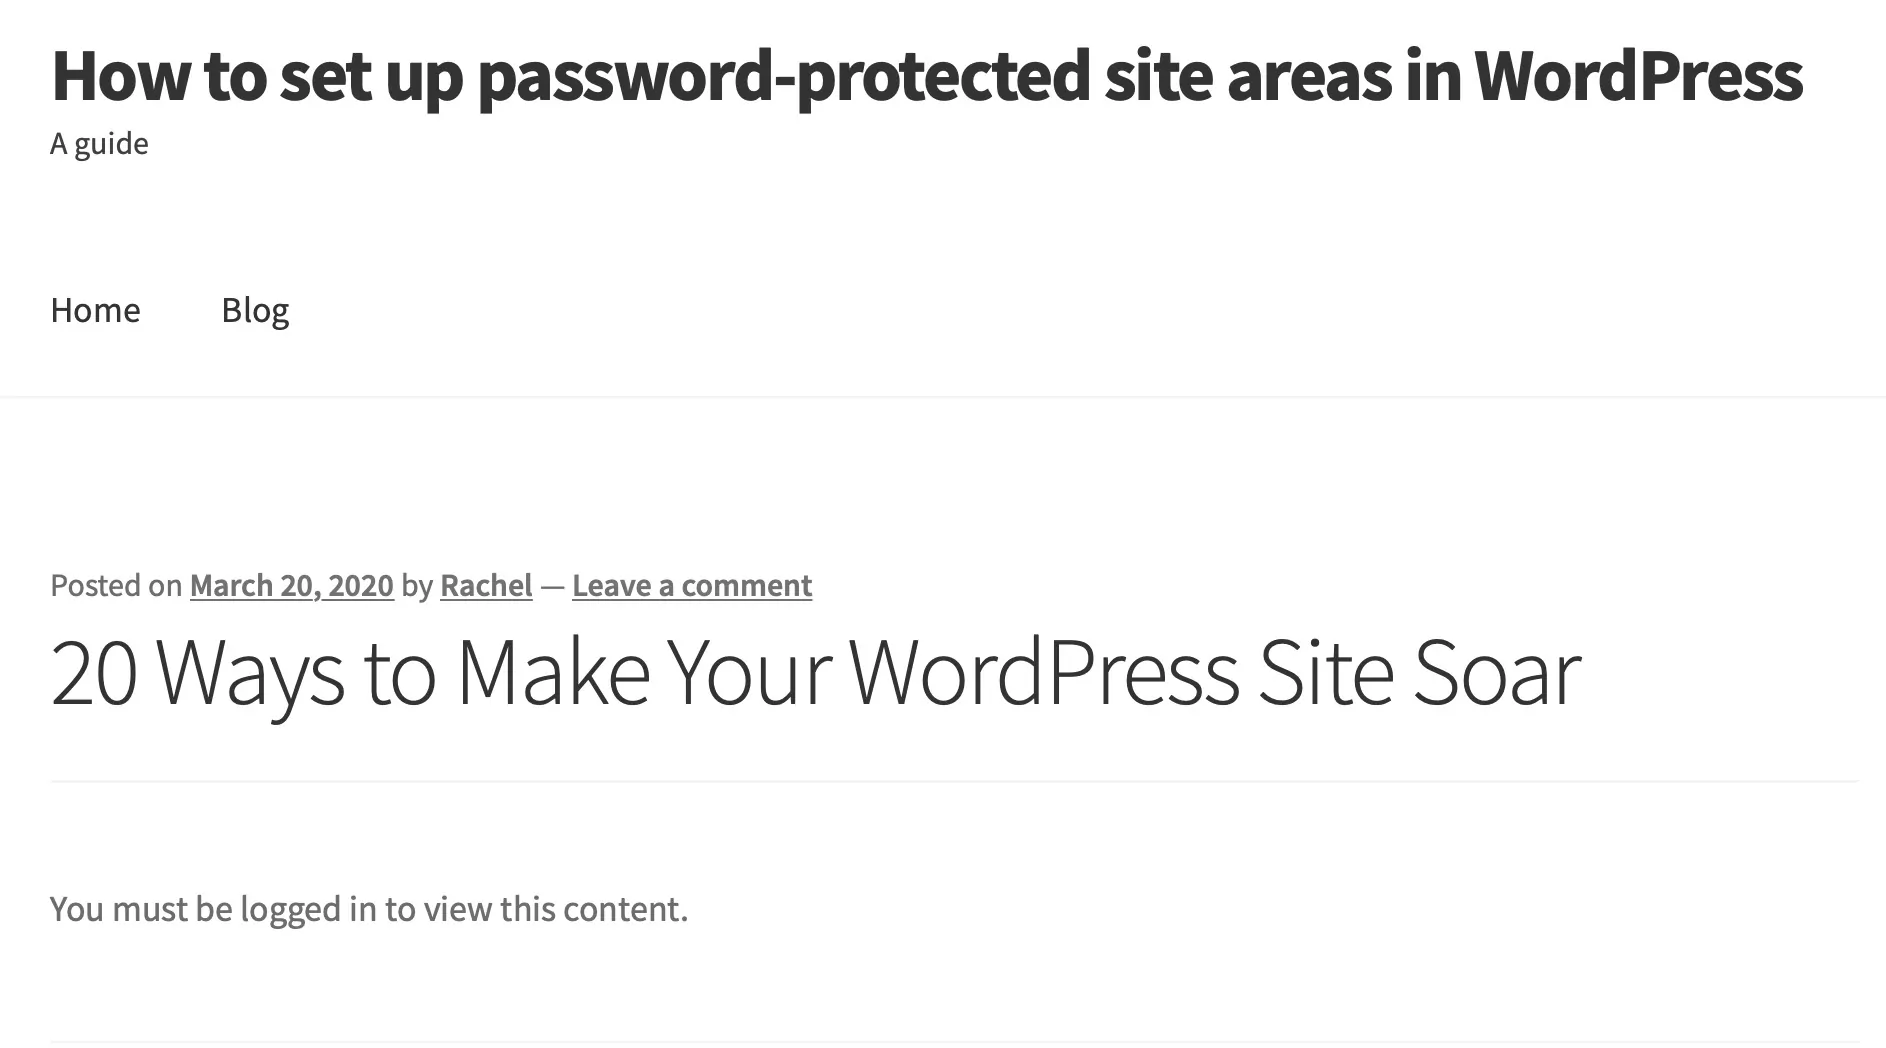
Publish the post and it won’t be shown to anyone who isn’t logged in. Instead, they’ll be shown a message or redirected to your specified page.
Remember this isn’t limited to protected pages and posts – the plugin integrates with WooCommerce too so you can restrict your products to members only. We’ll show you how to set this up shortly.
Password Protect Part of a WordPress Post or Page
If you don’t want to restrict an entire post but just part of it, you can also do this with Profile Builder.
Maybe you’ve recorded a video you only want to make available to members of your site, or there’s a coupon code or discount you want to share with them. Or maybe you want to make some content available for SEO, and hide the rest.
The good news is you can restrict as much or as little of a single post or page as you want, with the Profile Builder Pro content restriction shortcode.
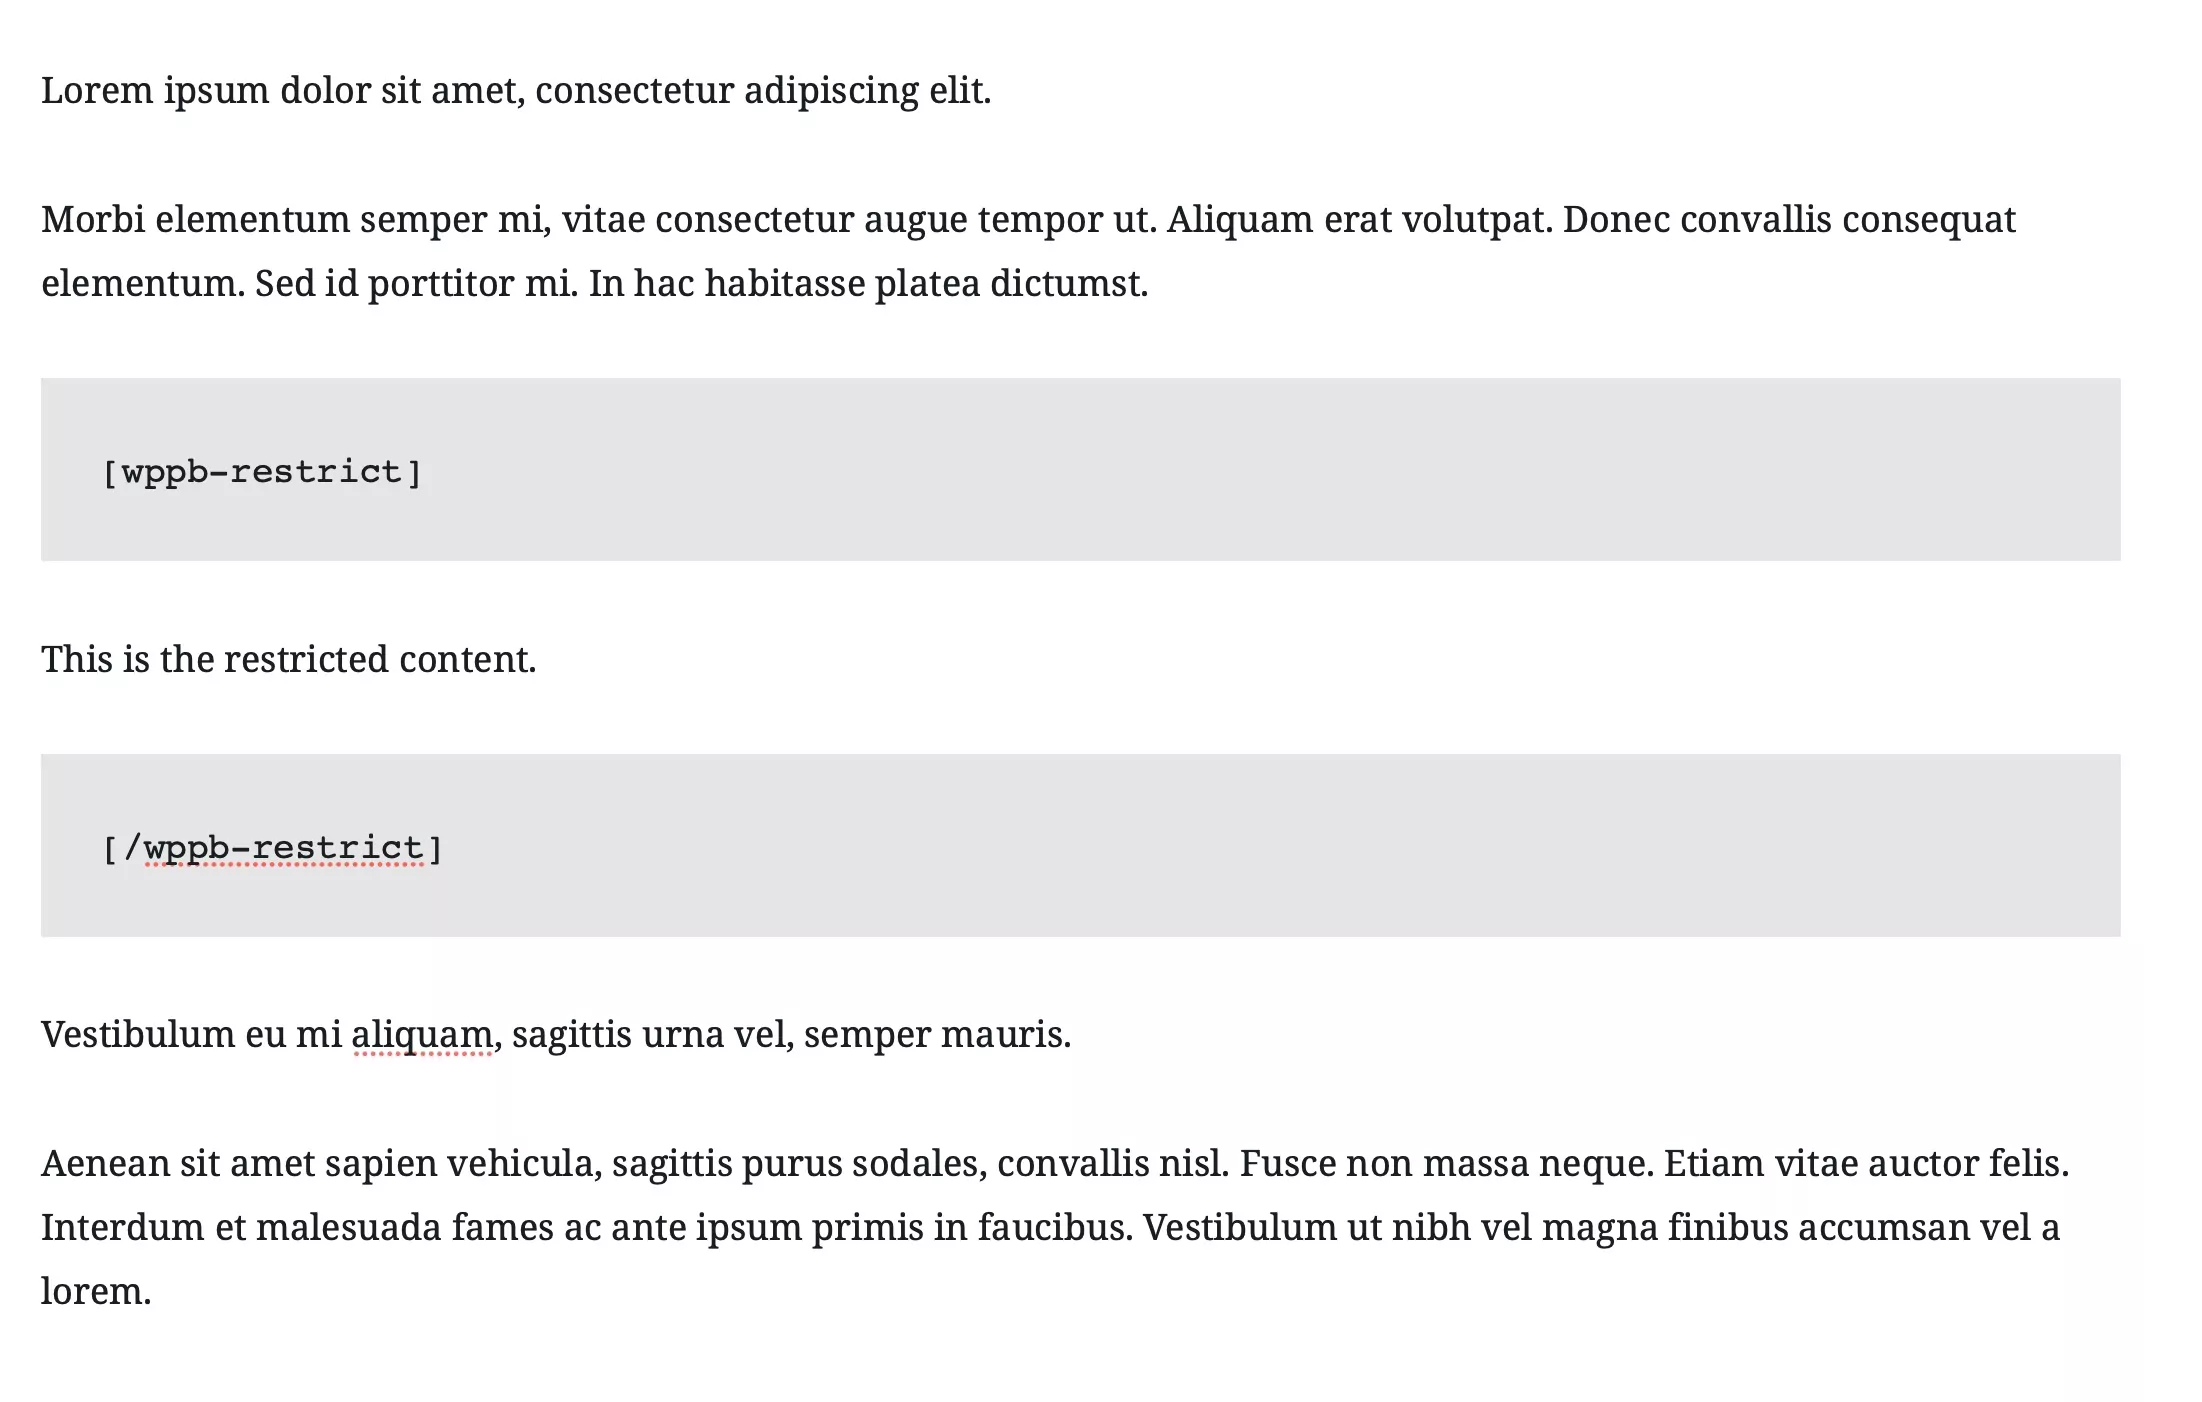
In your post, find the content you want to restrict. Wrap it in the [wppb-restrict] shortcode like shown below. Don’t forget to close the shortcode after the restricted content.
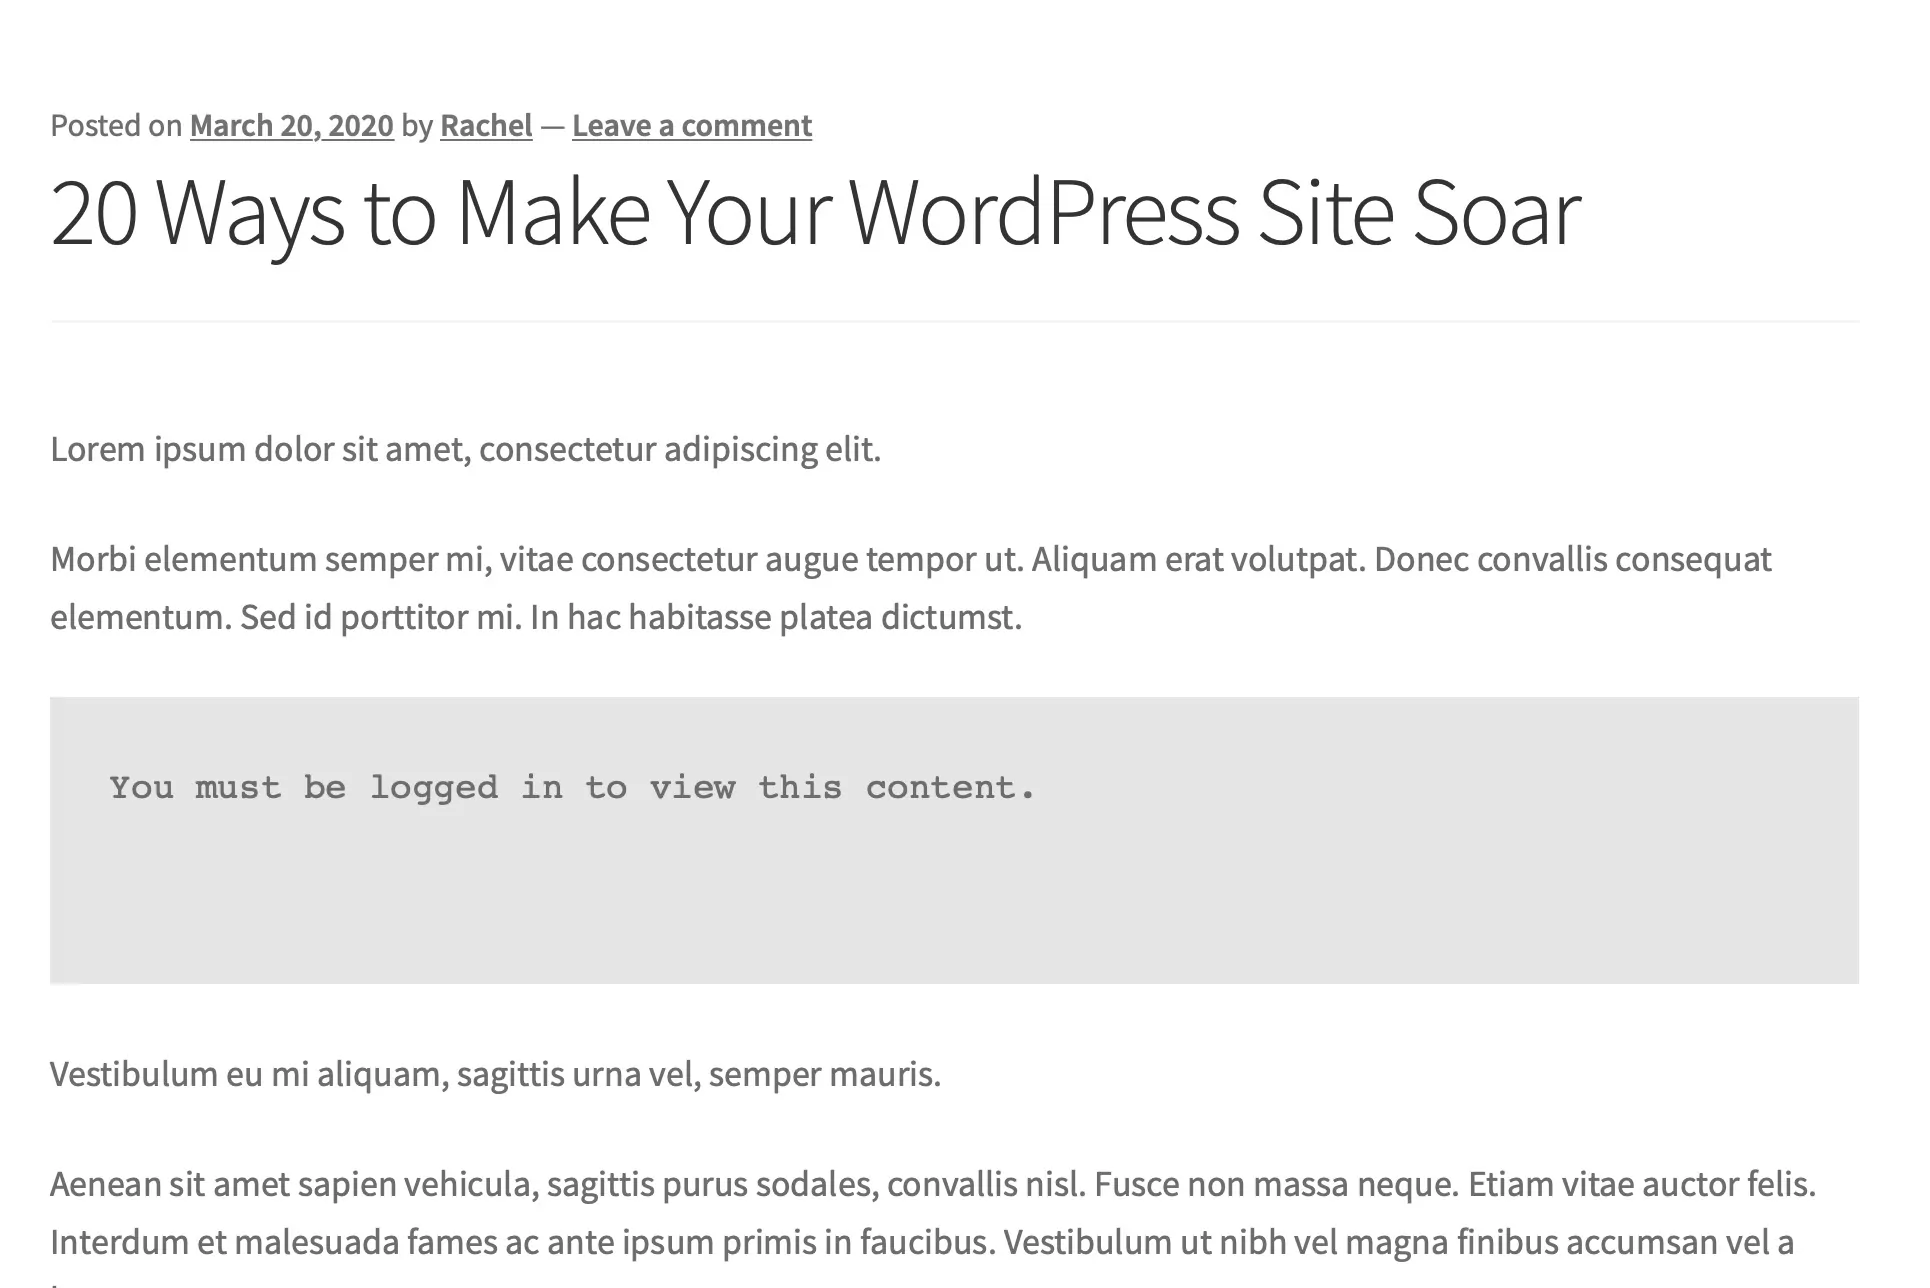
When a user who isn’t logged in then views the content in your site’s front-end, they will see a message telling them they need to be logged in to access it. You can customize this message as well as specify which roles can see the content using the available shortcode parameters.
This way, you can identify in-depth or premium content within posts and pages, and restrict that to logged-in users only, making parts of your site private without completely restricting it.
Password Protect WooCommerce Products
As well as restricting access to WordPress posts and pages, you can also restrict access to WooCommerce products.
This way, you can create exclusive products for members of your site, giving them an extra bonus for joining. Or you can create variations of standard products with extra benefits, such as additional bundled products or service such as engraving.
Restrict Access to WooCommerce Products
To password protect WooCommerce products, start by enabling restricted content in the same way as you do for restricting posts and pages, shown above.
The next step is to restrict individual products.
Open a product in your store or create a new one, and in the product editing screen, scroll down to the Content Restrictions section.
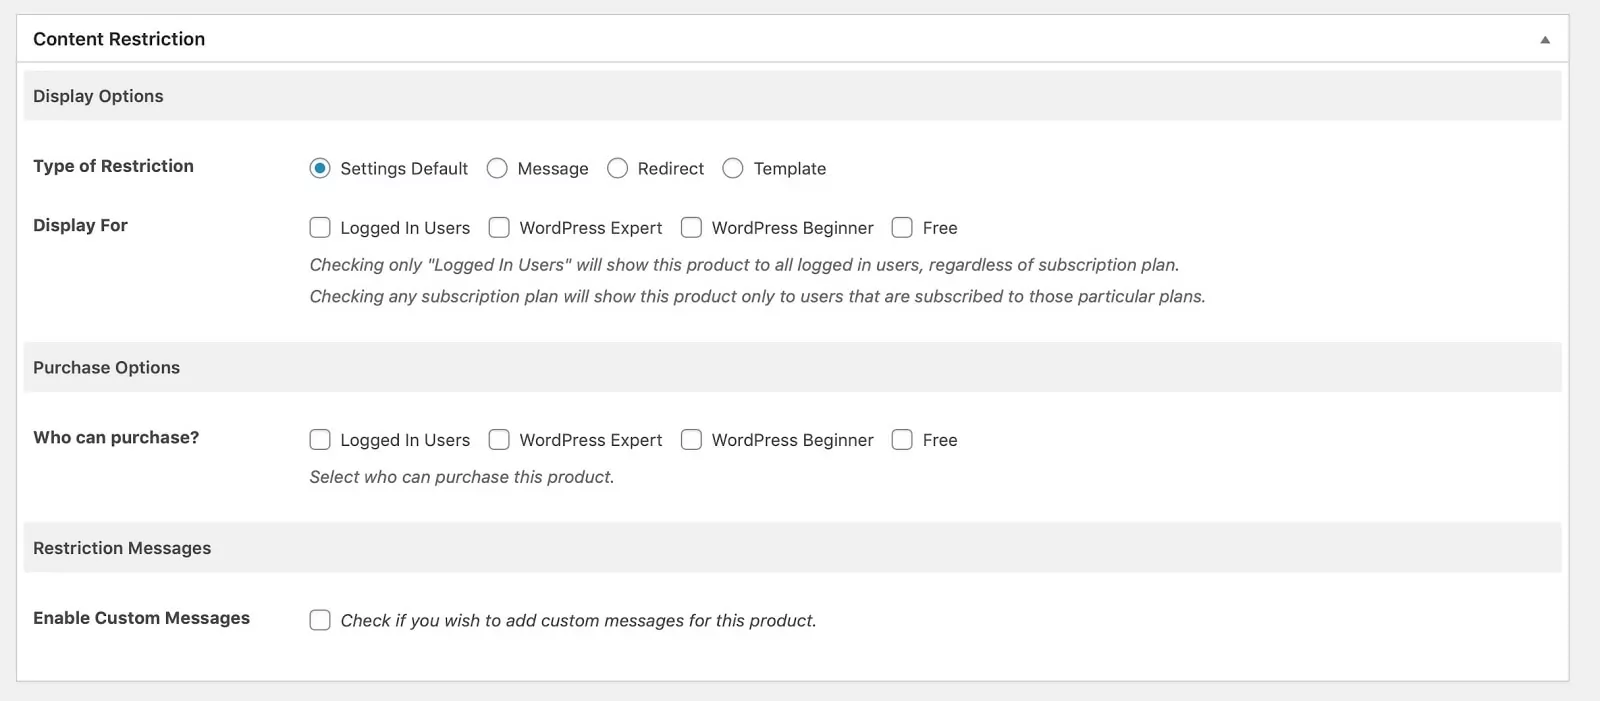
Here you can choose which user roles or membership plans (if your using Paid Member Subscriptions) can see the product details and who can purchase it. So if you wanted to, you could make a product visible to the public but restricted for purchasing – showing people what they would gain by becoming a member.
You can also set a custom message if you want to override the default message for users who aren’t able to access or purchase the product. You could use a message encouraging people to sign up and become a member.
Set Discounted Membership Pricing for WooCommerce Products
Besides restricting access to WooCommerce products, you can also set different pricing levels for members of your site, meaning people get a material benefit from joining your site.
In the product editing screen, go to the Membership Discounts section.
Here you can set multiple discounts for different membership tiers. To set up a discount, click the Add New Discount button.
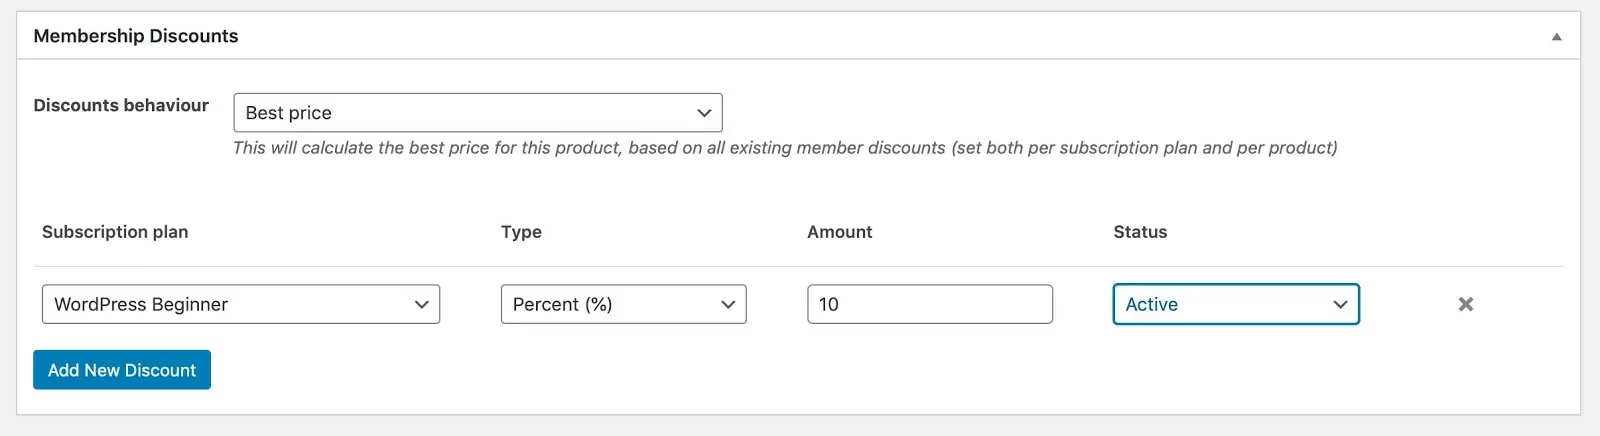
Pick the membership tier you want to apply the discount to, then select whether this will be a percentage discount and how much it will be. In the example above I’ve added a 10% discount to my ‘WordPress Beginner’ membership tier.
Don’t forget to update the product to save your changes, Members of your site will then see a lower price when they access that product.
Password Protect your WordPress Site today!
Creating a private website can help you provide exclusive content to your users or members. With the Profile Builder Pro plugin, you have the option to choose just how much of your site content you restrict: anything from the whole site all the way down to one paragraph. If you have a store set up, you can also use Profile Builder to restrict WooCommerce products to members only.
Try using Profile Builder Pro to add password protection to your site and experiment with how you can use it to increase your user base and provide more value for your registered members and customers.
Profile Builder Pro
Create beautiful front-end registration and profile forms with custom fields. Setup member directories, custom redirects, cutomize user emails & more using the all in one user management plugin.
Get Profile BuilderRelated Articles

How to Customize the WooCommerce Login Page (No Code Needed)
Searching for a solution to customize the WooCommerce login page and otherwise control login behavior on your WooCommerce store? If you allow (or force) registration on your store, you'll want to create a user-friendly login experience so that your shoppers can easily log in to their accounts and access other key features. In this post, […]
Continue Reading
How to Customize the WooCommerce Register Page (Add Custom Fields)
Looking to create a custom WooCommerce register page for your store? Whether you want to create a dedicated registration page or add custom fields to the checkout register form (or both), we're going to show you an easy, code-free way to customize all parts of the WooCommerce registration process. By following this tutorial, you'll learn […]
Continue Reading
8 Best WordPress User Registration Plugins
Not sure what WordPress user registration plugin to use for your project? Going through all the WordPress user registration plugins can be disorienting. You may have spent hours and hours searching for plugins and tutorials to help you with your project, and you’re still as confused as you were when you started. Imagine finding the […]
Continue Reading