

Table of Contents
Setting up a pricing table for your WordPress membership site is an efficient way to highlight each subscription plan’s features. Plus, it makes it easy for potential customers to compare the available options. A well-designed membership pricing table can even have a positive impact on your site’s conversion rate.
In your pricing table, you can highlight things like access to a members-only store, a premium member forum, or exclusive content. With the right tool, creating a table that is capable of doing all of this should be relatively straightforward.
In this article, we’ll show you how to create a membership pricing table in WordPress using the Paid Member Subscriptions plugin. Let’s get to it!
How to Create a Membership Pricing Table in WordPress (3 Easy Steps)
If you want to create a membership pricing table in WordPress, the simplest way to do it is with a membership plugin like Paid Member Subscriptions:
Paid Member Subscriptions Pro
Accept (recurring) payments, create subscription plans and restrict content on your website. Easily setup a WordPress membership site using Paid Member Subscriptions.
Get Paid Member SubscriptionsIn addition to giving you the functionality to build an eye-catching pricing table, the pro version of the tool can also help you do the following:
- Launch an online course or community
- Set up group or corporate memberships
- Create unlimited subscription plans
- Restrict content and WooCommerce products
- Access marketing tools for discount codes, email reminders, and more
For this tutorial, you’ll only need the free version of Paid Member Subscriptions. However, if any of the above features interest you, it might be worth opting for the premium tool.
Now, here’s how you can create a membership pricing table in WordPress in just two simple steps!
Step 1: Create Your Membership Plans
As we mentioned, the main purpose of setting up pricing tables is to easily display information about your subscription plans. So, after you’ve installed and activated Paid Member Subscriptions, you’ll need to create the membership plans that will appear in your pricing table.
To do this, go to Paid Member Subscriptions → Subscription Plans → Add New:

Here, you’ll be able to fill out the details for your subscription plan. At a minimum, you’ll need to set the name, price, renewal type, and duration.
You might also want to set a sign-up fee or free trial, as well as a user role to be associated with the plan. But don’t worry about being too detailed in the description, as you’ll be able to add information later when creating your pricing table.
Repeat this process for all your subscription plans. For this example, we’ve created three options – Free, Silver, and Gold.
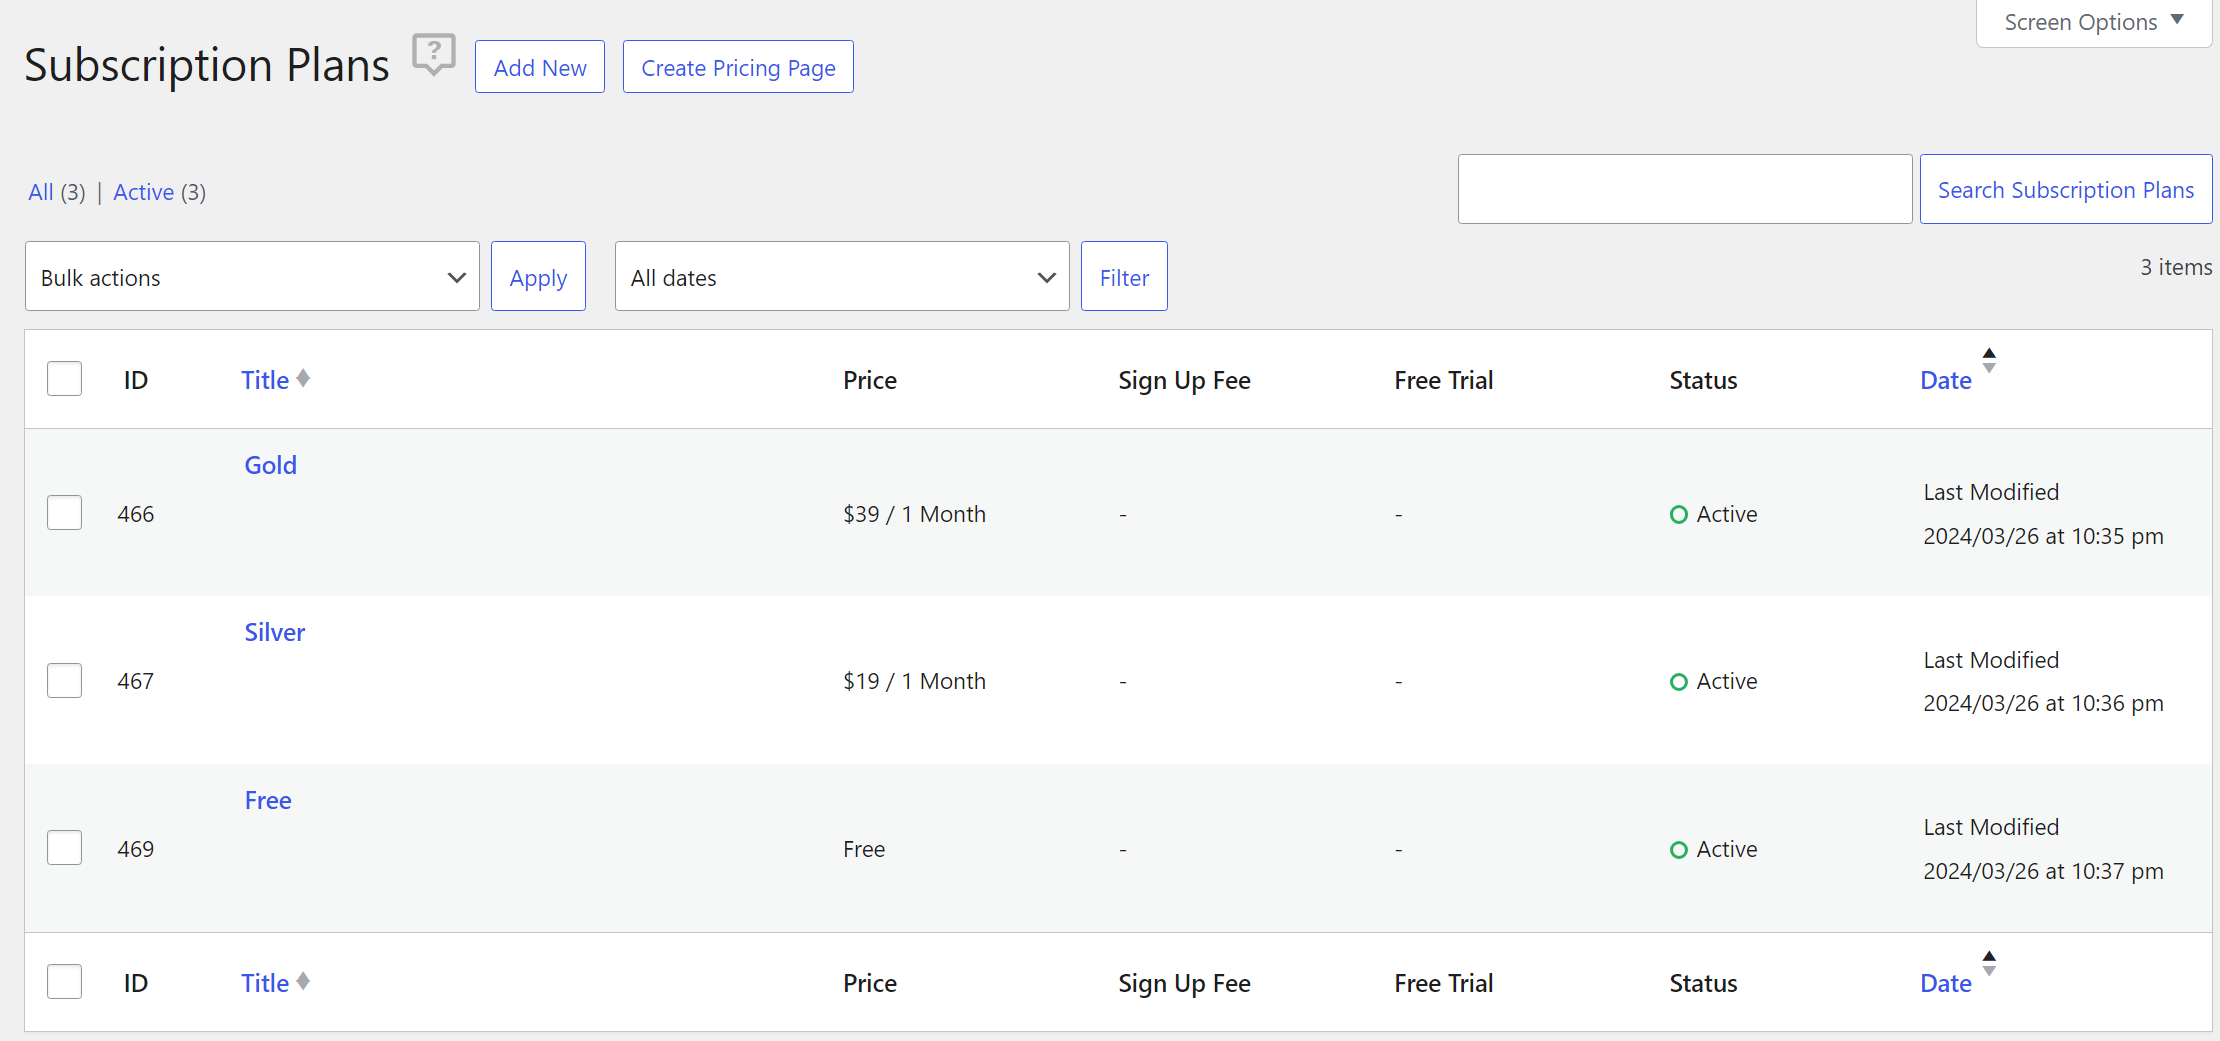
After entering the details for each subscription tier, you’ll see an overview of all available plans.
Step 2: Build a Member Registration Form
Now that we have created the subscription plans, let’s set up a registration form. If you don’t already have a registration page, go to Pages → Add New Page in your WordPress dashboard.
Then, in the WordPress block editor, simply search for and add the PMS Register block to the page. Alternatively, you can use the [pms-register] shortcode. Using either method will give you a registration form that looks something like this:
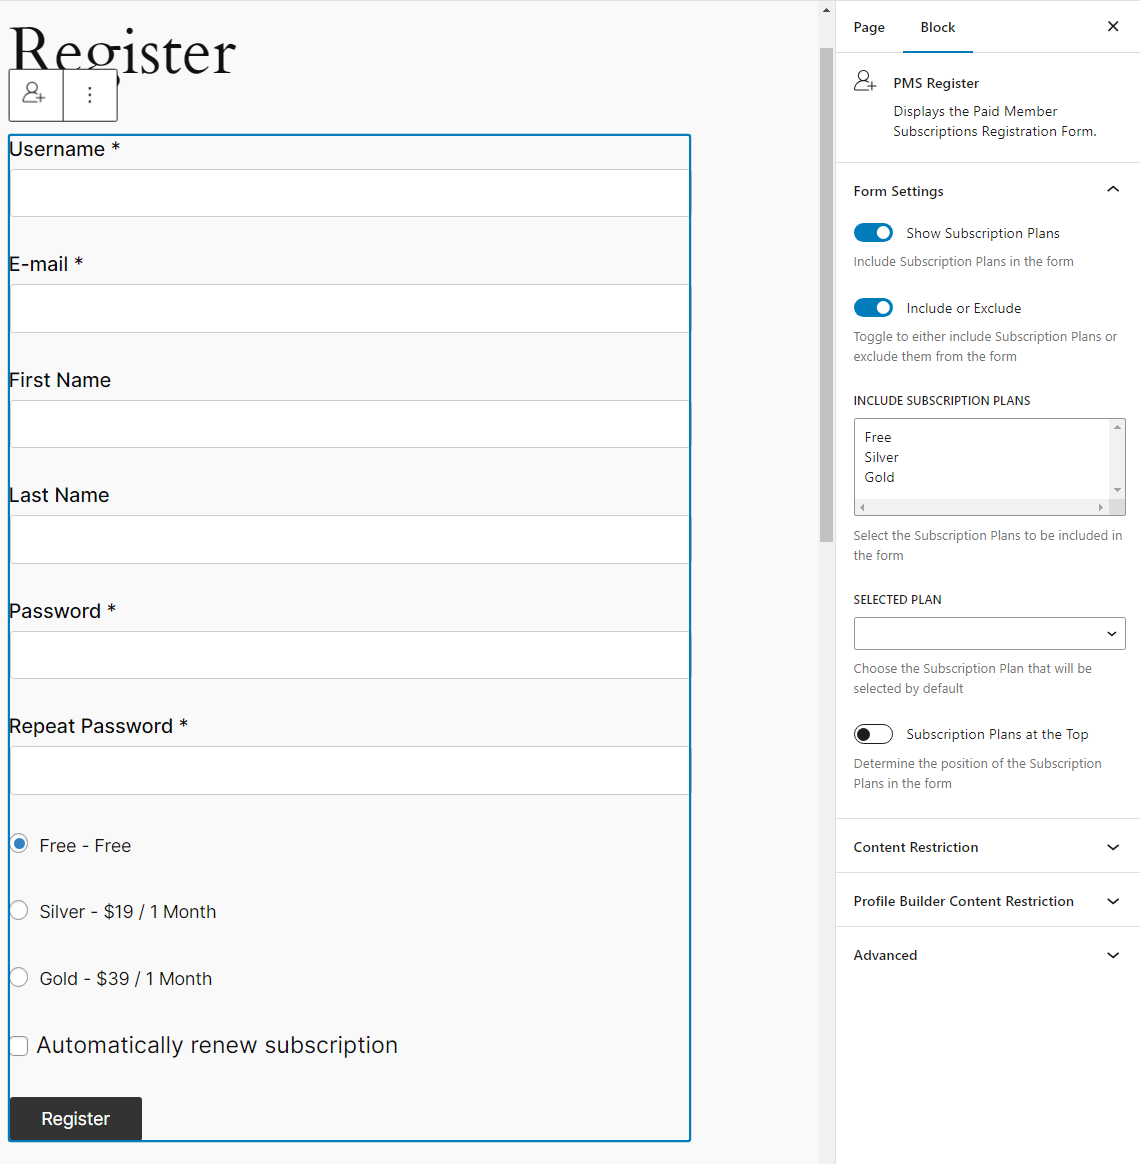
By default, this registration form will include all the subscription plans you’ve created. This way, users can choose which tier to sign up for.
However, you can use the toggle button in your Form Settings on the right to disable this. Additionally, you can modify the position of the subscription plans and choose one to be selected by default.
You can also use the Content Restriction tab to decide which users can view this page, and the Advanced tab to manually add plans or custom CSS. If you also have the Profile Builder plugin, you’ll be able to make more advanced customizations to your user registration form.
Step 3: Set Up a Membership Pricing Table
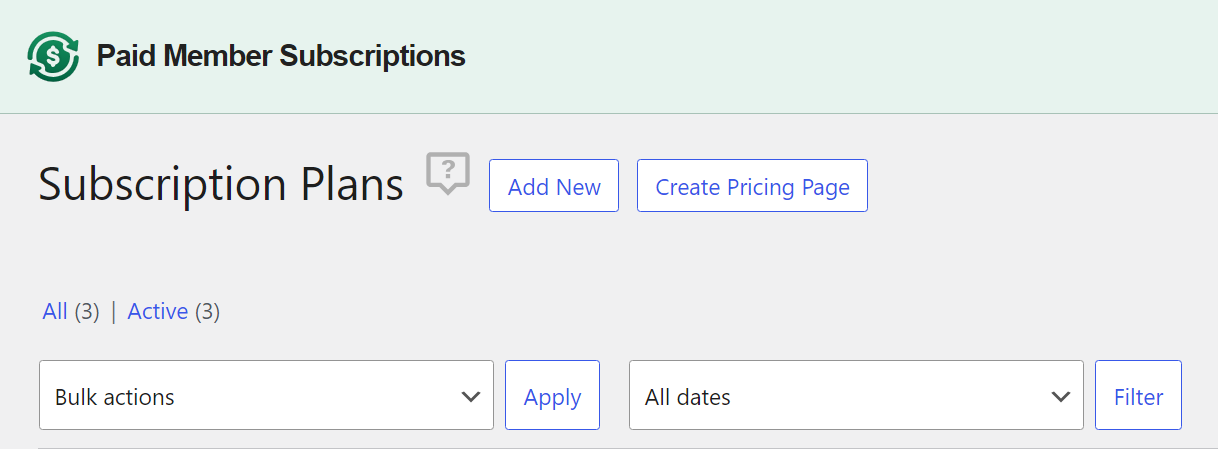
Finally, all that’s left is creating the pricing table. To do this, go to Paid Member Subscriptions → Subscription Plans and click on Create Pricing Page:
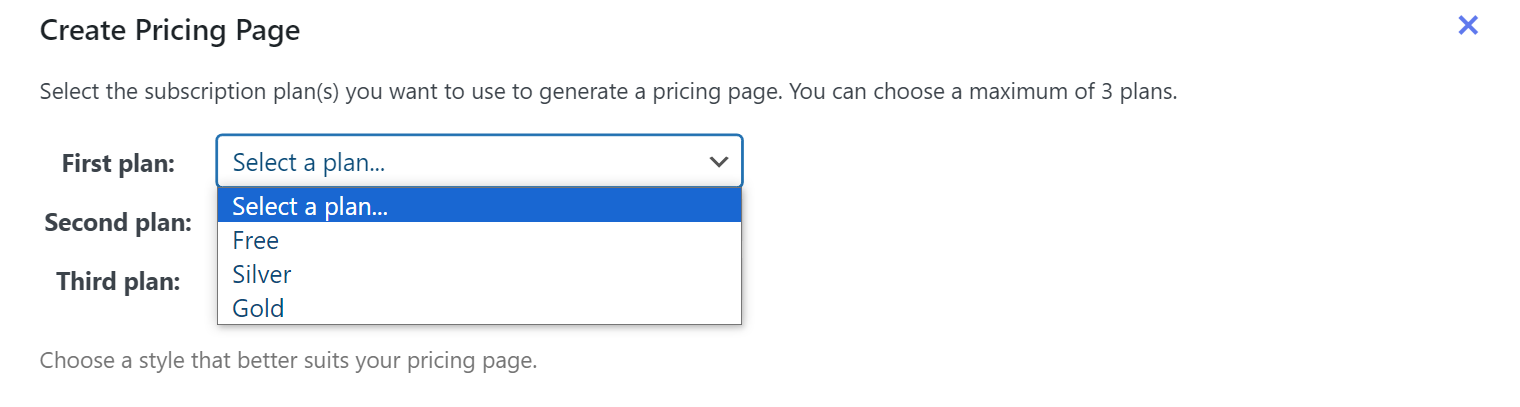
This will open a window that enables you to select the plans to include in the pricing table. You can decide what plan to include and in which order using the dropdown menus:
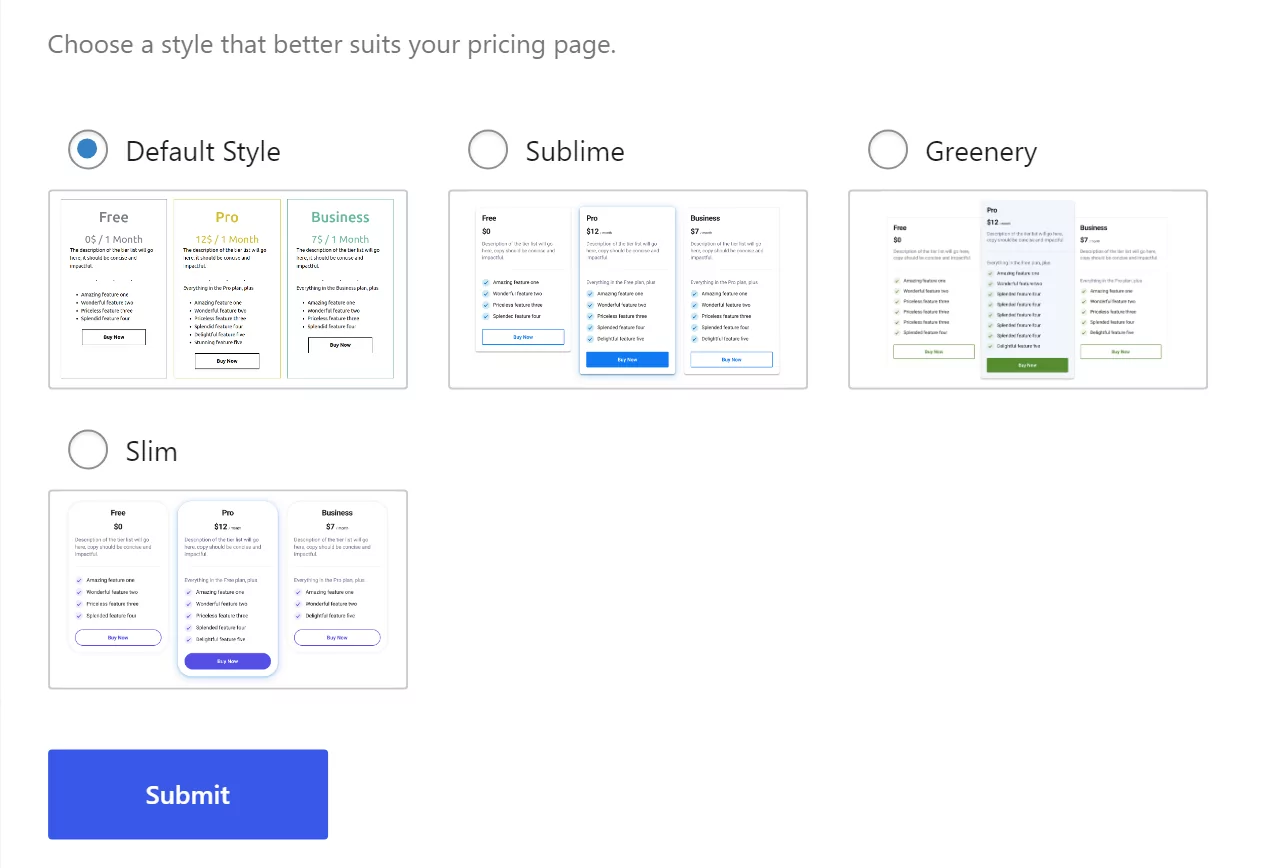
Once you select what plans to include, you can choose a style for the pricing table:
Next, click on Submit to create the template for your pricing table. Then, Paid Member Subscriptions will automatically create a page for the pricing table and launch the block editor so you can customize it:
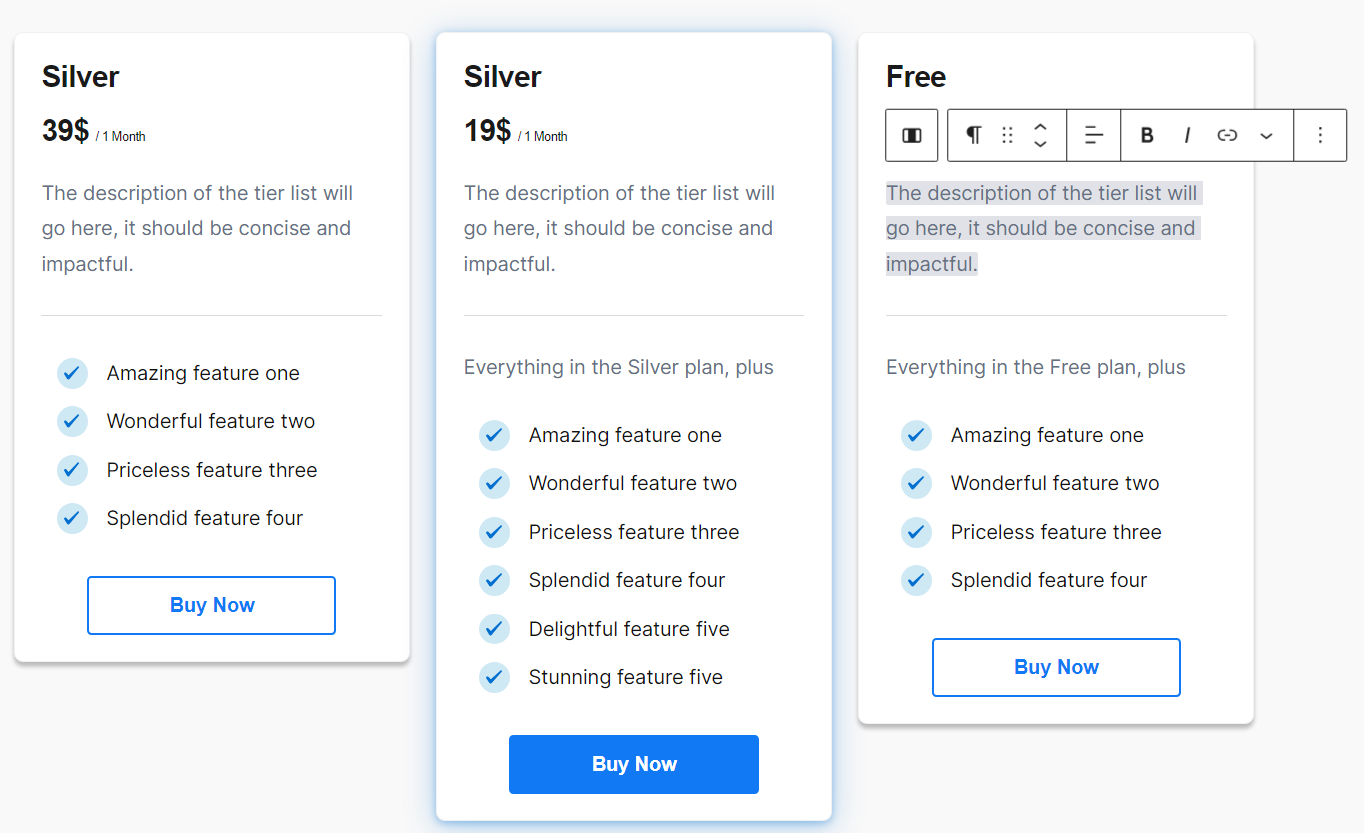
You can select any element in the pricing table and edit it. Likewise, you can directly modify plan details and features directly within the editor.
It’s best to be thorough when outlining plan details here. As we discussed, when you highlight the differences between each plan, this can make it easier for people to decide which one to purchase, and help increase the number of member subscriptions you get.
As a last step, it’s crucial that you configure the Buy Now button. To do so, select the button and then open the PMS Link Generator in the horizontal menu:
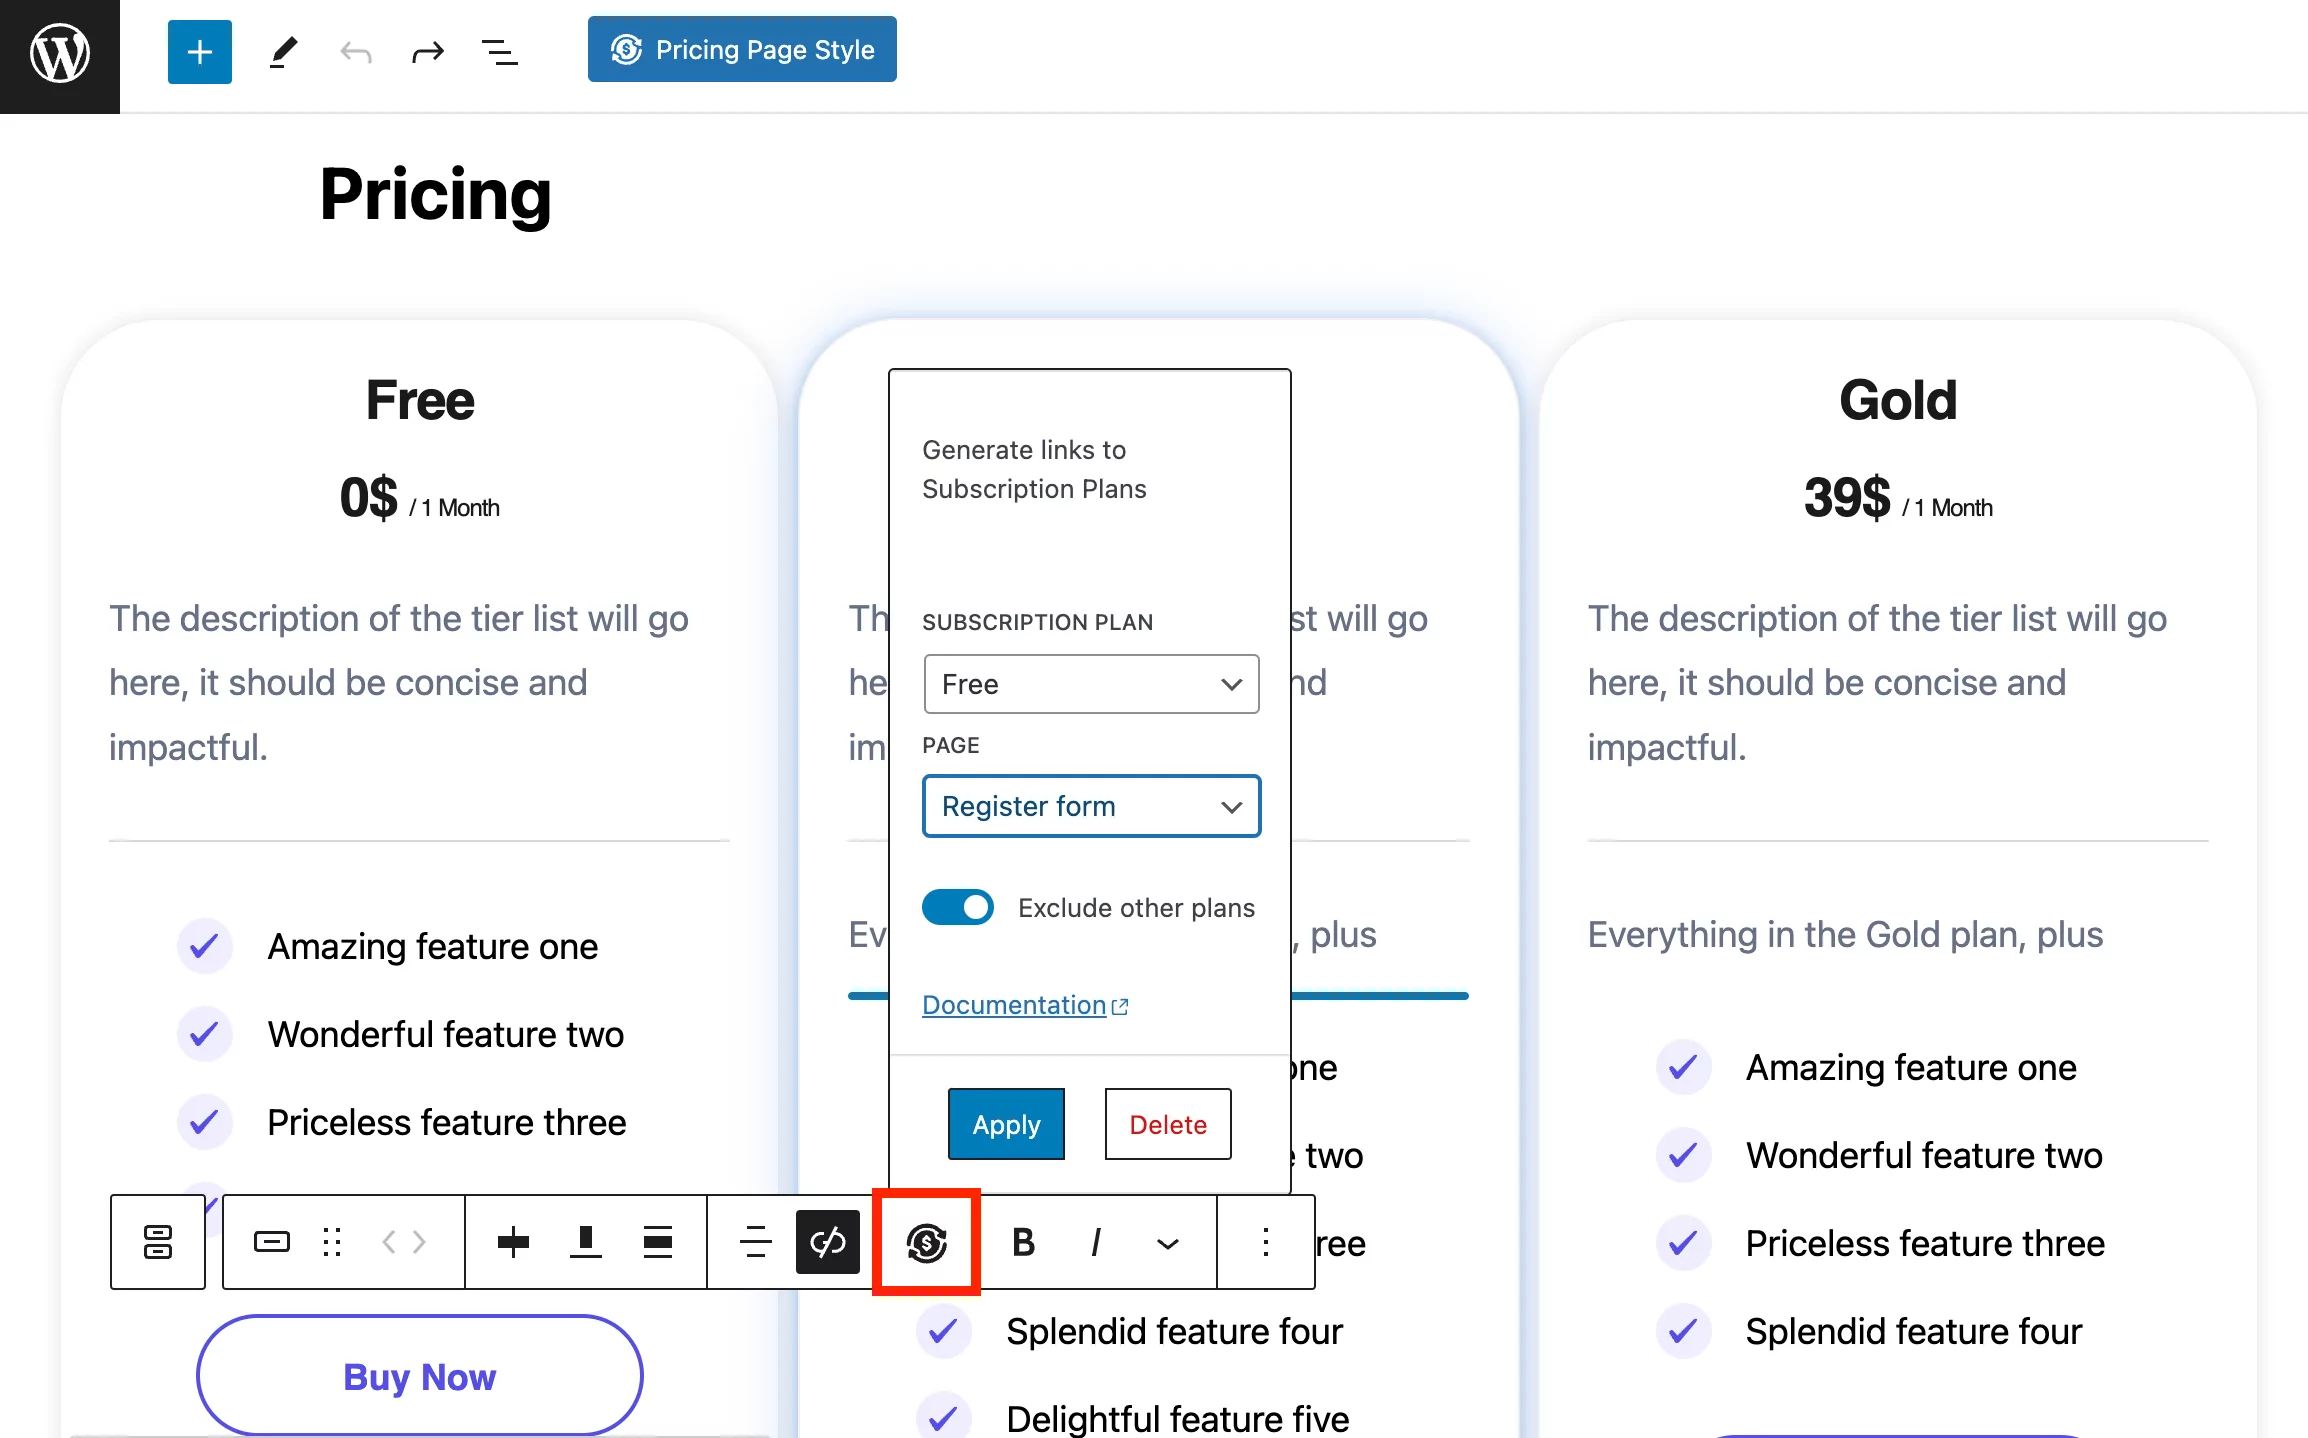
Here, you’ll need to link to the correct subscription plan and choose the right Page to direct users to once they hit the button. It’s crucial that you select the page that contains the user registration form you made in the previous step.
Once you’ve made your selections, click on Apply. Then, when your pricing table is complete, you can publish the page. That’s it!
Conclusion
If you want to create a subscription-based website with multiple plans, displaying these options in a pricing table is ideal. This makes it easy for visitors to compare plans at a glance and decide which option is best for them. If you make users hunt for this information throughout multiple pages, the chances of them converting can be much lower.
To recap, here’s how you can create a stunning pricing table in WordPress using Paid Member Subscriptions:
- Create your membership plans.
- Build your member registration form.
- Set up your membership pricing table.
Paid Member Subscriptions Pro
Accept (recurring) payments, create subscription plans and restrict content on your website. Easily setup a WordPress membership site using Paid Member Subscriptions.
Get Paid Member SubscriptionsDo you have any questions about how to set up a membership pricing table? Let’s talk about them in the comments section below!
Useful Tips:
Troubleshooting Failed Payments on Your Membership Site
How to Edit Form Labels, Buttons & Messages in Paid Member Subscriptions
Related Articles

How to Use a Membership Website Builder
In this article, we’ll cover what you need to build a membership website, the main features, and take a look at some of the best membership website builder plugins.
Continue Reading
How to Build a Successful Video Membership Site
There are all kinds of membership or subscription sites out there: veg boxes, shaving products, entertainment tickets, and so on. But one subscription platform reigns supreme: video. Just look at the success of Netflix, Hulu, Amazon Prime, and the dozens of other niche streaming networks that have sprung up over the past few years. This […]
Continue Reading
How Much Does it Cost to Build a Membership Website: Best Options Compared
Find out how much it costs to build a membership website including costs associated with hosting, themes, plugins, and payment processors.
Continue Reading
Hello, let us say
I want to customize the respective page -> https://example.com/register?subscription_plan=63&single_plan=yes
It will be a register page with a single subscription ” the subscription ID 63 ”
I customized the register page, a princing table page, everything okay, but then, doing this, it will generate a page only for that effect. How to customize it?
Answer to hakira.shymuy@gmail.com
Hello,
Please open a ticket at: https://www.cozmoslabs.com/support/open-ticket/ with your question.