

Table of Contents
When you’re running a WordPress site, you probably want most of it accessible to the public and the search engines. But, if you offer premium content, run a membership forum, or an eCommerce site, you might well want to hide your WordPress site from public view.
By using a couple of WordPress plugins and your existing content, you can have complete control over which portions of your site are private and which ones are public.
In this article, you’ll learn some of the main reasons you might want to hide your WordPress site from public view. Plus, we’ll walk you through the various ways you can hide your website and restrict content using the Profile Builder Pro and Paid Membership Subscriptions plugins.
3 Reasons to Hide Your Website From the Public
Here are some of the most common reasons you’ll want to hide your WordPress site from public view:
1. You want to Restrict Content to Subscribers Only
If you’re building a membership website, then you’ll want to restrict certain portions of your website just to subscribers.
This is not only a great way to monetize your site and create recurring income, but it’s also really simple; membership functionality can be added to most existing WordPress themes.
Here are a few different types of subscriptions you can create:
- Private content, like blog posts and videos
- A private VIP forum
- Subscriber-only products
- Subscriber-only discounts
2. Your Site is Still Under Construction
When you’re still building your website, the last thing you want is to have visitors stumble across your site while it’s under construction.
You can hide your WordPress website from the public, and only make it available to logged-in users. This gives you the peace of mind that potential customers aren’t happening upon your website or sharing it on social media when it’s still in the early stages.
When you do regular maintenance, it also makes sense to turn on maintenance mode. This stops visitors from accessing your site in the middle of an update.
3. Stopping Google Indexing Your Site
When you’re busy with the site design process, you’ll probably go through multiple different iterations. This includes designs, pages, content, and copy.
Here are the most common reasons to stop search engine indexing:
- You’re creating a test website. Whether you’re running tests, trying out different plugins, or anything more.
- Your website isn’t finished. Websites that are being built should be hidden until they’re 100% complete and ready for the world.
- Your website is restricted. Great for creating an invite-only website or a members-only website.
If you don’t hide your site from the search engines, the search engine bots can end up crawling and indexing your site. This means your site can start to rank before it’s ready to be seen by the world.
This can even lead to issues with duplicate content or other SEO errors down the road. The best course of action is to stop your site from being indexed until it’s finished being built.
3 Ways to Hide Your WordPress Site From Public View
So, we now know why we might want to make certain portions of your website private.
Now we’ll show you, step-by-step, how you can hide your WordPress site from public view – whatever the reason!
1. Restricting Content to Subscribers Only
There are a lot of different ways you can restrict your WordPress site’s content just to subscribers. We’ll look at how to…
- Make specific WordPress pages or posts on your site private
- Create a private forum
- Restrict certain WooCommerce products to members only
Make Certain Posts/Pages Private
With the Profile Builder Pro plugin, you can make individual pages or posts on your WordPress blog private. This is vital if you have blog posts or other premium content you want to restrict to specific users.
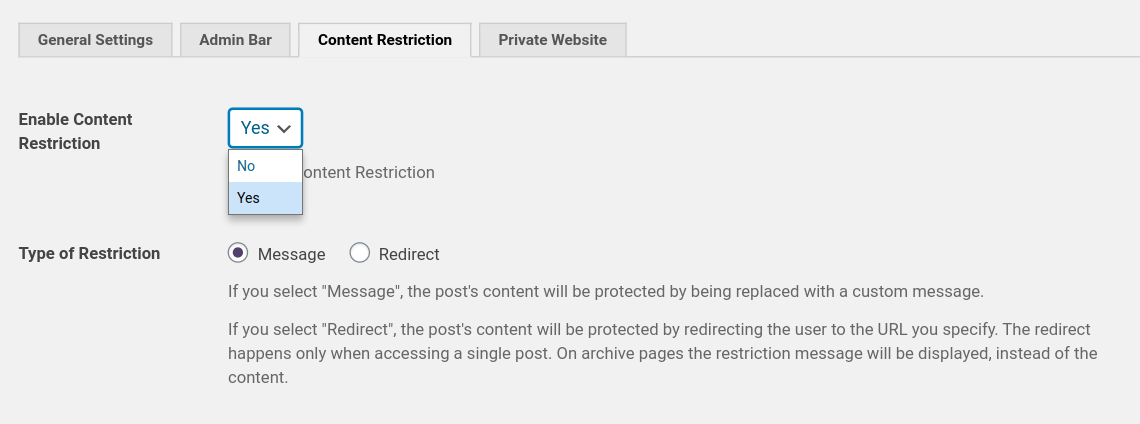
Navigate to Profile Builder > Settings > Content Restriction in your WordPress dashboard. Then set the Enable Content Restriction setting to Yes.
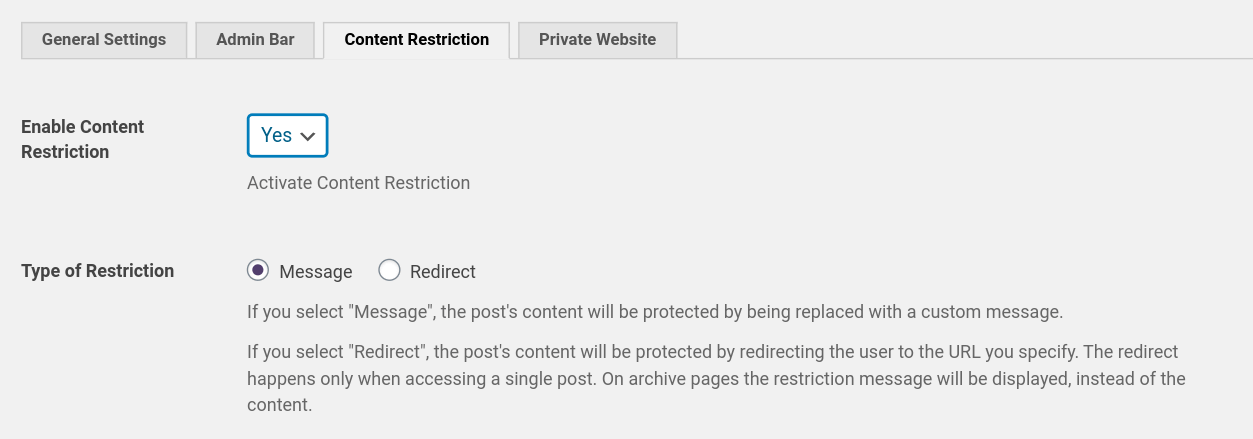
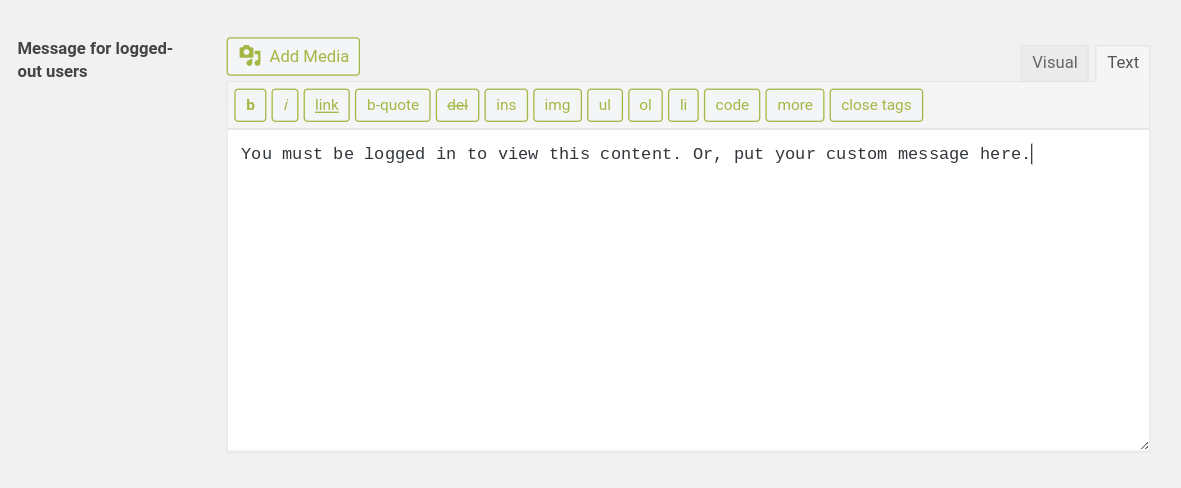
On the same screen, you can choose to customize your content restriction settings. You can display a message or redirect users to a different URL on your website, such a landing page to sign up for your membership site.
Another useful feature is the ability to let users preview restricted posts. This allows visitors to get a sneak peek of your content and encourage them to sign up to get full access to everything your site has to offer.
Next, navigate to the post you’d like to make private. Below your post content, you’ll find a box labeled Profile Builder Content Restriction.
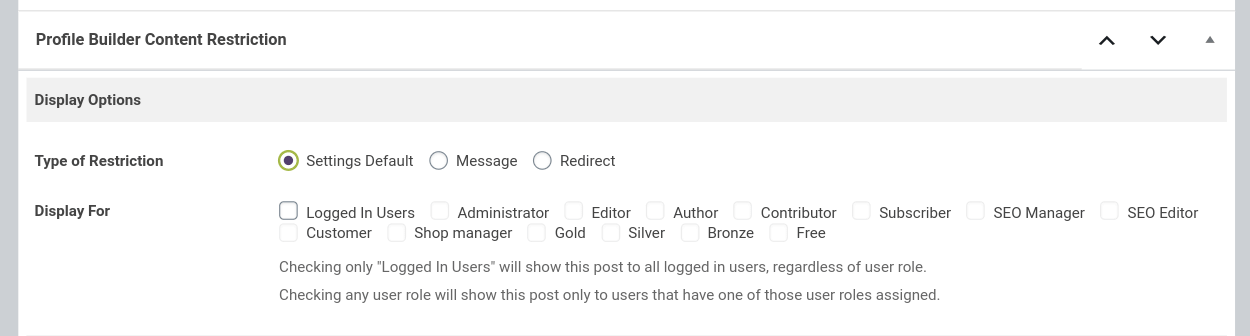
Here you can choose which user roles have access to your private content. You can do the same thing with individual pages and all other content you want to make private.
If your users aren’t a subscriber they won’t be able to access the restricted page and they’ll see a screen like the one below:

Create a Private Forum
To create a private forum, you’ll need both the bbPress forum plugin and the Paid Member Subscriptions plugin.
bbPress is a forum building software for WordPress site owners. First, of course, you’ll need to have built your forum. When you’re done, you’ll find a similar ‘Content Restriction’ box beneath the main content area on your main Forum page.
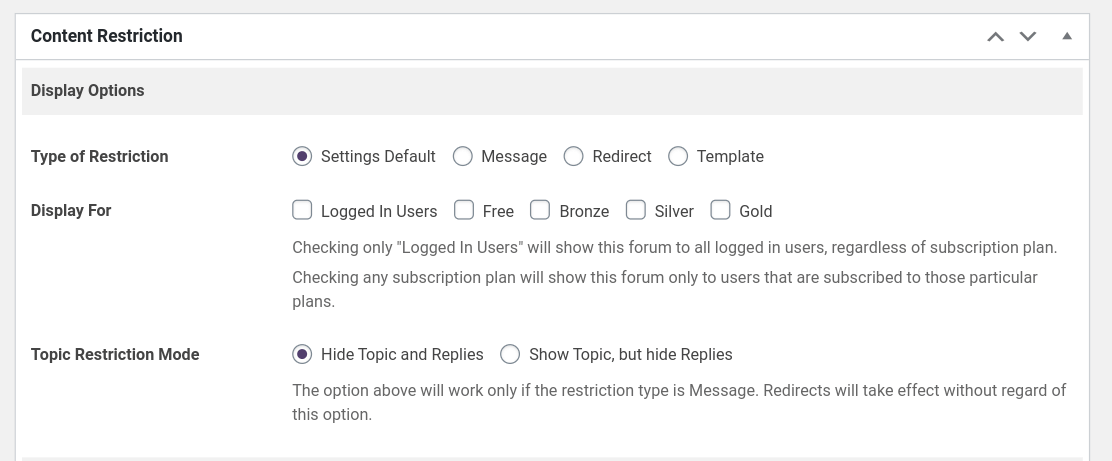
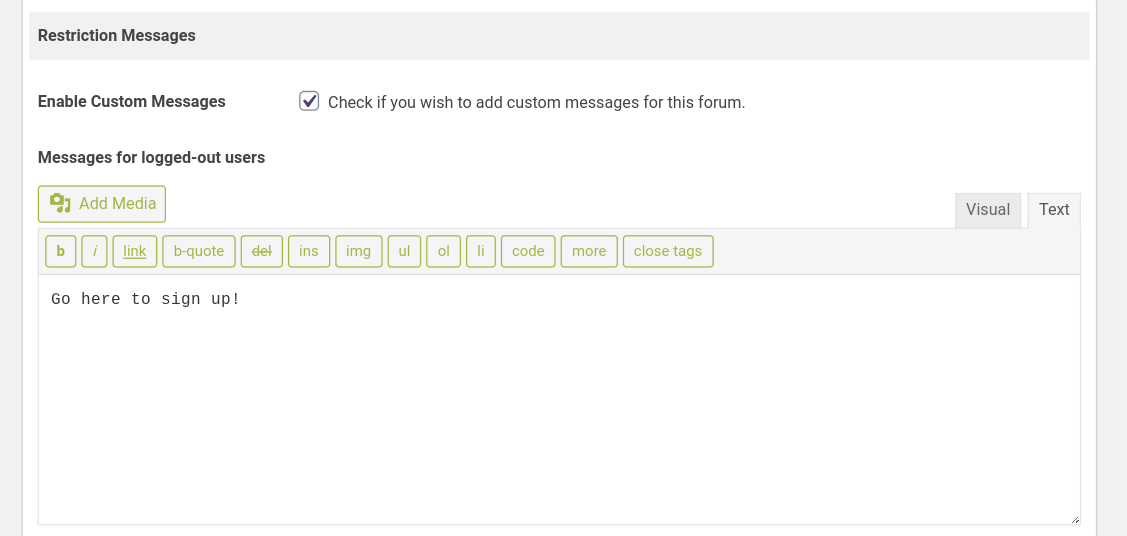
You can choose to restrict access to the entire forum and make it members-only. You can also redirect users to another page, like a login page. Or even create a custom forum restriction message where you can encourage users to sign up.
Here’s what a restricted forum page will look like to your visitors:
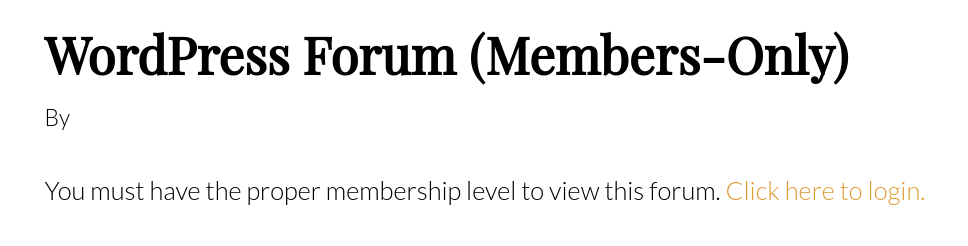
To customize your message, navigate to Paid Member Subscriptions > Content Restriction. Here you can set your bbPress restriction message.
Restrict Access to WooCommerce Products
Just like you can restrict access to your WordPress pages and private posts, you can do the same by limiting WooCommerce product access when you use the Paid Member Subscriptions plugin. This allows you to create exclusive products for your members or create additional product variations that are only available to your members.
First, you’ll need to create your membership plans and have a few products live in your store.
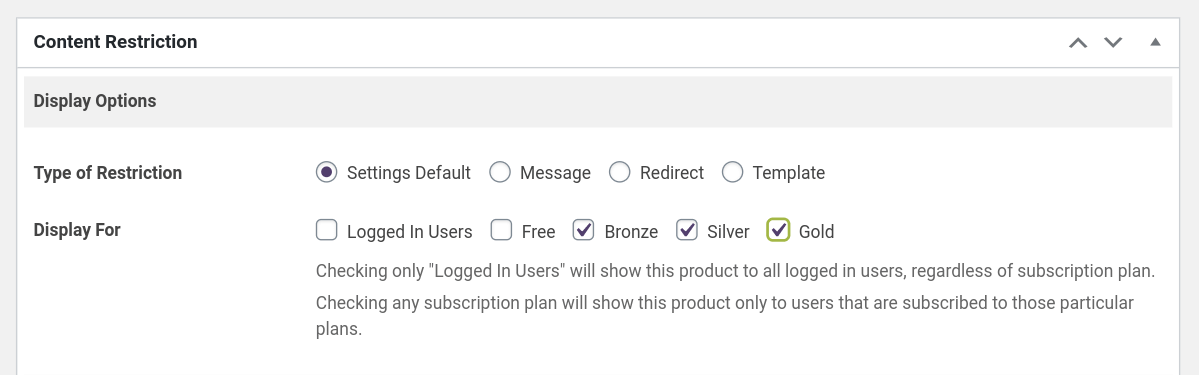
Underneath your product description, you’ll see a meta box labeled ‘Content Restriction’. Here, as before, you can choose the type of restriction you want to employ and which levels of users you want the products to display.
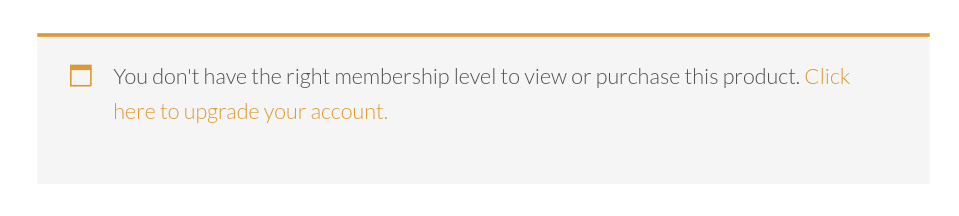
This is what your visitors will see if they don’t have access to the right membership level:
If you don’t want to restrict entire products from your WooCommerce store, you can create subscribers-only pricing. This gives your visitors an instant benefit of becoming a paid member.
All you have to do is navigate to the product you want to discount. Underneath your product content, you’ll find a section labeled Membership Discounts.
Here you can set up discounts that correspond to different membership tiers.
To add a new discount, click the ‘Add New Discount’ button.
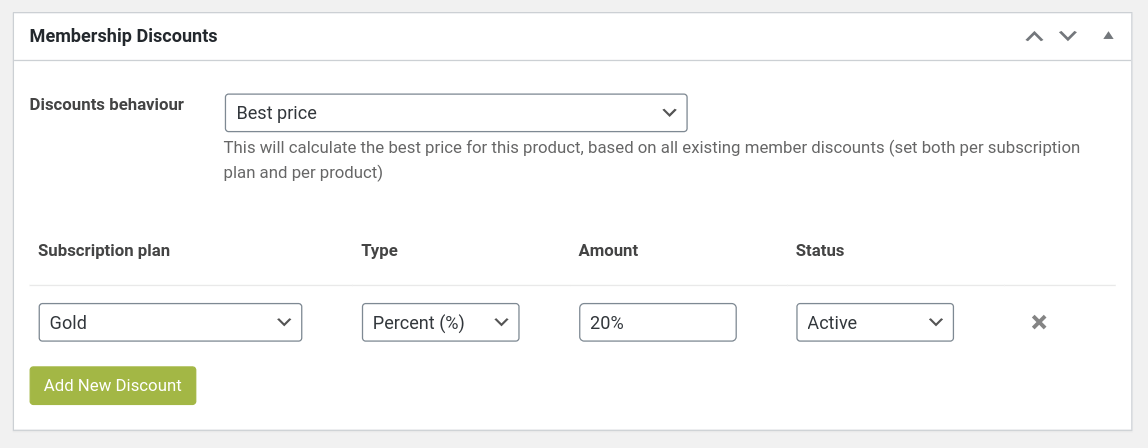
All you have to do is select the membership tier you want to apply the discount to, choose what type of discount, and how much the discount will be.
Once you click save changes, your members will now have access to lower-priced products, compared to regular store visitors.
2. Hiding Your Website During Construction
When you’re working on your website, you’ll probably want to hide the entire site from public view, unless you’ve built a snazzy-looking coming soon page.
With the Profile Builder Pro plugin installed, all you need to do is enable a single setting.
Once you’ve installed the site plugin, navigate to Profile Builder > Settings > Private Website.
Then, switch the ‘Enable Private Website’ option to ‘Yes’.

Once you’ve saved your privacy settings, your entire site will be private. This includes things like your RSS feeds and REST API. The only people who will be able to view the password-protected site are those with WordPress wp-admin login and password credentials.
3. Hiding Certain Website Pages from the Search Engines
If you have pages on your site that you don’t want to show up in the search engines, you can restrict these pages and create rules to access them.
The page that you restrict won’t be indexed by the search engines or be able to be found by searching around Google.
We’ll be using the Profile Builder Pro plugin settings page to prevent pages from appearing in search engines. Once the plugin is installed, navigate to the Profile Builder menu, then under General Settings, enable Content Restriction.
Now, you’ll have a new option labeled Content Restriction. Here you can set the type of restriction and create a message that users will see on the front end when accessing restricted content.
Hide a WordPress Site From Public View Today!
With Profile Builder Pro and Paid Member Subscriptions, you can restrict whatever pages and posts you’d like and make them available only to members or logged in users. You can even take it further and create a members-only bbPress forum, or hide WooCommerce products based upon your user’s membership level.
Looking to hide your entire site or just parts of it from public view? Using the tools and techniques mentioned above, it’s really simple to setup a wide range of content restrictions.
Paid Member Subscriptions Pro
Accept (recurring) payments, create subscription plans and restrict content on your website. Easily setup a WordPress membership site using Paid Member Subscriptions.
Get Paid Member SubscriptionsRelated Articles

How to Set Up WooCommerce Stripe Subscriptions with Recurring Payments (3 Methods)
Are you searching for a way to set up WooCommerce Stripe subscriptions? Setting up recurring subscriptions is a great way to build regular, dependable revenue for your website. And when it comes to processing payments, Stripe is one of the top options thanks to its competitive fees and flexible feature set. However, WooCommerce doesn't include […]
Continue Reading
5 Best WooCommerce Subscription Plugins
Subscriptions are a very common payment model, but WooCommerce doesn’t natively support recurring payments out of the box. This is where the power of using a WooCommerce subscription plugin comes into play. With this tool, you can start selling memberships, subscriptions, and product bundles. This way, you can increase your income through renewal fees and […]
Continue Reading
Subscription Business Ideas: 10 Ways to Make Money in 2026
Are you after brilliant subscription business ideas to spark your imagination, get your creative juices flowing, and make money in 2026? If that's a yes, you came to the right place. The subscription-based business model has gained tremendous popularity in recent years. According to a report by Statista, e-commerce sales via the subscription model in […]
Continue Reading