Contents
First you will need to Login into your Google Account and then to access the Google Developers Console.
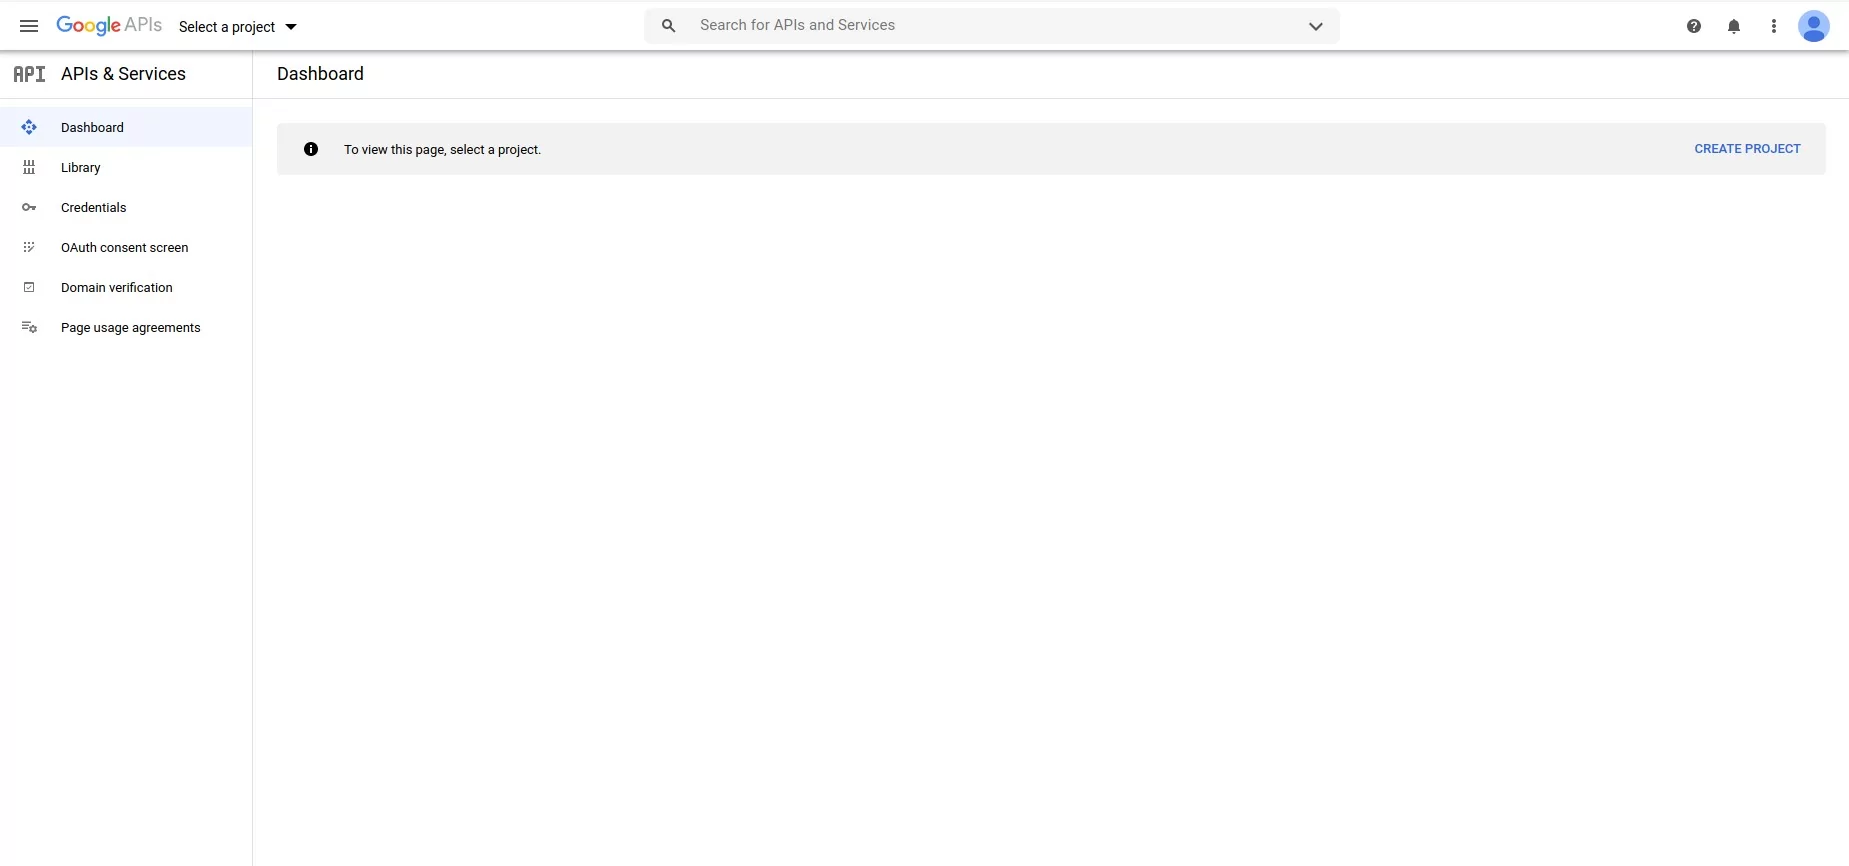
After you login and access the Google Developers Console click on “Select a project” Menu Item.
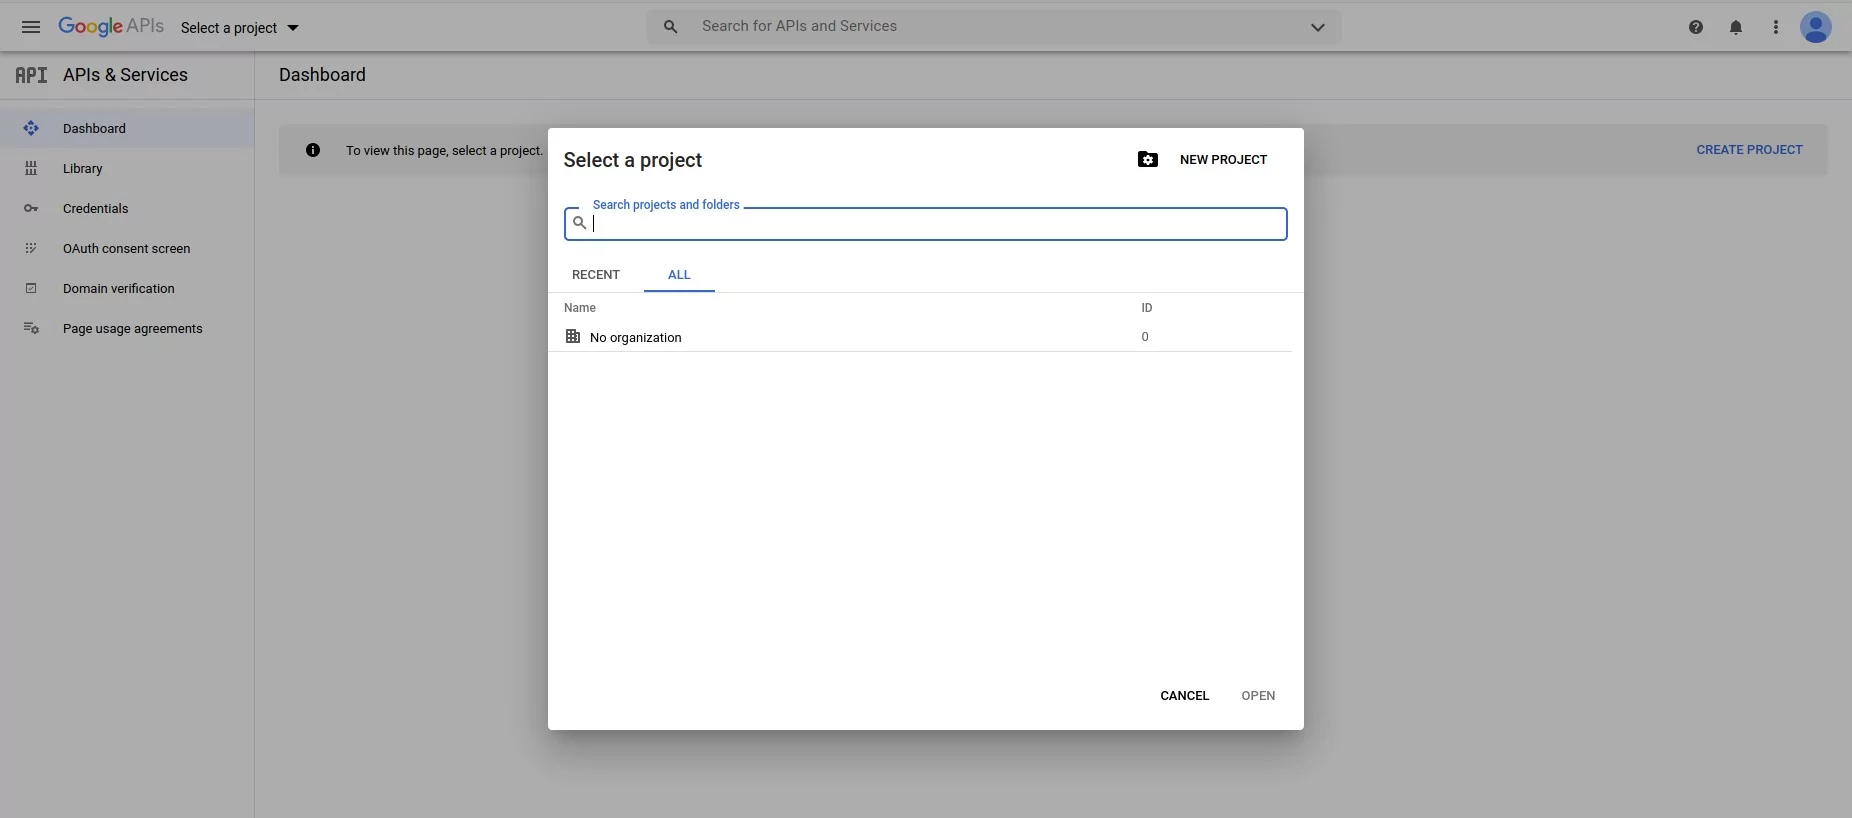
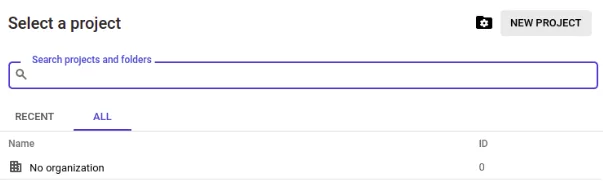
After we click on “Select a project” Menu Item a popup will appear. We will need to click on “New project”.
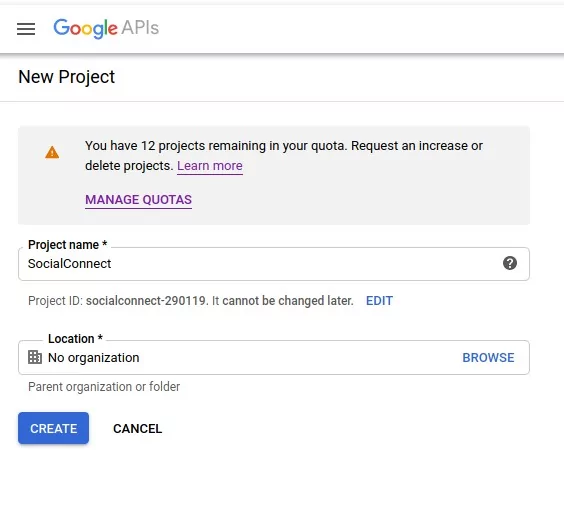
After we click on “New Project” we will need to choose a name for the project. After finishing to setup the Project click on “Create”.
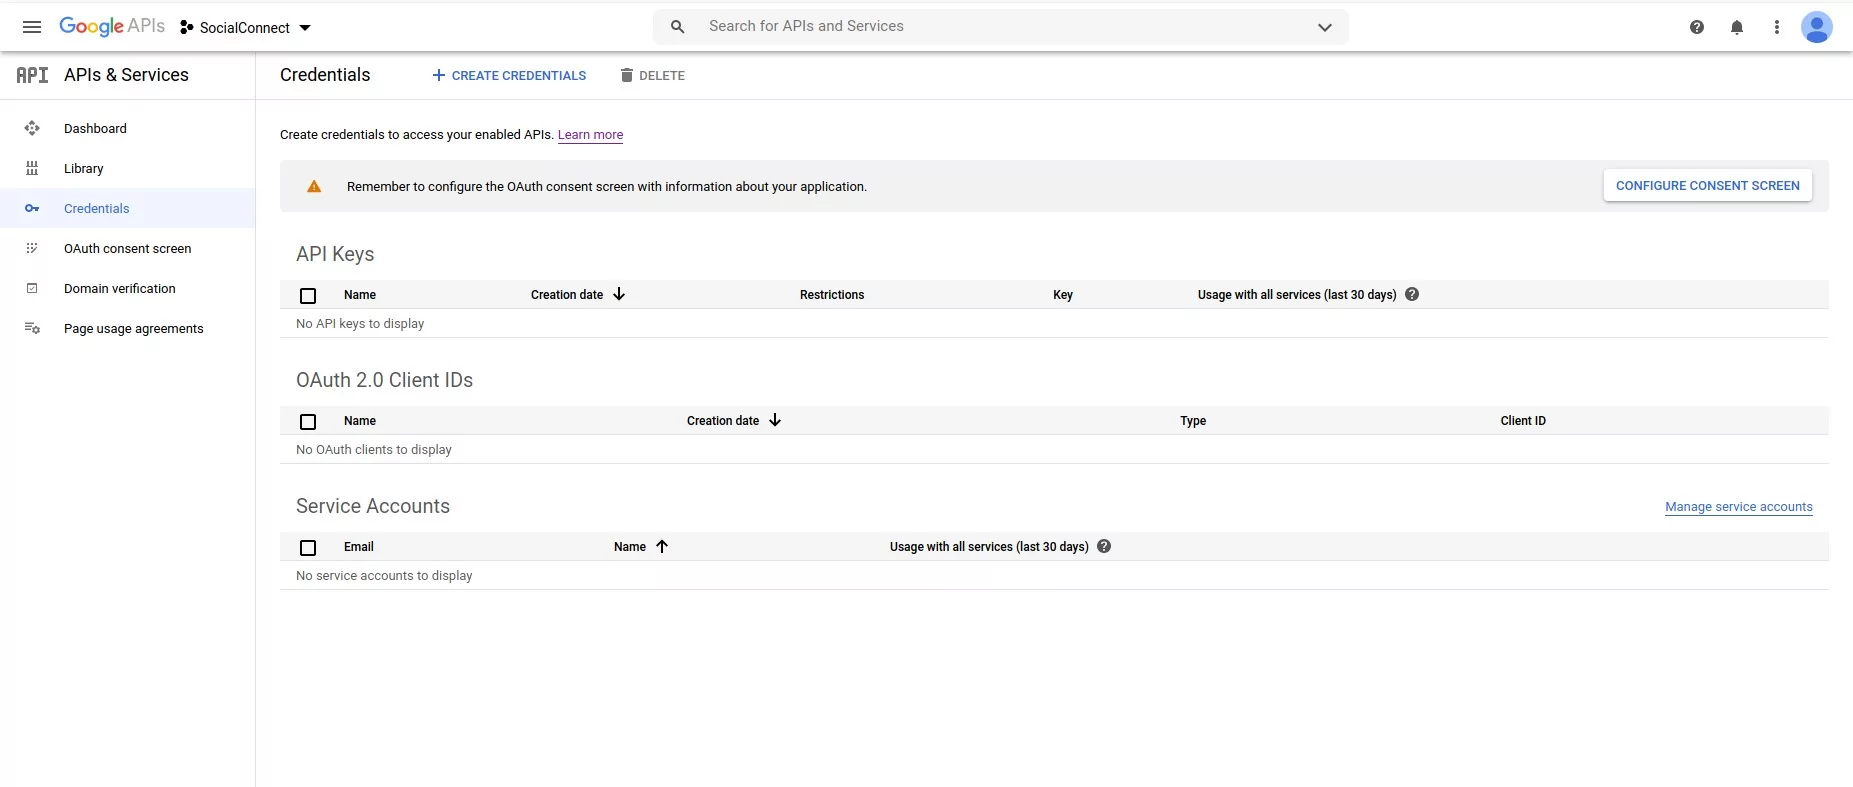
To use the Google API we need to Create Credentials. Click on “Credentials” to get started.
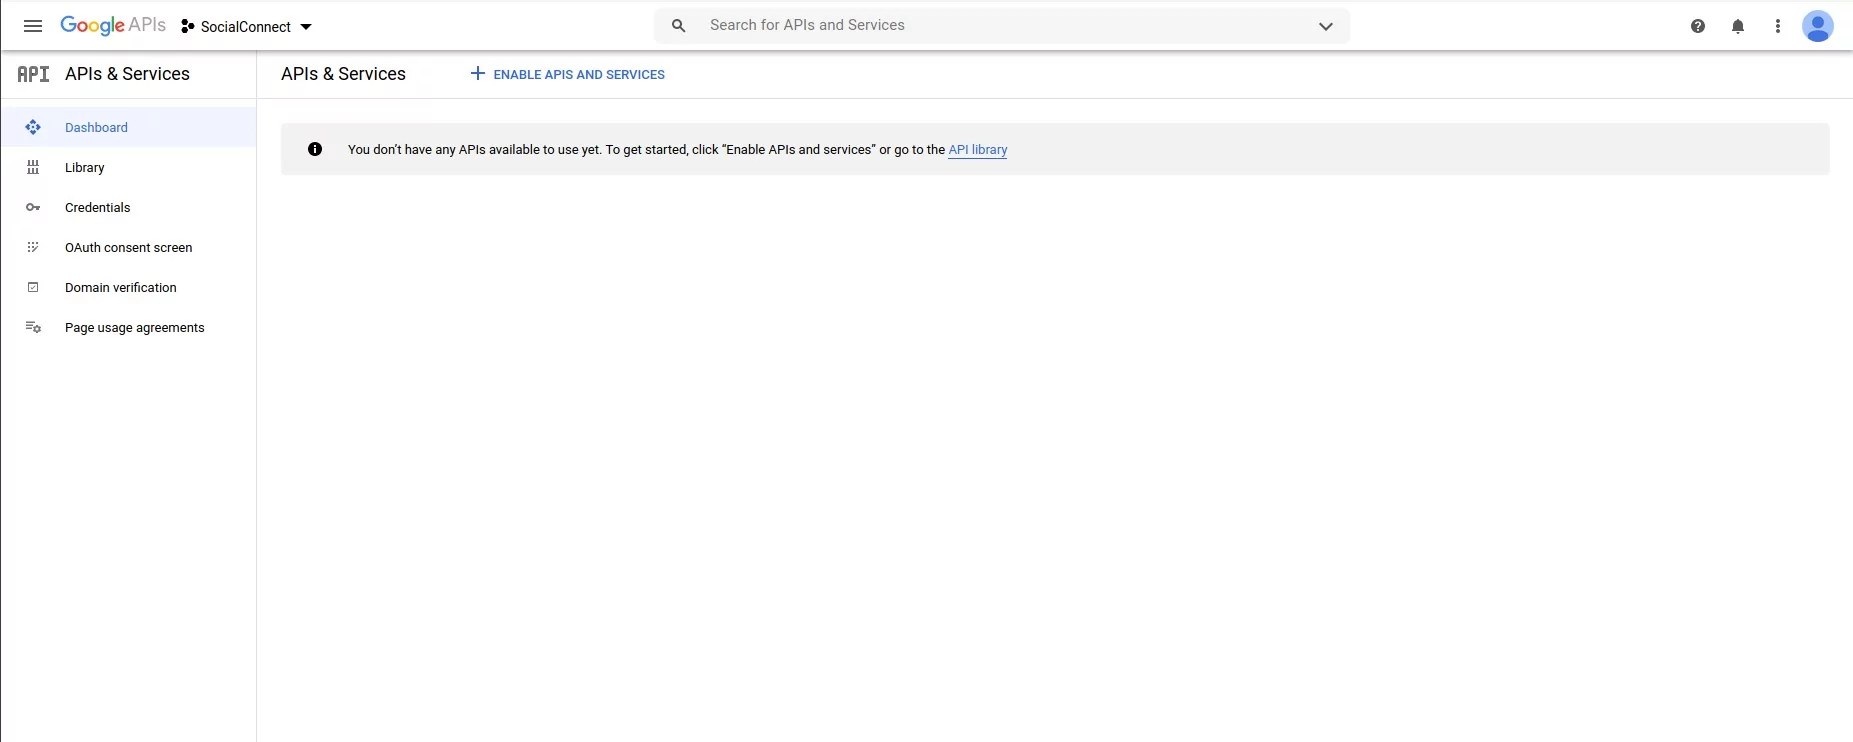
After clicking on “Credentials” we will need to create an OAtuh 2.0 client ID. Click on “OAuth consent screen”.
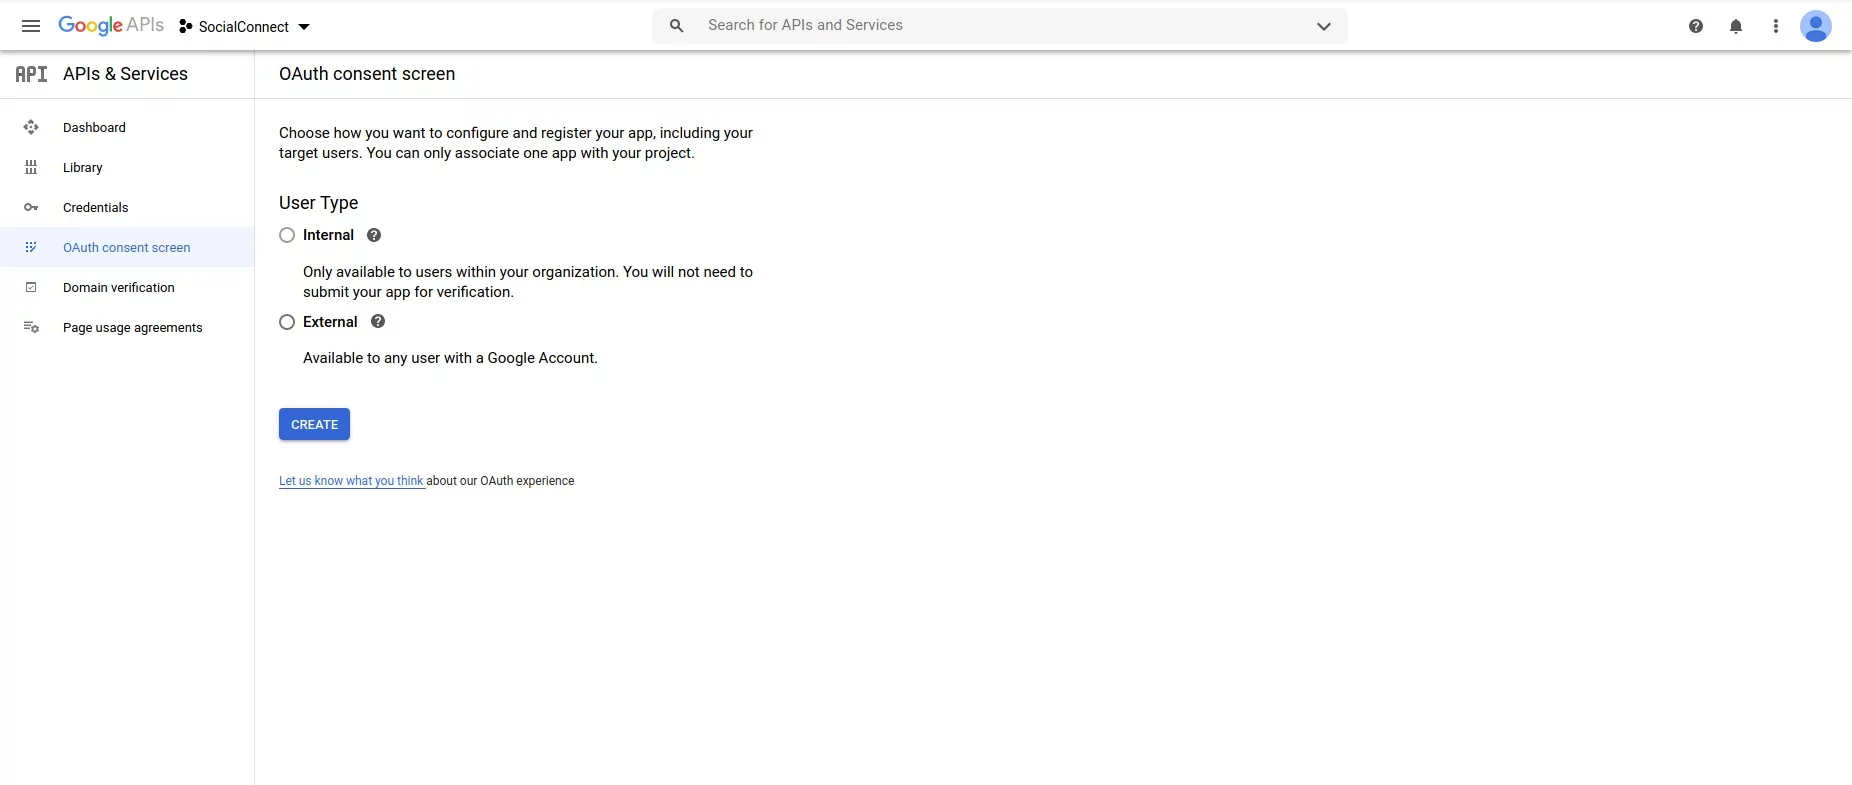
Step 1: Choose from the following options and then click on “Create”:
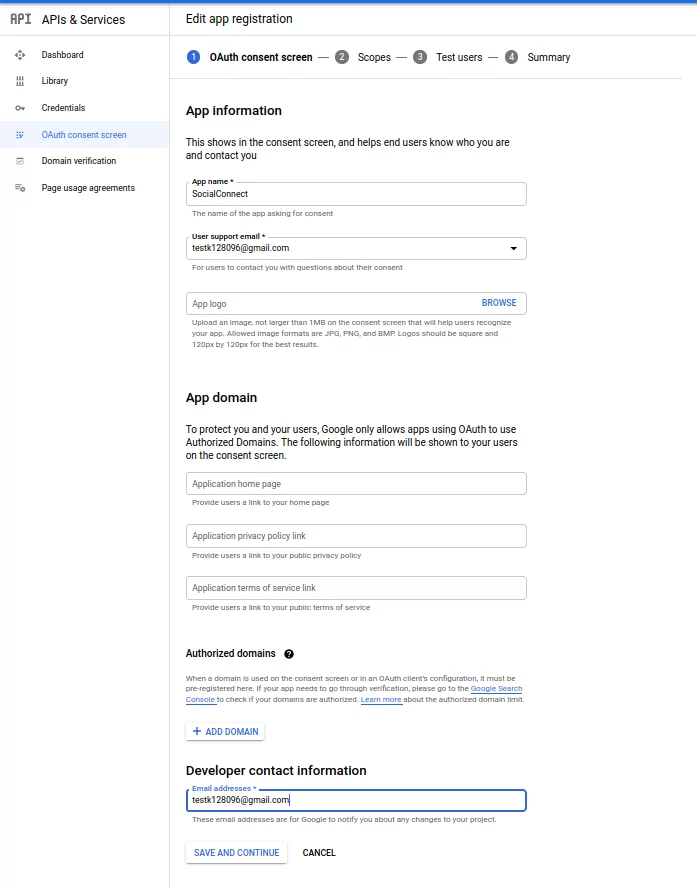
Step 2: After clicking on “Create” we will need to set the following options:
Page1: OAuth consent screen
Click Save and Continue
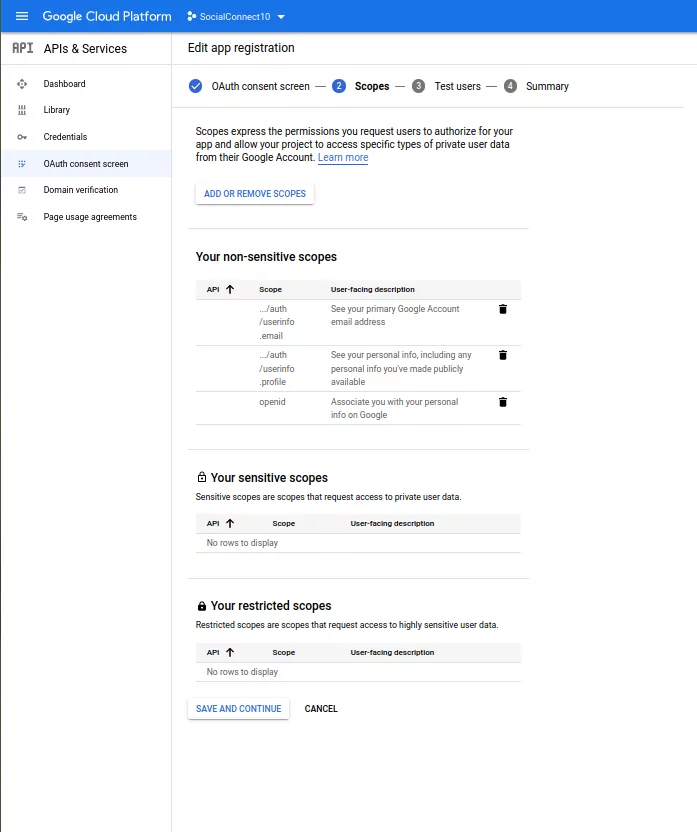
 Page2: Scopes
Click Save and Continue
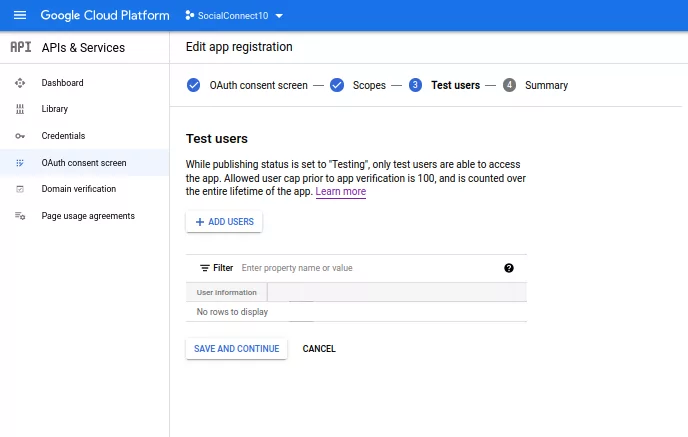
Page 3: Test Users
Click Save and Continue
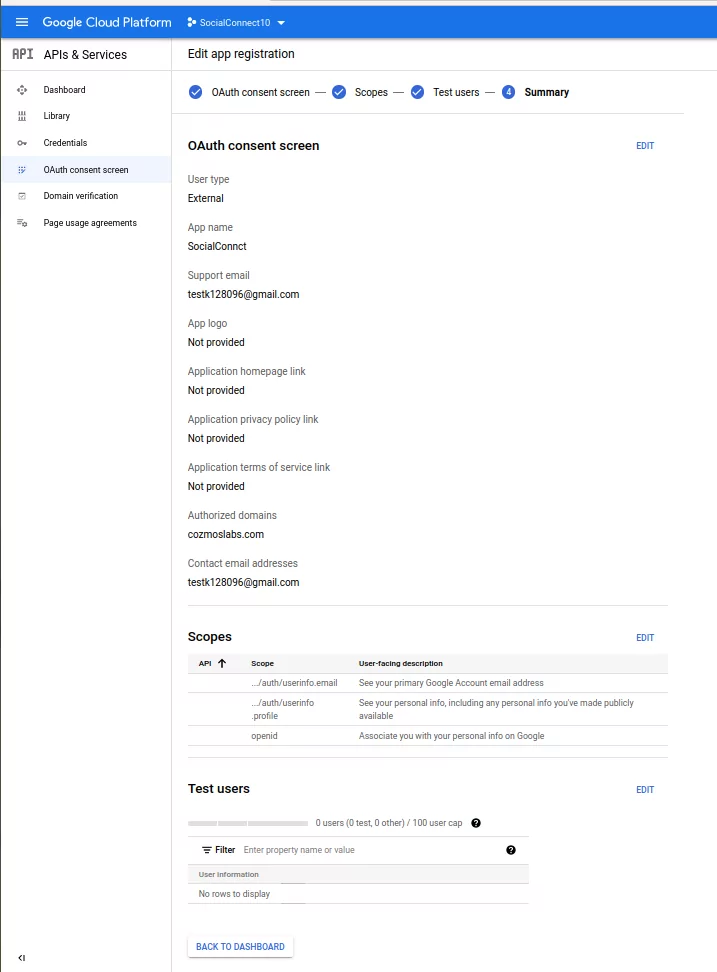
 Page 4: Summary
Click Save and Continue
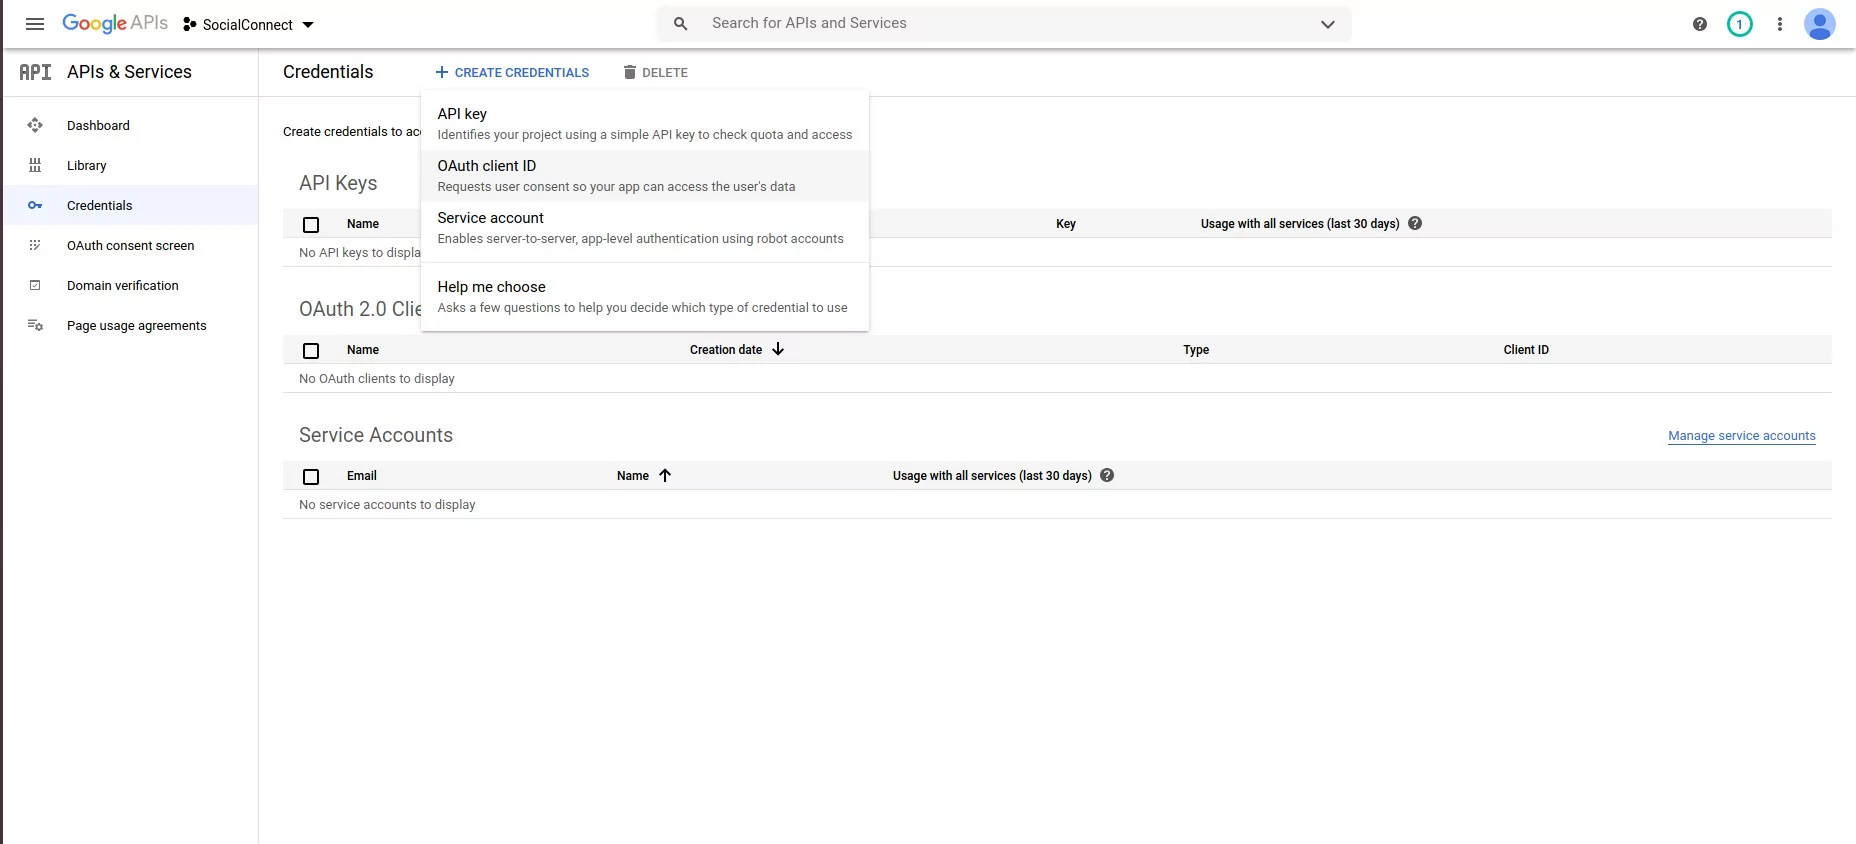
Step 3: Go to “ Credentials” → “Create credentials” → “OAuth client ID”
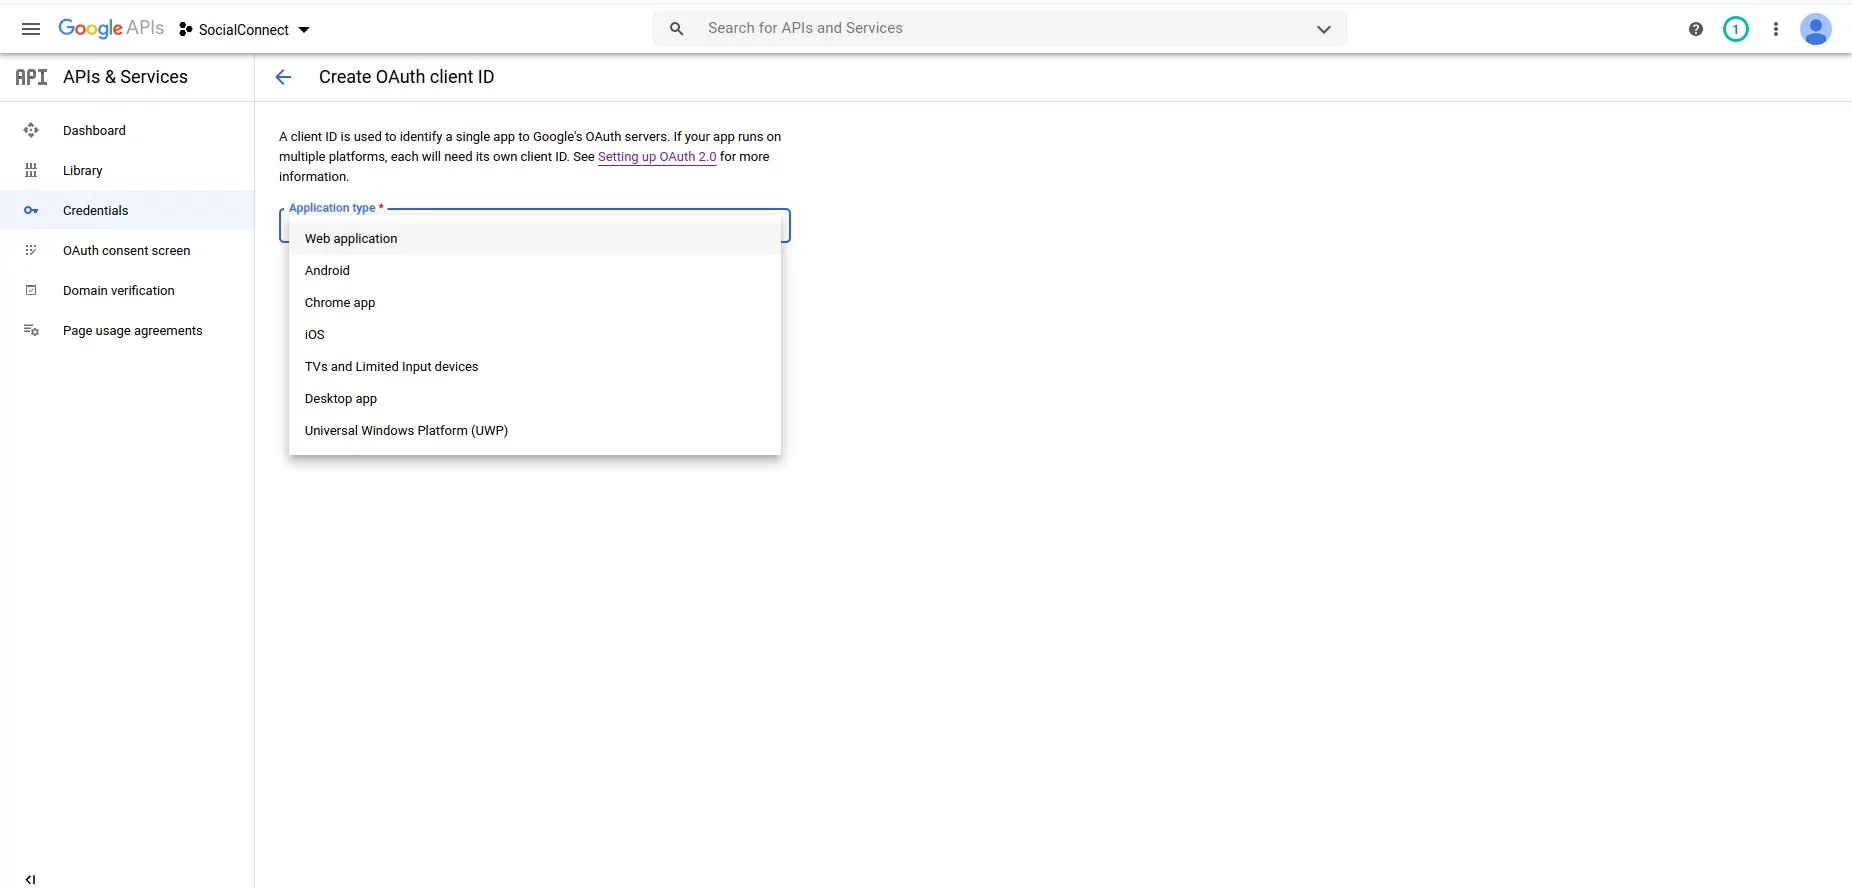
Step 4: Choose your Application type.
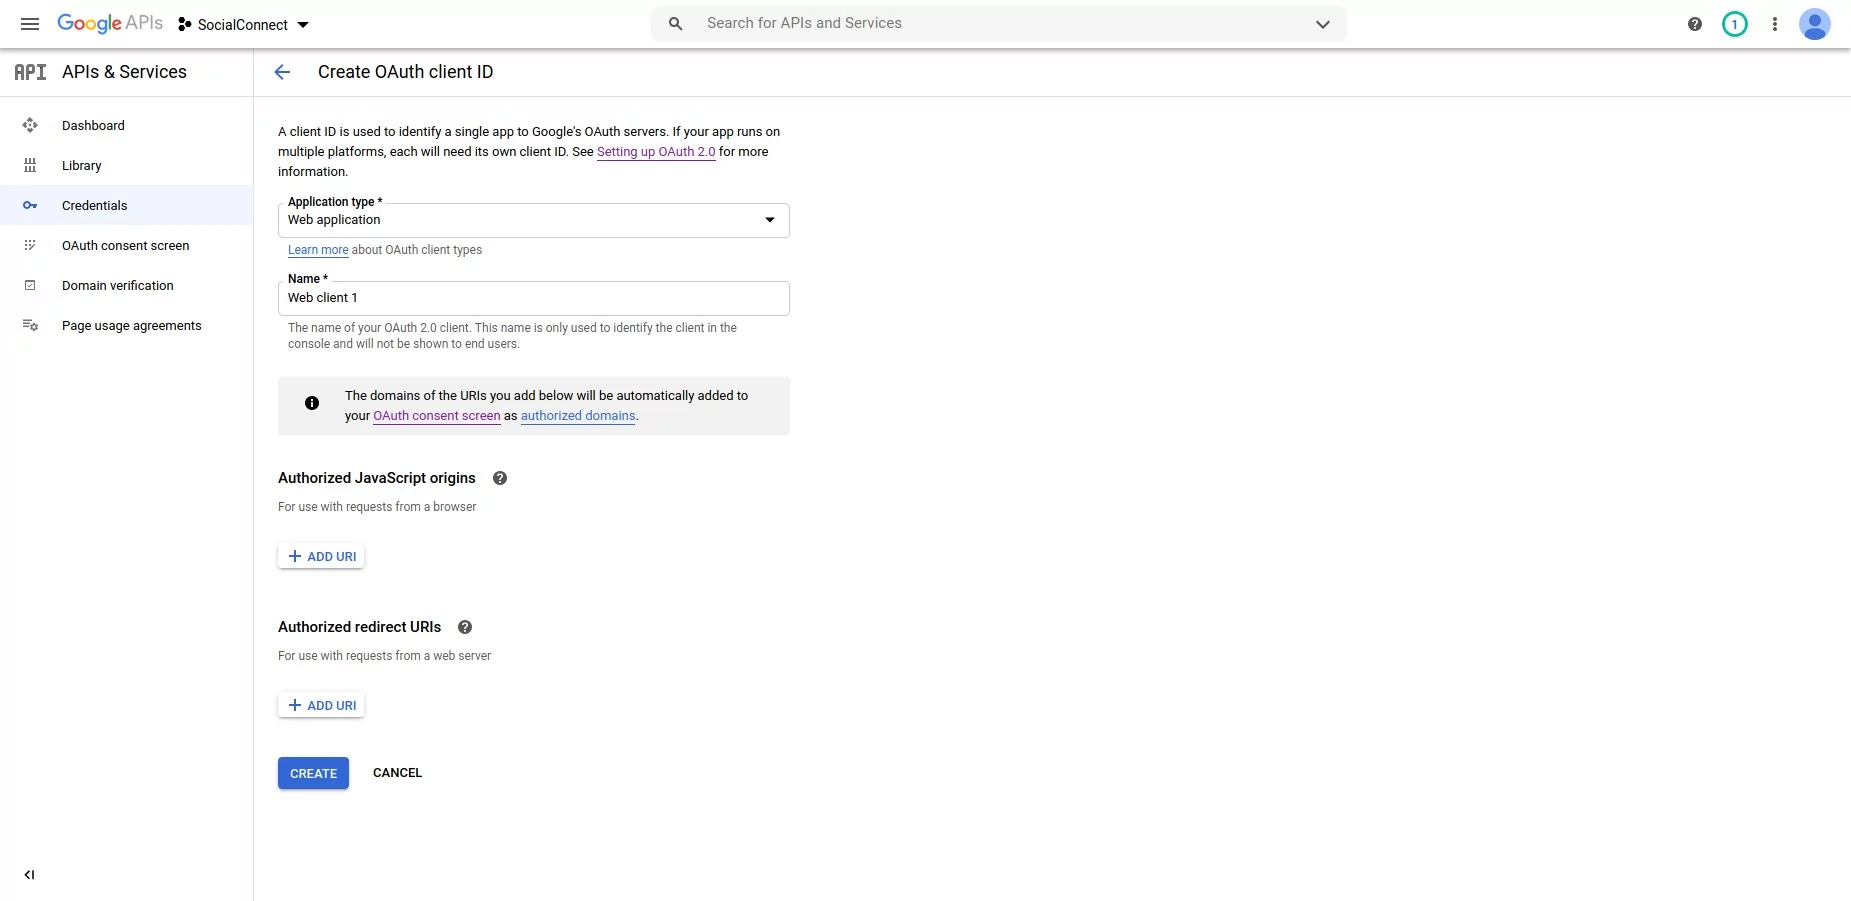
Step 5: We will need to set the following options:
• Name – add your own name
• Authorized JavaScript – add your website url – Example: http://www.yourdomain.com
• Authorized redirect URLs – add your website url – Example: http://www.yourdomain.com
After you finish click on “Create”.
After clicking on “Create” you will be prompted with your Client ID Credentials. You will need to copy the Client ID and click on “Done”. You will also need to copy the name of your OAuth 2.0 client.
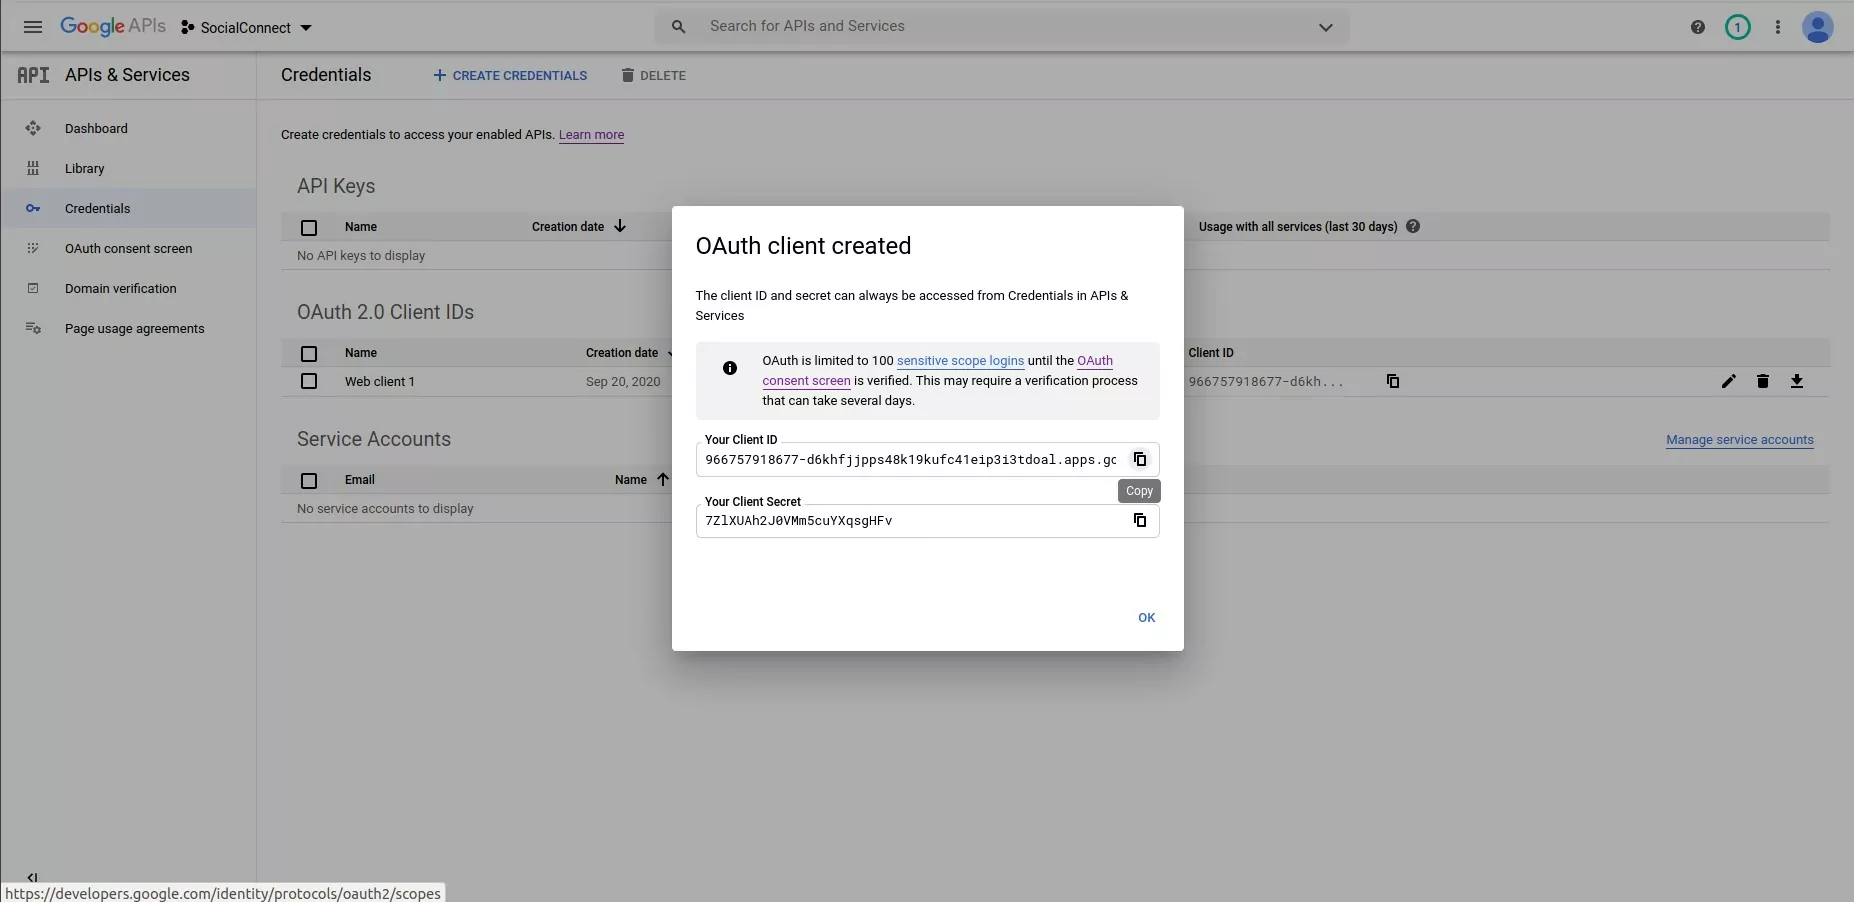
After you copy the Google Client ID go to your website -> Dashboard -> Profile Builder -> Social Connect -> Enable Google Login and paste your Client ID and the name of your OAuth 2.0 client. Scroll to the bottom to Save.

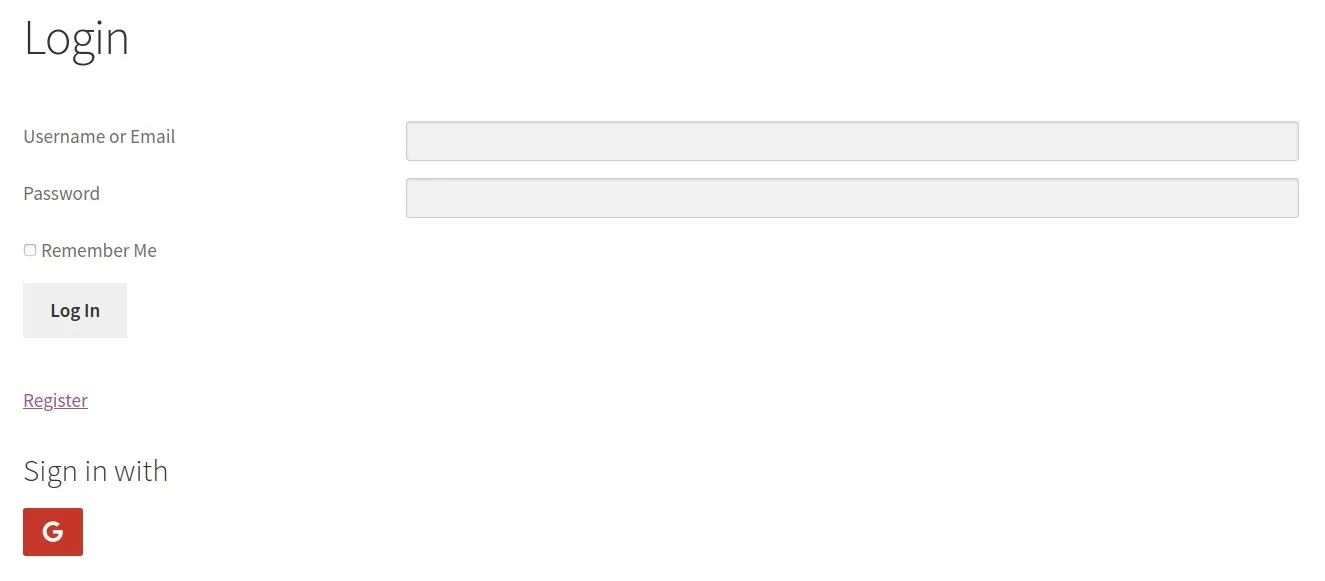
Social Login with Google should be available on WordPress Default and Profile Builder forms.
Combine the power of Profile Builder with Paid Member Subscriptions to set up user registration, memberships, and recurring revenue.
Get 25% off with the bundle
